
Demystifying the "Tin Soldering Iron"
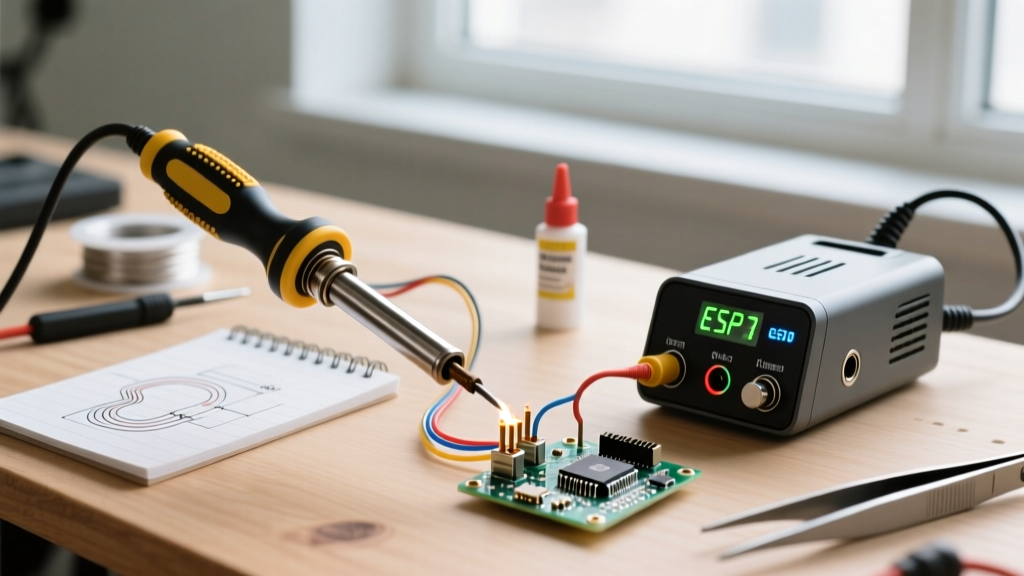
When beginners search for a tin soldering iron, they are usually looking for a thermal tool capable of melting tin-based solder alloys to join electronic components. Technically, the iron itself does not contain tin; rather, it is the heat source used to melt tin-lead (SnPb) or tin-silver-copper (SAC) solder wire. Understanding this distinction is your first step toward mastering electronics assembly.
As of 2026, the market is flooded with cheap, unregulated 60W irons that can destroy sensitive microcontrollers through thermal runaway. This guide cuts through the noise, providing you with exact equipment specifications, metallurgical basics, and a step-by-step protocol to create reliable, IPC-compliant solder joints on your very first attempt.
The 2026 Beginner Station Matrix
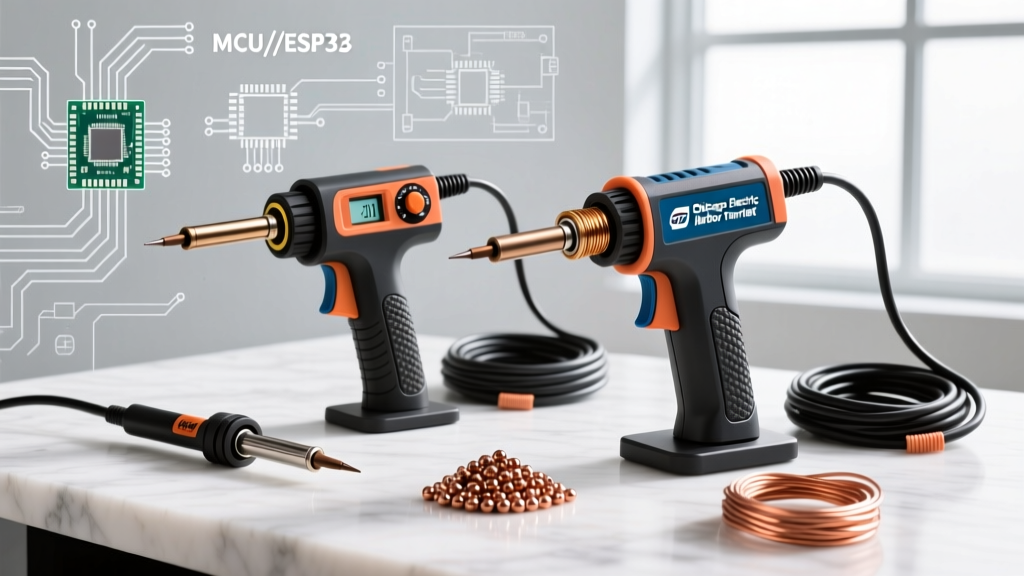
Skip the $15 plug-in stick irons. They lack thermal recovery and will frustrate you with cold joints. Below is a comparison of the three most reliable entry-level stations for hobbyists and students this year.
| Model | Peak Power | Temp Range | Approx. Price (2026) | Best For |
|---|---|---|---|---|
| Pinecil V2 (RISC-V) | 65W (via PD) | 100°C - 450°C | $26 - $32 | Budget-conscious & portable setups |
| Weller WLC100 | 40W | 200°C - 450°C | $45 - $55 | Absolute beginners needing a simple dial |
| Hakko FX-888D | 70W | 120°C - 480°C | $110 - $125 | Serious hobbyists & daily bench use |
Pro Tip: If you choose the Hakko FX-888D, immediately discard the included conical tip and purchase a T18-D24 Chisel tip. Conical tips have poor thermal mass transfer for through-hole and basic surface-mount work.
Essential Consumables: Alloy and Flux Chemistry
Your tin soldering iron is only as good as the consumables you feed it. The metallurgy of your solder wire dictates your temperature settings and joint reliability.
Choosing Your Solder Alloy
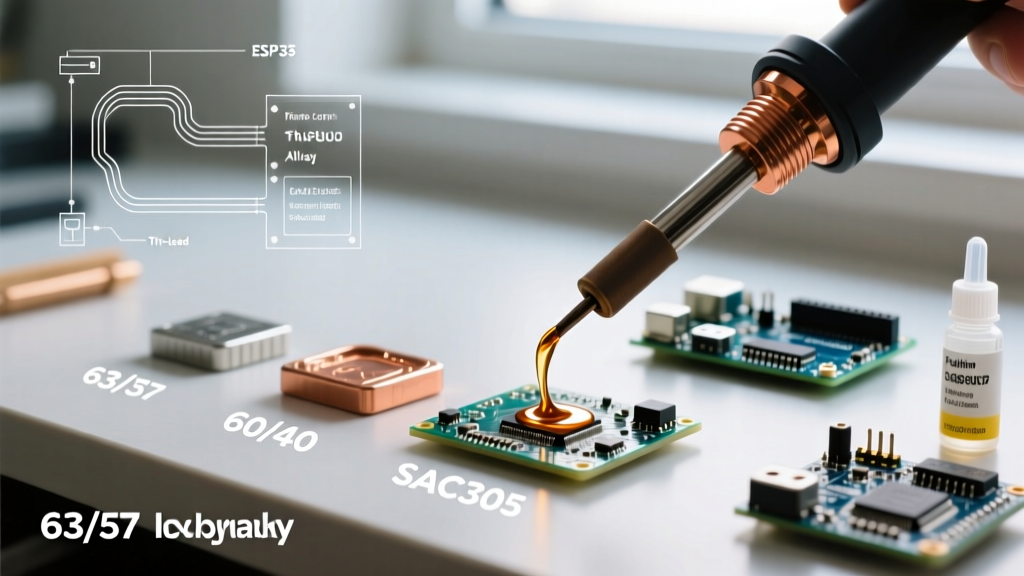
- Sn63/Pb37 (63/37 Tin-Lead): The undisputed champion for beginners. It is a eutectic alloy, meaning it transitions from solid to liquid instantly at exactly 183°C (361°F) without a "plastic" (semi-solid) phase. Recommendation: Kester 44, 0.031" (0.8mm) diameter.
- SAC305 (Sn96.5/Ag3.0/Cu0.5): The modern lead-free standard. It is non-eutectic, melting between 217°C and 220°C. It requires higher iron temperatures, wets slower, and eats through tips faster. Avoid this until you have mastered 63/37.
The Secret Weapon: Flux
Solder will not stick to oxidized copper. Flux is a chemical cleaning agent that removes oxidation during heating. While most solder wires have a "rosin core," applying external flux is mandatory for repair work or drag soldering. Use a Rosin Mildly Activated (RMA) flux paste or liquid, such as MG Chemicals 8341 or Amtech NC-559. Avoid water-soluble (OA) fluxes as a beginner; they are highly corrosive and require immediate ultrasonic cleaning to prevent PCB degradation.
The 5-Step Tinning and Soldering Protocol
Follow this exact sequence to ensure maximum thermal transfer and joint integrity. This methodology aligns with the foundational principles found in the NASA Workmanship Standards Manual for high-reliability soldering.
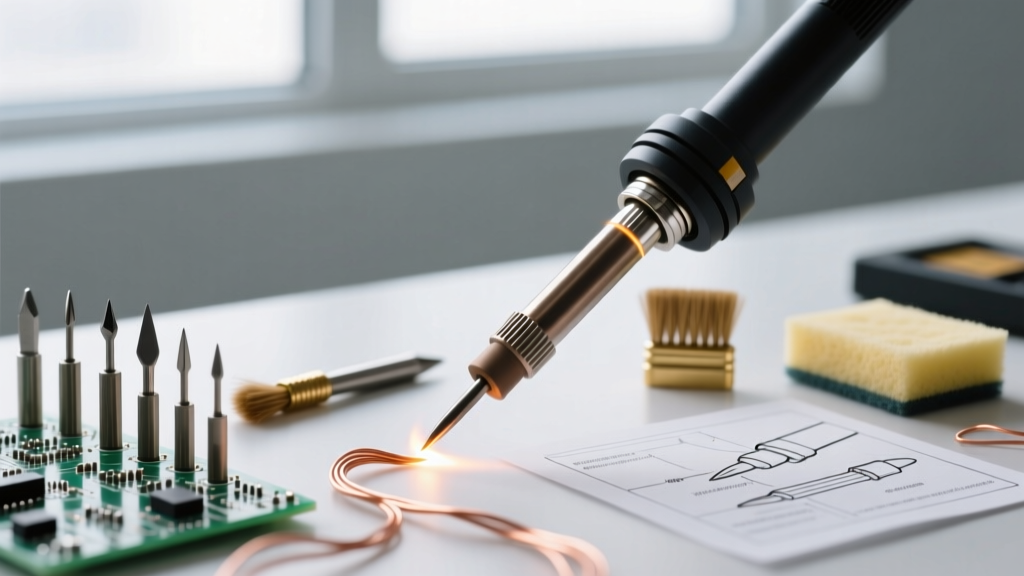
- Prep and Pre-Tin the Tip: Set your iron to 320°C. Once at temperature, wipe the tip on a damp cellulose sponge or brass wire sponge. Immediately apply a small amount of 63/37 solder to coat the entire working surface. This "tinning" layer prevents oxidation and acts as a thermal bridge. Follow Hakko's official tip care guidelines to maximize tip lifespan.
- Mechanical Stability: Ensure the component lead and PCB pad are completely immobile. Use a "helping hands" tool or blu-tack. Movement during the cooling phase causes a "disturbed joint," which is structurally compromised.
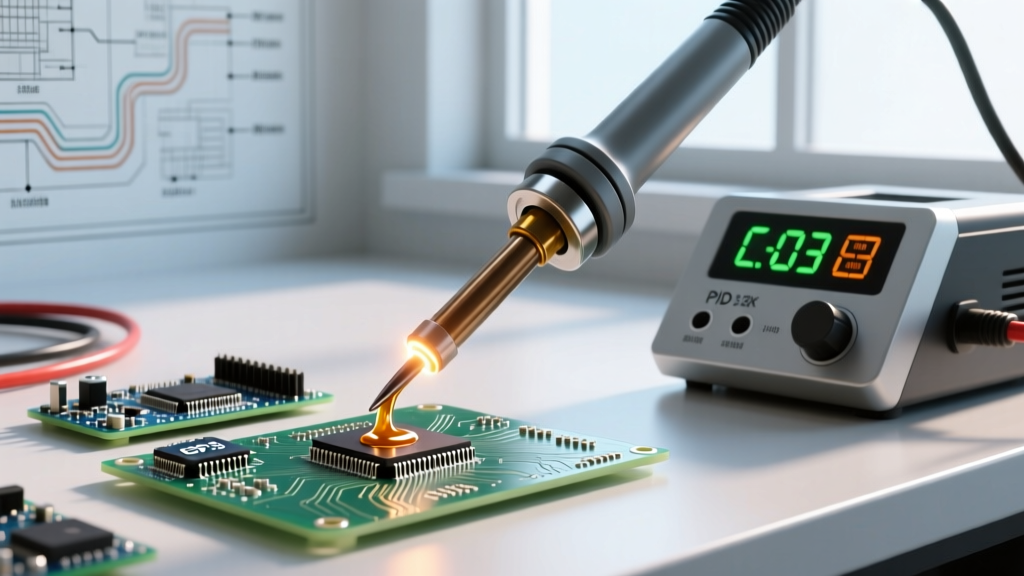
- Heat the Joint (Not the Solder): Place the tinned chisel tip so it simultaneously touches the component lead and the copper PCB pad. Hold for 2 to 3 seconds. You are heating the metals, not melting the solder on the iron.
- Feed the Solder: Touch the solder wire to the opposite side of the joint (where the iron is not touching). If the joint is hot enough, the flux will activate (smoke slightly) and the solder will wick instantly into the joint via capillary action. Feed for 1 to 2 seconds until a smooth fillet forms.
- Remove and Cool: Pull the solder wire away first, then slide the iron away at a 45-degree angle. Let the joint cool naturally for 3 seconds. Never blow on the joint, as this causes micro-fractures in the crystalline structure.
Thermal Profiles by Alloy
Setting your tin soldering iron to the correct temperature is critical. Too low causes cold joints; too high burns the flux and delaminates PCB pads.
| Solder Alloy | Melting Point | Ideal Iron Setting (Chisel Tip) | Dwell Time Limit |
|---|---|---|---|
| Sn63/Pb37 (Leaded) | 183°C | 300°C - 320°C | Max 3-4 seconds per joint |
| SAC305 (Lead-Free) | 217°C - 220°C | 340°C - 360°C | Max 2-3 seconds per joint |
Diagnosing Catastrophic Beginner Joints
Visual inspection is your best quality control tool. According to IPC-A-610 standards, a perfect solder joint should look like a smooth, shiny volcano (a concave fillet). Here is how to identify and fix common failures:
Failure Mode 1: The Cold Joint
Symptoms: Dull, grainy, lumpy, or convex (ball-shaped) appearance.
Cause: Insufficient heat applied to the pad/lead, or the iron temperature was set too low. The solder melted off the iron but didn't properly alloy with the copper.
Fix: Apply fresh flux, reheat the joint with a clean, tinned iron at 320°C, and allow the solder to reflow completely.
Failure Mode 2: The Icicle / Solder Bridge
Symptoms: Excess solder hanging off the pad or bridging two adjacent pins.
Cause: Feeding too much solder wire, or using a tip that is too small to transfer heat quickly, causing you to linger and over-feed.
Fix: Use a solder wick (desoldering braid) coated in flux to吸 up the excess solder, then re-solder with a minimal amount of wire.
Safety and Fume Extraction Protocols
The smoke rising from your workbench is not just "harmless vapor." It is vaporized flux (colophony/rosin), which is a known respiratory sensitizer and can cause occupational asthma with prolonged exposure. The metal alloy itself does not vaporize at these temperatures, but the flux fumes must be managed.
- Minimum Setup: Use a desktop HEPA/Carbon fume extractor (e.g., Hakko FA-400) positioned 6 inches from the joint.
- Ideal Setup: A flexible articulated arm with a ducted exhaust venting outside or into a multi-stage filtration system.
- Hygiene: Always wash your hands with soap and water after handling tin-lead solder. While lead absorption through intact skin is negligible, hand-to-mouth transfer is a real hazard.
Frequently Asked Questions
Why is my soldering iron tip turning black and refusing to melt solder?
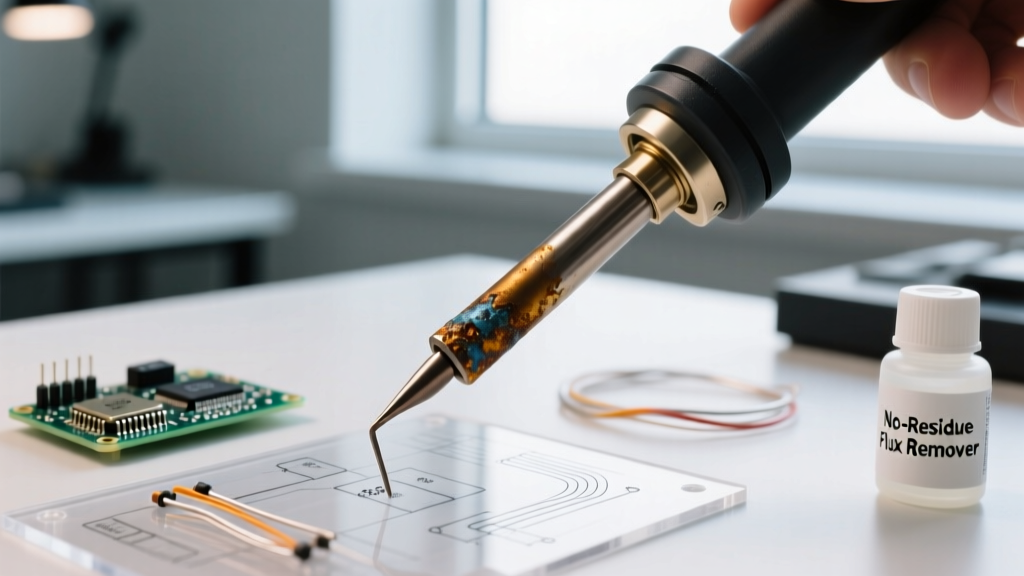
This is called "oxidation." Leaving a tin soldering iron at high temperatures (above 350°C) without a protective layer of solder causes the iron plating to oxidize, creating a thermal barrier. To fix it, turn off the iron, let it cool slightly, and use a specialized tip tinner (like Hakko 599B) or gently scrape the oxidation off with a fiberglass pen before re-tinning. Never use sandpaper or a file on a modern iron-clad tip.
Can I use plumbing solder for electronics?
Absolutely not. Plumbing solder is typically 50/50 Tin-Lead or lead-free acid-core. The acid flux used in plumbing is highly corrosive and will destroy copper traces and component leads within weeks. Always use electronics-grade rosin-core (RMA) solder.
How often should I clean the tip while soldering?
Wipe the tip on your brass sponge every 3 to 5 joints, and always apply a fresh coat of solder ("tin the tip") before placing the iron back into its holder. This sacrificial layer of solder will oxidize instead of the iron plating itself.