
The Hardware: Moving Past the $15 Wall-Wart
When searching for the ideal soldering iron for beginners, the market is flooded with misleading wattage claims and cheap, unregulated tools. A common misconception is that higher wattage equals higher temperature. In reality, wattage dictates thermal recovery rate—how quickly the iron can replenish heat lost to a copper pad or ground plane. A 65W smart iron will outperform a generic 60W stick iron because it utilizes rapid PID (Proportional-Integral-Derivative) temperature control.
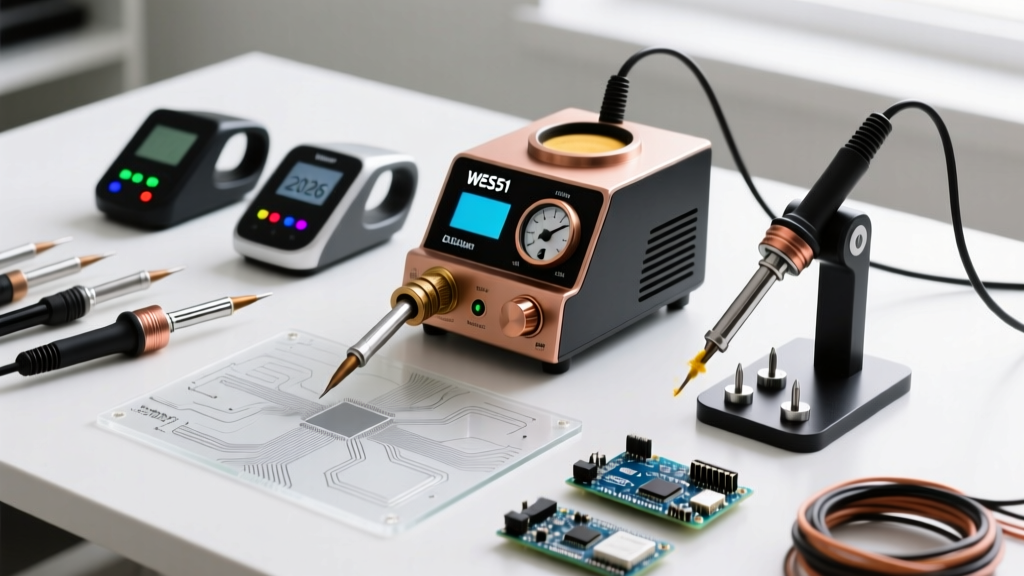
In 2026, the landscape for entry-level soldering has shifted dramatically toward USB-C Power Delivery (PD) and smart stations. You no longer need a bulky transformer on your desk to achieve professional results.
2026 Beginner Iron Comparison Matrix
| Model | Type | Max Power | Heater Tech | Price Range | Best For |
|---|---|---|---|---|---|
| Pinecil V2 | Smart Portable | 65W (via PD) | RISC-V PID | $26 - $32 | Tinkerers, tight spaces |
| Hakko FX-888D | Bench Station | 70W | Ceramic | $110 - $125 | Daily bench work, durability |
| Sequre SI03 | Smart Portable | 65W (via PD) | Hall Effect | $35 - $45 | Fast heat-up, UI preference |
Tip Geometry and the Metallurgy of Wetting
The most critical mistake beginners make is using a conical (pointed) tip. Conical tips have a microscopic surface area at the very end, resulting in terrible thermal transfer. When you press a conical tip against a joint, the temperature plummets, leading to cold, grainy solder joints.
The Golden Rule of Tip Selection: Always use the largest tip geometry that fits your pad. For 90% of beginner through-hole and basic surface-mount (SMD) work, a 2.4mm Chisel (D24) or a Bevel (C-type) tip is optimal. The flat edge maximizes surface contact, ensuring rapid heat transfer into the component lead and the PCB pad simultaneously.
Modern soldering tips are not solid copper. They feature a copper core for rapid heat conduction, plated with a layer of iron to resist erosion from molten solder and flux, and finished with chromium to prevent solder from creeping up the shaft. Never use sandpaper or a file to clean an oxidized tip; you will strip the iron plating and destroy the tip permanently.
Thermodynamics: Temperature Profiles for Alloys
Setting the correct temperature depends entirely on your solder alloy. The goal is to melt the solder and activate the flux within 2 to 3 seconds. If the iron is too cool, the flux burns off before the solder flows. If it is too hot, you risk delaminating the PCB pads or boiling the flux instantly, causing dangerous spatter.
- 63/37 Sn/Pb (Leaded Eutectic): Melts at exactly 183°C. Set your iron to 320°C - 340°C. This alloy has no plastic (pasty) phase, transitioning instantly from solid to liquid, making it the most forgiving alloy for beginners.
- 60/40 Sn/Pb (Leaded Non-Eutectic): Melts between 183°C and 190°C. Set iron to 330°C - 350°C.
- SAC305 (Lead-Free): Melts at 217°C. Set iron to 350°C - 380°C. Lead-free solder requires more thermal energy and aggressive flux to achieve proper wetting.
Step-by-Step: Executing the Perfect Through-Hole Joint
According to the IPC-J-STD-001 standard for soldered electrical assemblies, a proper joint requires excellent wetting, a concave fillet, and a smooth, shiny surface (for leaded alloys). Follow this exact sequence:
- Prep the Surfaces: Ensure the component leads and PCB pads are free of heavy oxidation. If necessary, gently scrape the leads with a fiberglass pen.
- Tin the Tip: Melt a tiny amount of fresh solder onto the iron's tip. This "thermal bridge" dramatically increases heat transfer.
- Heat the Joint: Place the flat of the chisel tip so it touches both the component lead and the copper pad simultaneously. Hold for 1 second.
- Feed the Solder: Apply the solder wire to the joint, not the iron. The moment the joint reaches melting temperature, the solder will wick around the lead via capillary action.
- Remove and Cool: Pull the solder away, then pull the iron away. Allow the joint to cool naturally for 3 seconds. Do not blow on it or move the component, or you will create a disturbed joint.
Troubleshooting Common Beginner Failures
1. Cold Joints (Grainy/Dull Appearance)
Cause: Insufficient heat applied to the pad, or moving the component while the solder is in its plastic (semi-solid) phase. In lead-free alloys, a dull finish is normal, but in 63/37 leaded solder, a dull joint indicates a cold connection.
Fix: Increase iron temperature by 15°C, use a wider chisel tip, and reflow the joint with a small amount of fresh, flux-cored solder.
2. Solder Balls Up on the Tip (Refusal to Wet)
Cause: Severe tip oxidation. The iron plating has reacted with oxygen, creating a barrier that solder cannot adhere to.
Fix: Turn the iron down to 250°C. Apply a generous blob of rosin-core solder and scrub the tip gently in a damp brass wire sponge. Repeat until the tip is shiny and fully tinned.
3. Solder Bridging Between Pins
Cause: Using too much solder, insufficient flux, or a tip that is too wide for the pitch of the pins.
Fix: Clean the tip, apply external liquid or gel flux (like Amtech NC-559) to the pins, and drag a clean, slightly damp chisel tip across the bridge. The flux will break the surface tension and pull the excess solder onto the iron.
Health, Safety, and Fume Extraction
A pervasive myth in electronics is that the smoke rising from your workbench is vaporized lead. Lead has a boiling point of 1,749°C; your iron is running at 350°C. The smoke is actually vaporized flux—specifically colophony (rosin) and its chemical activators. According to OSHA guidelines on lead and occupational hazards, while lead vapor is not a risk at soldering temperatures, lead dust from handling wires can transfer to your hands. Always wash your hands with cold water and soap after handling leaded solder to prevent ingestion.
More critically, inhaling rosin fumes is a known cause of occupational asthma and respiratory sensitization. You must use a fume extractor equipped with a HEPA and activated carbon filter, positioned 4 to 6 inches away from the joint, to pull particulates away from your breathing zone. A simple desk fan blowing the smoke around the room is entirely inadequate and merely redistributes hazardous particulates.
Final Thoughts on Tool Longevity
The lifespan of your soldering iron tips depends entirely on your shutdown routine. Never leave a tinned iron sitting in a holder at 350°C; the flux will carbonize and the tip will oxidize within 15 minutes. Before turning off your station or smart iron, melt a large, generous blob of cheap 60/40 solder over the entire working surface of the tip. This sacrificial layer will oxidize instead of the iron plating, ensuring your tip remains pristine for your next session.