
The Hidden Cost of Thermal Drift in PCB Assembly
The gap between a reliable PCB assembly and a catastrophic field-failure often comes down to thermal management at the micro-level. Before soldering with soldering iron equipment, verifying the thermal transfer from the heating element to the tip apex is non-negotiable. Even premium digital stations experience thermal drift over time due to oxidation on the sensor shaft, degradation of the ceramic heating element, or physical wear on the tip plating. A station displaying 350°C might only be delivering 315°C to the pad, resulting in cold joints, incomplete wetting, and flux activation failures. This guide provides an expert-level setup and calibration protocol to ensure your workstation meets the rigorous demands of modern electronics manufacturing.
Required Metrology Tools for Verification
You cannot calibrate what you cannot accurately measure. Relying on the digital readout of a soldering station without external verification is a critical error in precision electronics work.
Thermocouple Testers vs. Infrared Pyrometers
For contact-based thermal verification, a dedicated soldering tip thermometer is required. The Hakko FG-100B (approximately $185) and the Weller WSD 80 (approximately $220) utilize specialized K-type thermocouples with a micro-bead junction designed to cradle the tip geometry.
- Thermocouple Testers: Provide an accuracy of ±2°C by physically touching the sensor bead to the tip apex using a heat-conductive silicone pad.
- Infrared (IR) Pyrometers: Generally unsuitable for bare metal tip calibration. Bare metal has a low emissivity (often around 0.1 to 0.2), causing IR sensors to read ambient reflections rather than actual surface temperature, leading to errors of 50°C or more.
Step-by-Step Calibration Protocols
Calibration involves adjusting the station's internal software offset so that the displayed temperature matches the physical temperature measured at the tip apex. Below are the exact procedures for two of the most common professional workstations in 2026.
Calibrating the Weller WE1010NA (70W)
The Weller WE1010NA allows for direct user calibration via the front-panel encoder. Ensure the station has been powered on for at least 10 minutes to reach thermal equilibrium.
- Press and hold the rotary encoder button for 3 seconds to enter the main menu.
- Rotate the encoder to navigate to the CAL (Calibration) submenu and press to select.
- The display will show the current internal temperature reading. Place your Hakko FG-100B thermocouple sensor against the flat of the chisel tip using the provided silicone thermal pad.
- Wait 15 seconds for the thermocouple reading to stabilize.
- Rotate the encoder to adjust the station's displayed value until it perfectly matches the external thermocouple reading.
- Press the encoder to save the offset. The station will reboot with the new thermal curve applied.
Calibrating the Hakko FX-888D (65W)
The FX-888D requires a specific boot-sequence to access the hidden calibration menu.
- Ensure the station is powered OFF.
- Press and hold the UP arrow button on the front panel.
- While holding the UP button, turn the power switch ON. The display will show CAL.
- Release the UP button. The station is now in calibration mode and will output maximum power to the heater.
- Measure the tip temperature with your external thermocouple tester.
- Use the UP and DOWN buttons to adjust the digital readout to match your external measurement.
- Press and hold the ENTER button for 2 seconds to lock in the calibration data, then power cycle the unit.
Temperature Profiles & Thermal Mass Matching
Selecting the correct baseline temperature depends entirely on the solder alloy and the thermal mass of the target component. Applying a blanket 350°C setting to all tasks is a hallmark of amateur work.
| Solder Alloy | Melting Point | Ideal Tip Temp (Low Mass) | Ideal Tip Temp (High Mass) | Recommended Tip Geometry |
|---|---|---|---|---|
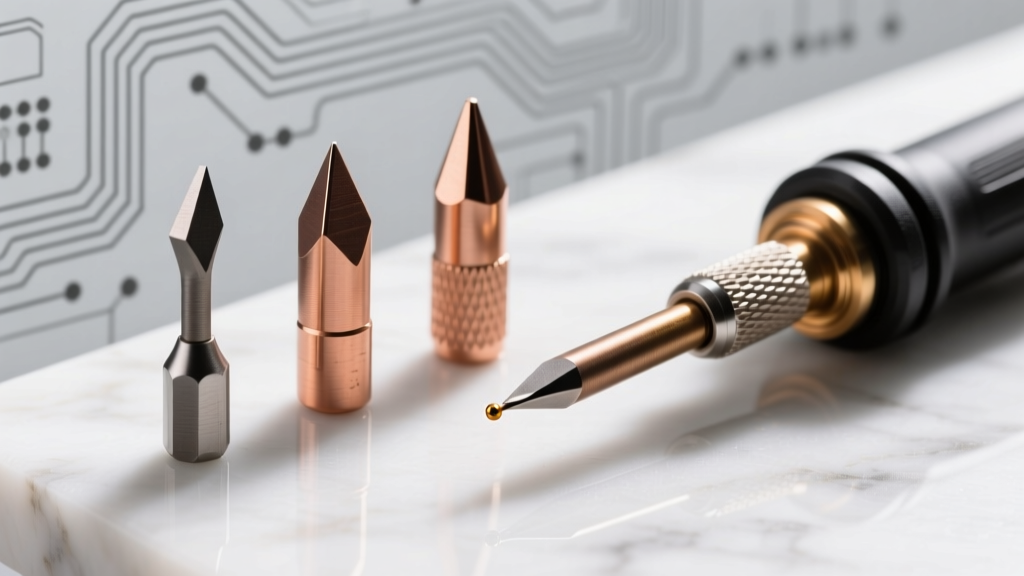
| Sn63/Pb37 (Leaded) | 183°C | 300°C - 320°C | 330°C - 350°C | Chisel (1.6mm - 2.4mm) |
| SAC305 (Lead-Free) | 217°C - 220°C | 340°C - 360°C | 370°C - 390°C | Chisel / Micro-Knife |
| Sn42/Bi58 (Low Temp) | 138°C | 220°C - 240°C | 250°C - 270°C | Conical / Fine Chisel |
Note: High mass components include large ground planes, multi-layer PCBs, and heavy through-hole connectors. Low mass includes 0402 SMD components and fine-pitch ICs.
Diagnosing Thermal Failure Modes in the Field
Even with perfect initial calibration, physical degradation can mimic calibration drift. Recognizing these failure modes prevents unnecessary software adjustments when hardware maintenance is actually required.
- Oxidation Barrier (Black Crust): If the tip turns black and solder balls up and rolls off, the iron plating has oxidized. This layer acts as a severe thermal insulator. A drop of 40°C to 60°C at the wetting interface is common. Fix: Use a brass wire sponge and specialized tip tinner (e.g., Hakko 599B) to chemically reduce the oxide layer. Never use sandpaper or files, which will destroy the iron plating and expose the copper core to rapid dissolution.
- Sensor Shaft Degradation: Over hundreds of heating cycles, the ceramic heater's sensor shaft can accumulate carbonized flux residue. This insulates the thermocouple inside the heater from the tip barrel, causing the station to overshoot the set temperature to compensate. Fix: Remove the tip and gently clean the ceramic shaft with isopropyl alcohol (IPA) and a lint-free swab.
- Grainy or Dull Joints: According to IPC-A-610 standards, a proper solder joint must be smooth, shiny, and exhibit a wetting angle of less than 90 degrees. Grainy joints indicate the solder cooled while in a plastic (semi-solid) state, usually caused by moving the component before the thermal mass has fully dissipated, or severe under-heating during the liquidus phase.
"Thermal equilibrium is not just about reaching the melting point of the alloy; it is about providing enough localized enthalpy to activate the flux chemistry and overcome the thermal sink of the copper traces." — Advanced Rework Methodologies, NASA NEPP Program.
Flux Chemistry and Thermal Activation
Calibration is only half the battle; the thermal profile must also align with your flux chemistry. Most rosin-based (RO) and no-clean (NC) fluxes contain activators that remain dormant until they reach approximately 200°C to 220°C. If your tip temperature is calibrated too low, or if the thermal recovery time of your station is too slow, the flux will not fully activate before the solder melts. This results in poor wetting and potential long-term electromigration risks due to unneutralized acidic residues. Always verify the Technical Data Sheet (TDS) of your specific solder wire or paste to identify the exact activation temperature window.
Maintenance Schedule for Long-Term Accuracy
To maintain IPC Class 3 compliance and ensure your calibration remains valid, implement the following maintenance schedule:
- Daily: Tin the tip with a generous amount of 63/37 leaded solder before powering down. This sacrificial layer prevents ambient oxygen from attacking the working surface during cool-down.
- Monthly: Perform a physical thermal audit using a K-type thermocouple tester to verify the software offset has not drifted by more than ±3°C.
- Bi-Annually: Inspect the heater sleeve for pitting or carbon buildup. Replace the heating element if thermal recovery times exceed 8 seconds from a 50°C drop.
By treating your workstation as a precision metrology instrument rather than a simple heat source, you ensure that every session soldering with soldering iron equipment yields reliable, structurally sound, and electrically optimal connections. For further reading on professional tooling standards, consult the official documentation provided by Weller Tools and industry governing bodies.