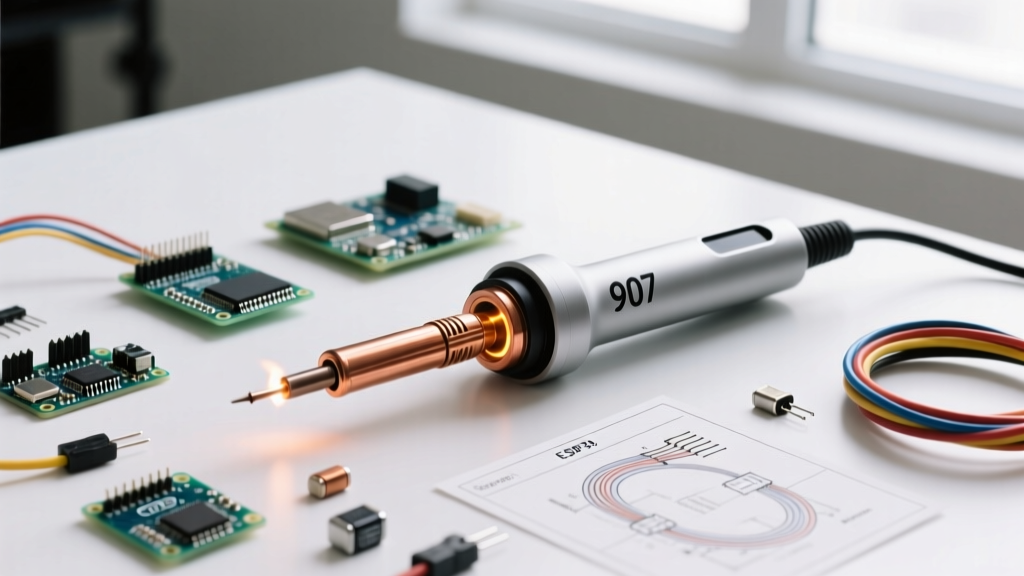

Understanding 907 Soldering Iron Resistance: The Core of Thermal Performance
In the electronics repair and DIY community, the '907' designation is ubiquitous, yet notoriously fragmented. Whether you are using the cordless Hakko FX-907 portable iron or the widely available generic '907 60W Adjustable' corded irons (often branded by Yihua or sold as unbranded clones), the fundamental physics governing their performance remains identical: heater and sensor resistance.
When a 907 soldering iron struggles to melt lead-free solder, exhibits wild temperature fluctuations, or throws an 'H-E' (Heater Error) code on a digital base, the culprit is almost always a drift in the internal resistance of the heating element or the integrated thermistor. In 2026, with the market flooded by both high-quality ceramic replacements and substandard mica-nichrome clones, understanding these exact ohm values is the difference between a flawless IPC-compliant solder joint and a ruined PCB pad.
This comprehensive guide breaks down the exact resistance profiles of 907-compatible heating elements, compares the best replacement options on the market, and provides a masterclass in multimeter troubleshooting.
The Physics of the 907 Handle: Heater vs. Sensor Resistance
A standard 907 soldering iron handle does not just contain a heating wire; it contains a closed-loop thermal feedback system. This system relies on two distinct electrical circuits housed within the ceramic or mica core:
- The Heater Circuit: Responsible for generating heat. Its resistance dictates the power draw (Wattage) based on the voltage supplied by the base station or internal triac.
- The Sensor Circuit (Thermistor/Thermocouple): Measures the tip temperature and feeds data back to the controller. Its resistance changes predictably with temperature (either PTC or NTC), allowing the microcontroller to pulse the heater.
Expert Insight: According to the stringent thermal profiling requirements outlined in the IPC J-STD-001 standard for soldered electrical assemblies, maintaining precise thermal dwell times is critical to prevent intermetallic compound (IMC) overgrowth. A drifting heater resistance in a 907 iron causes the controller to miscalculate thermal mass, leading to cold joints or thermal pad lift-off.
907 Heating Element Comparison Matrix
Not all 907 replacement elements are created equal. Below is a technical comparison of the three primary heater types that fit 907-style handles and their corresponding base stations.
| Element Type | Pin Configuration | Heater Resistance (Cold) | Sensor Resistance (Cold) | Thermal Recovery (to 350°C) | Avg. Cost (2026) |
|---|---|---|---|---|---|
| A1321 Ceramic | 4-Pin | 2.5 Ω - 3.5 Ω | 1.0 Ω - 2.0 Ω | ~15 Seconds | $12 - $18 |
| A1322 Ceramic | 5-Pin | 14.0 Ω - 16.0 Ω | 1.0 Ω - 2.0 Ω (or up to 50Ω PTC) | ~10 Seconds | $15 - $22 |
| Nichrome (Mica) | 4-Pin (Clone) | 14.0 Ω - 15.0 Ω | ~43.0 Ω (PT100 style) | 45+ Seconds | $4 - $8 |
Best-Of Comparison: Top 907 Heating Elements & Complete Irons
Based on resistance stability, thermal recovery speed, and longevity, here is how the top 907 components and complete irons stack up for serious bench work.
1. Best Overall Replacement Element: Genuine A1321 Ceramic Heater (4-Pin)
The A1321 is the gold standard for 4-pin 907 handles. Unlike older nichrome wire wrapped around mica, the A1321 embeds the heating trace directly into a high-density aluminum nitride ceramic core.
- Resistance Stability: Exceptional. The ceramic core prevents the oxidation that causes nichrome wire resistance to drift upward over time.
- Grounding: Features a dedicated internal grounding path to protect sensitive MOSFETs and CMOS chips from stray AC leakage.
- Verdict: If your 907 handle accepts a 4-pin plug, the genuine A1321 is mandatory for lead-free soldering where rapid thermal recovery is required.
2. Best High-Power Upgrade: A1322 Ceramic Heater (5-Pin)
For technicians who have upgraded their 907 base stations to support 5-pin connections, the A1322 offers superior thermal mass management. The higher heater resistance (approx. 15 Ω) is paired with a more robust sensor circuit.
- Performance: Reaches 350°C in under 10 seconds and recovers from heavy ground-plane heat sinking almost instantly.
- Edge Case Warning: A1322 sensors vary wildly between manufacturers. Some use a 1-2 Ω NTC thermistor, while others use a ~45 Ω PTC sensor. You must match the element to your specific station's firmware logic.
3. Best Complete 907 Iron: Hakko FX-907 vs. Yihua 907 (60W Corded)
When buying a complete 907 system, you are choosing between portability and raw bench power.
- Hakko FX-907 (Cordless Portable): Runs on 4 AA batteries (or a lithium pack mod). The internal heater resistance is incredibly low (under 2 Ω) to maximize battery efficiency. It peaks at 5W-8W. Best for field repairs and automotive wiring.
- Yihua 907 (60W Corded Adjustable): A mains-powered workhorse featuring a built-in triac and dial. It utilizes a specialized high-voltage ceramic heater. While excellent for the $35-$45 price point, the internal thermistor resistance is known to drift after 500+ hours of continuous use, requiring full handle replacement rather than just an element swap.
Step-by-Step Troubleshooting: Measuring 907 Iron Resistance
When your 907 iron fails, do not immediately throw it away. Using a digital multimeter (DMM), you can isolate the exact point of failure in under two minutes. As outlined in Fluke's official guide to measuring resistance, ensuring your test leads are zeroed out is the critical first step to avoid false 'open circuit' readings.
Testing a 4-Pin A1321 Element
- Prep the DMM: Set your multimeter to the lowest Ohms (Ω) setting (usually 200Ω). Touch the probes together and note the lead resistance (typically 0.1Ω to 0.3Ω). Subtract this from your final readings.
- Test the Heater (Pins 1 and 2): Place probes on pins 1 and 2 of the aviation plug. You should read between 2.5Ω and 3.5Ω. If the reading is 'OL' (Open Line), the ceramic heater trace is fractured. The element is dead.
- Test the Sensor (Pins 3 and 4): Move the probes to pins 3 and 4. You should read between 1.0Ω and 2.0Ω. If this reads 'OL', the thermistor wire has snapped, usually right at the base of the ceramic core where flexing occurs.
- Test for Short to Ground: Place one probe on the metal shaft of the iron and the other on each pin sequentially. The reading must be 'OL'. Any resistance reading here indicates a catastrophic insulation failure, posing a severe shock hazard to the user and a lethal ESD hazard to your components.
Common Failure Modes in Generic 907 Clones
If you are using a budget 907 iron purchased from online marketplaces, be aware of the 'Phantom Resistance' failure mode. In cheap mica-nichrome elements, the nichrome wire physically sags as it heats and cools, occasionally touching the outer metal sheath. This creates a high-resistance short to ground (often reading 50kΩ to 100kΩ). While this might not trip a standard GFCI breaker, it will inject 60Hz AC noise directly into your microcontroller's ground plane, potentially destroying the very PCB you are trying to repair.
Final Verdict: Optimizing Your 907 Setup for 2026
The '907' platform remains one of the most versatile and cost-effective soldering ecosystems available, provided you understand the underlying electrical metrics. If you are maintaining a fleet of 907 handles in a production or repair environment, standardizing on genuine A1321 ceramic elements is the most reliable path forward. Their strict 2.5Ω - 3.5Ω heater resistance profile ensures that your station's PID controller can accurately predict thermal decay, keeping your tip temperature locked within the ±5°C tolerance required for modern, dense SMD rework.
Stop guessing when your iron throws an error code. Grab your multimeter, check your pinout resistance, and swap the failing component with precision.