
The Beginner's Blueprint to Weller Soldering Stations
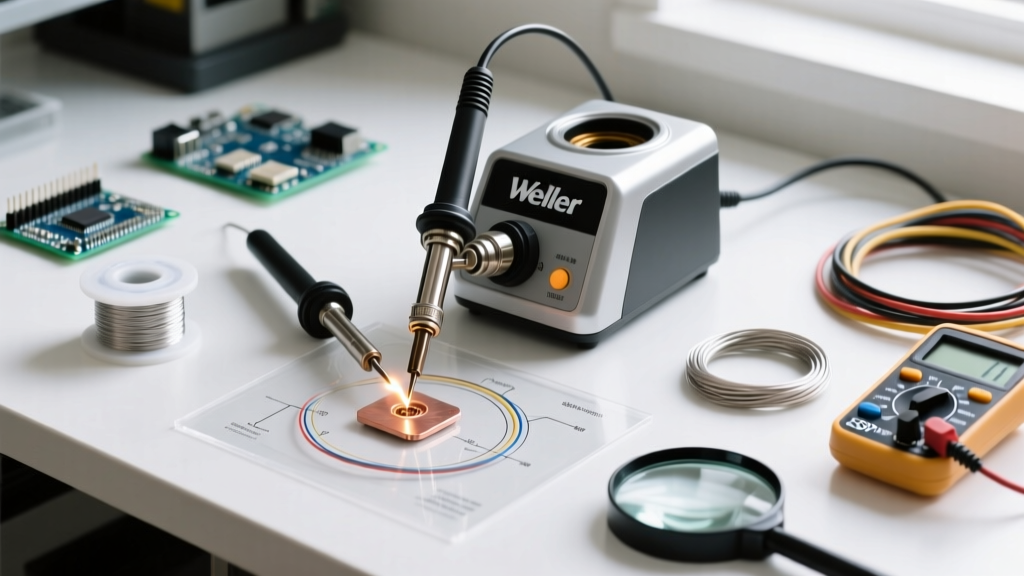
Entering the world of electronics assembly can feel overwhelming, but starting with a reliable tool halves the battle. Weller has been an industry standard for decades, and mastering your equipment is the fastest way to achieve professional-grade joints. Whether you inherited a classic analog WES51 or unboxed a modern digital WE1010NA, applying the right techniques will prevent component damage, extend tip life, and eliminate cold joints.
In this guide, we break down essential Weller soldering station tips tailored specifically for beginners. We will cover exact temperature frameworks, decode Weller's tip part numbers, and outline a maintenance ritual that will save you hundreds of dollars in replacement parts over the life of your station.
Choosing Your Weapon: Legacy WES51 vs. Modern WE1010NA
Before adjusting a single dial, you need to understand the thermal recovery characteristics of your specific Weller model. As of 2026, the market is split between the legendary (but largely discontinued) WES51 and the current production WE1010NA. Both use the same ETA tip series, but their heating elements behave differently.
| Feature | Weller WES51 (Legacy) | Weller WE1010NA (Current) |
|---|---|---|
| Power Output | 50 Watts | 70 Watts |
| Temperature Control | Analog Dial (Unmarked) | Digital Push-Button (°C/°F) |
| Thermal Recovery | Moderate (Sensor in heater) | Fast (Integrated tip sensor) |
| Typical 2026 Price | $60 - $90 (Used/Refurbished) | $119 - $129 (New) |
| Best For | Through-hole, basic repairs | SMD, heavy ground planes, precision |
Pro Tip: If you are using the analog WES51, the dial is not calibrated to exact degrees. You will need an external tip thermometer (like the Weller WSD100) to verify actual tip temperatures, whereas the WE1010NA displays the precise setpoint on its LCD.
The Temperature 'Sweet Spot' Framework
The most common beginner mistake is cranking the station to its maximum temperature (often 450°C / 850°F) to 'melt solder faster.' This is catastrophic for your equipment. Excessive heat instantly burns the flux core inside your solder wire, leaving you with a dry, unworkable paste, and rapidly oxidizes the iron plating on your tip.
According to the Adafruit Guide to Excellent Soldering, the goal is to set the iron roughly 100°C to 150°C above the melting point of your specific solder alloy. This provides enough thermal mass to transfer heat quickly without scorching the PCB pads.
Exact Temperature Targets
- 60/40 or 63/37 Leaded Solder (Sn/Pb): Melts at 183°C - 188°C. Set your Weller station to 300°C - 320°C (570°F - 600°F).
- Lead-Free Solder (SAC305): Melts at 217°C - 220°C. Set your Weller station to 340°C - 360°C (645°F - 680°F).
- Heavy Ground Planes / Large Connectors: Increase your baseline by exactly 20°C to compensate for the copper acting as a heat sink. Do not exceed 380°C.
Decoding Weller ETA Tip Part Numbers
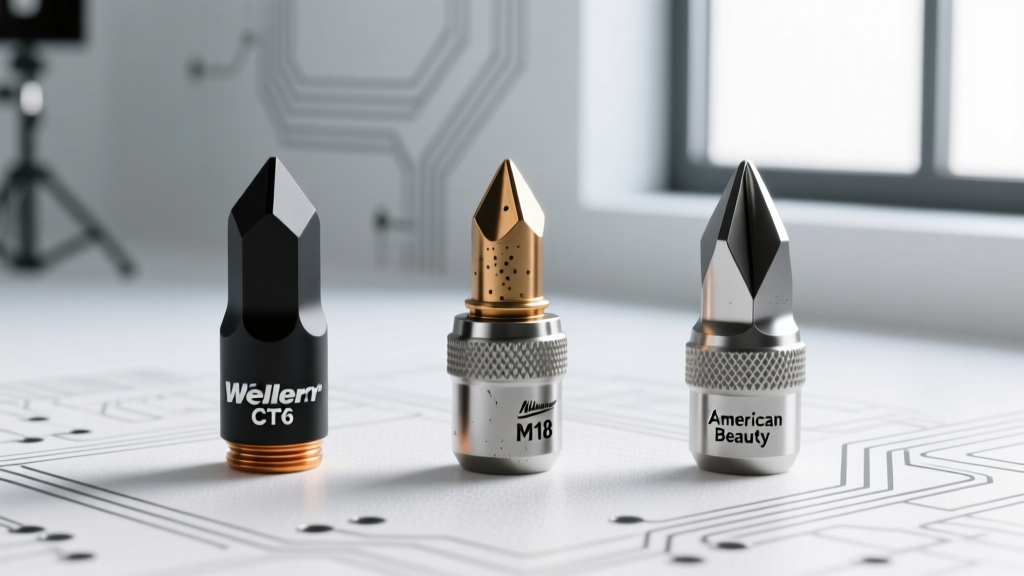
Weller's ETA series tips (compatible with both the WES51 and WE1010NA) are designated by letters that indicate their geometry. Beginners often start with the wrong tip, leading to frustration and damaged traces.
The Golden Rule of Tip Selection: You want the largest tip that can comfortably fit on the pad. A larger tip holds more thermal mass, transferring heat faster and requiring less dwell time on the joint.
- ET-A (1/64" Conical): Avoid as a beginner. Conical tips have a tiny surface area, resulting in poor heat transfer and a high likelihood of cold joints on anything larger than 0603 SMD components.
- ET-B (1/32" Conical): Good for fine-pitch SMD ICs, but still lacks the thermal mass for through-hole components.
- ET-D (1/16" Chisel): The ultimate beginner tip. The flat chisel edge maximizes surface contact with through-hole leads and standard SMD pads. It is forgiving, holds heat well, and is perfect for 90% of DIY electronics tasks.
- ET-K (SMD Knife): Excellent for drag-soldering fine-pitch ICs (like TQFP-48 microcontrollers) and cleaning up solder bridges.
The 4-Step Tinning and Maintenance Ritual
A Weller tip consists of a solid copper core coated in a thin layer of iron plating, which is then pre-tinned. If the iron plating is compromised or oxidizes, the tip is ruined. As outlined by Weller Tools official maintenance guidelines, proper cleaning is non-negotiable.
- The Brass Sponge Preference: Ditch the wet cellulose sponge that came with your station. Wet sponges cause rapid thermal shock (micro-fractures in the iron plating) and leave behind mineral deposits if you use hard tap water. Invest $4 in a dry brass wire sponge.
- The Pre-Solder Wipe: Before touching a component, gently plunge the tip into the brass sponge 2-3 times to remove oxidized solder and burnt flux residue. Do not press hard; let the brass wires do the work.
- Immediate Re-Tinning: The microsecond your tip is clean, apply fresh solder to it. This creates a sacrificial layer of solder that oxidizes instead of the iron plating underneath.
- The Shutdown Protocol: Never turn off your Weller station with a bare, clean tip. Before powering down, melt a large blob of fresh solder over the entire working surface of the tip. This heavy coat protects it from ambient oxygen as it cools. Wipe it clean only when you power it back on for your next session.
Troubleshooting Matrix: Symptoms, Causes, and Fixes
Even with the best techniques, beginners encounter issues. Use this diagnostic matrix to identify and resolve common Weller station problems without throwing away perfectly good hardware.
| Symptom | Root Cause | Actionable Fix |
|---|---|---|
| Solder balls up and rolls off the tip | Tip oxidation (black crust) or flux depletion. | Use a tip tinner compound (e.g., Weller WDC100). Dip the hot tip into the paste, wipe on brass, and immediately apply fresh solder. |
| Solder melts, but won't stick to the PCB pad | Cold joint due to insufficient thermal transfer or dirty pad. | Switch to a larger chisel tip (ET-D). Clean the PCB pad with 99% Isopropyl Alcohol. Apply external liquid flux to the pad. |
| Station light blinks / Heater won't engage | Weller safety lockout triggered or blown internal fuse. | For WES51: Unplug for 5 minutes to reset the triac. For WE1010NA: Check the menu for error codes indicating a broken heating element sensor. |
| Pads lifting off the fiberglass PCB | Dwell time exceeded 3-4 seconds per joint. | Remove heat immediately. Let the board cool for 60 seconds. Your tip is likely too small or your temperature is set too low, forcing you to hold the iron in place too long. |
Advanced Flux Chemistry for Beginners
While your solder wire contains a flux core, it is rarely enough for complex repairs or oxidized components. Understanding flux chemistry is a core component of the IPC soldering standards for reliable assemblies.
For standard DIY and prototyping, always use Rosin (R) or Mildly Activated Rosin (RMA) flux pens or pastes. They are non-corrosive and do not require cleaning after soldering. Avoid water-soluble (OA) fluxes unless you plan to wash your PCB with distilled water and an ultrasonic cleaner immediately after assembly; leaving water-soluble flux on a board will cause severe dendritic growth and short circuits over time.
Final Thoughts on Mastering Your Station
A Weller soldering station is a precision thermal instrument, not a glue gun. By respecting the thermal limits of your components, selecting the correct chisel tip geometry, and adhering to a strict tinning and cleaning ritual, you will produce shiny, concave, and structurally sound solder joints. Start with an ET-D tip, dial your WE1010NA to 320°C for leaded solder, and let the flux do the heavy lifting.