
The Hidden Costs of Improper Soldering Iron Use
Proper soldering iron use is the dividing line between a reliable, IPC-compliant electrical connection and a catastrophic field failure. While modern soldering stations boast advanced PID temperature controllers and rapid thermal recovery, the physical interface—the soldering tip—remains highly vulnerable to operator error. As of 2026, the industry-wide mandate for lead-free SAC305 (Sn96.5/Ag3.0/Cu0.5) alloys has drastically accelerated tip degradation. Lead-free solders require higher processing temperatures (typically 340°C to 360°C), which exponentially increases the rate of iron leaching and oxidation.
When technicians neglect fundamental maintenance protocols, the results are immediate: cold solder joints, bridging, and destroyed component pads. This guide dives deep into the failure modes associated with daily soldering iron use, providing actionable troubleshooting matrices and recovery protocols for professional and advanced DIY environments.
The Physics of Tip Degradation in Daily Soldering Iron Use
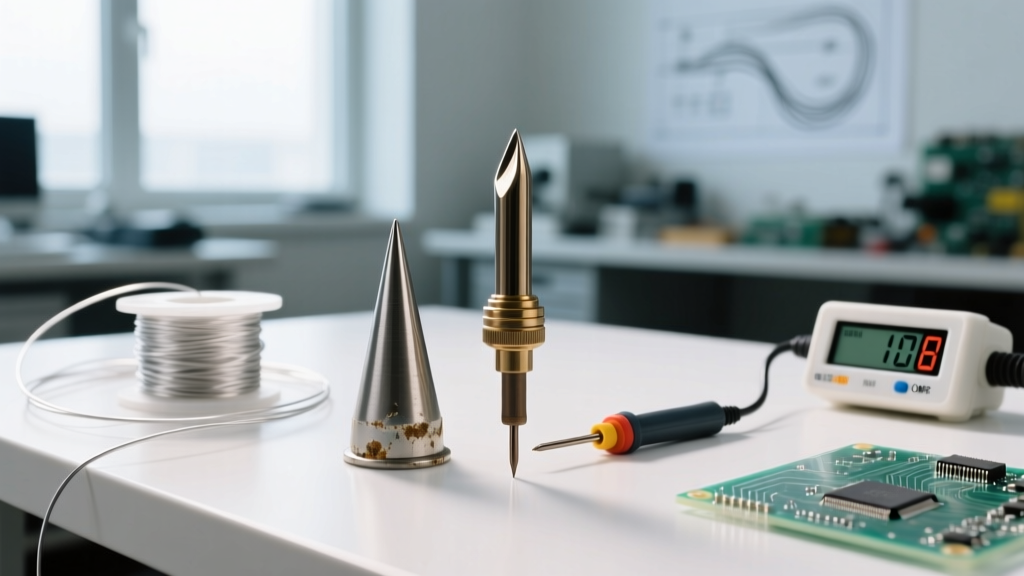
To troubleshoot effectively, you must understand the metallurgy of a modern soldering tip. High-quality tips, such as the Hakko T18 series or Weller RT series, are not solid copper. They feature a highly conductive copper core electroplated with a layer of iron (typically 100 to 150 microns thick) to resist solder erosion, followed by a chromium barrier layer at the base to prevent solder from creeping up the shaft.
During improper soldering iron use, two primary destructive forces attack this plating:
- Iron Leaching (Erosion): Molten SAC305 solder actively dissolves the iron plating. Running a station at 400°C to compensate for a lack of thermal mass will dissolve the iron layer in hours, exposing the copper core, which rapidly alloys with the tin and destroys the tip.
- Black Oxide Formation: When a tip is left idle in a holder without a protective coat of solder, atmospheric oxygen reacts with the hot iron plating. This forms a black iron oxide layer (Fe3O4) that acts as a severe thermal insulator, preventing heat transfer to the joint and causing the solder to ball up and refuse to wet.
Diagnostic Matrix: Troubleshooting Soldering Iron Use Failures
Use the following diagnostic table to identify the root cause of your soldering anomalies and apply the correct corrective action.
| Symptom During Use | Root Cause (Improper Technique) | Corrective Action & Maintenance |
|---|---|---|
| Solder balls up and rolls off the tip | Severe oxidation from dry-heating or wiping on a wet sponge. | Use a dry brass wool sponge (e.g., Hakko 599B). Re-tin immediately with 63/37 leaded solder after every joint. |
| Pitted, cratered tip surface | Using abrasive sandpaper, files, or excessive mechanical scraping. | Discard the tip immediately. Never file modern iron-plated tips. Switch to chemical tip tinner for cleaning. |
| Solder joint appears dull and grainy | Thermal recovery failure; removing heat before flux fully activates. | Increase tip mass (e.g., switch from a T18-B conical to a T18-D24 chisel). Do not simply increase the station temperature dial. |
| Flux burns instantly, leaving black char | Temperature set too high (>380°C) for the specific flux chemistry. | Calibrate station to 340°C for SAC305 or 320°C for Sn63/Pb37. Verify thermocouple accuracy. |
| Solder creeps up the shaft of the tip | Chromium barrier layer compromised; excessive tinning of the shaft. | Wipe the shaft with a damp brass brush while hot. Avoid submerging the entire tip in molten solder. |
Thermal Dynamics and Station Calibration
A common misconception in soldering iron use is that higher temperatures yield faster soldering. In reality, excessive heat destroys both the PCB laminate and the tip. Professional stations like the Hakko FX-888D (retailing around $110) and the Weller WE1010NA (around $165) rely on thermal mass, not extreme heat, to transfer energy.
The Rule of Thermal Mass
If your solder is not melting quickly enough on a large ground plane, do not turn the dial from 350°C to 400°C. Instead, change the tip geometry. A chisel tip (like the Weller RT AW or Hakko T18-D32) provides vastly superior surface area contact compared to a conical tip. This allows the PID controller to dump stored thermal energy into the joint efficiently without overshooting the oxidation threshold of the iron plating.
The Chemistry of Flux and Tip Longevity
The type of flux you use dictates your maintenance schedule. According to the IPC J-STD-001 standard, flux residues and activation temperatures must be carefully managed to ensure joint reliability.
- ROL0 (No-Clean) Rosin Flux: The standard for most electronics work. It is mildly activated and generally safe for tip plating, provided you do not exceed 360°C.
- Water-Soluble (OA) Flux: Highly acidic and aggressive. While excellent for plumbing or heavy oxidation on PCBs, leaving water-soluble flux on a hot soldering tip will eat through the iron plating in minutes. You must wipe the tip with a damp cellulose sponge immediately after every use of OA flux.
- Acid Paste (Zinc Chloride): Strictly for plumbing and heavy sheet metal. Never use this for PCB electronics, as it will permanently destroy the tip and cause catastrophic electrical leakage paths on the board.
Step-by-Step Tip Recovery Protocol
If your tip has developed a black, non-wetting oxide layer, do not throw it away. Follow this chemical recovery process to restore the iron plating's wettability.
- Prepare the Station: Set your soldering station to a moderate 300°C. Higher temperatures will cause the tip tinner to boil and splatter.
- Apply Tip Tinner: Dip the oxidized tip directly into a pot of chemical tip tinner (such as MG Chemicals 8351 or Kester Tip Tinner). Swirl it gently for 3 to 5 seconds. The mixture of mild acid and solder powder will strip the oxide.
- Brass Wool Wipe: Immediately plunge the hot tip into a dry brass wool sponge (never use steel wool, which will embed iron particles and cause galvanic corrosion). Twist the tip to remove the black sludge.
- Heavy Tinning: Apply a generous amount of 63/37 leaded rosin-core solder to the entire working surface of the tip. Leaded solder flows at lower temperatures and provides a superior protective barrier against oxidation during storage.
- Inspect the Plating: If the silver iron plating is visible and the solder wets evenly, the recovery was successful. If you see bare, reddish copper, the tip is dead and must be replaced.
Expert Insight: Always leave a massive blob of solder on the tip before turning off the station. This sacrificial layer will oxidize in place of the iron plating while the tool cools down and sits on your workbench overnight.
Industry Standards for Soldering Iron Use
For aerospace, medical, and high-reliability electronics, soldering iron use is governed by strict workmanship standards. NASA's Electronic Parts and Packaging (NEPP) program outlines rigorous requirements for soldering iron maintenance, including mandatory tip temperature verification using a digital tip thermometer (like the Hakko FG-100) before every shift. A station's digital display is not sufficient proof of actual tip temperature, as thermal lag and sensor degradation can cause discrepancies of up to 30°C. Furthermore, for foundational techniques and safety protocols, the SparkFun Soldering Tutorial remains an excellent baseline reference for ensuring proper heat application and joint wetting.
FAQ: Advanced Soldering Iron Use & Care
How often should I replace my soldering tip?
With proper soldering iron use—meaning consistent tinning, correct temperatures, and brass wool cleaning—a high-quality Hakko T18 or Weller RT tip should last between 500 and 1,000 joints when using leaded solder. With SAC305 lead-free solder, expect that lifespan to drop to 150–300 joints due to accelerated iron leaching.
Is it safe to use a damp sponge to clean my tip?
While traditional cellulose sponges are common, the rapid thermal shock of hitting a 360°C tip with a wet sponge causes micro-fractures in the iron plating over time. This leads to pitting and eventual copper exposure. Dry brass wool coils are the industry-preferred method for 2026 maintenance routines, as they clean the oxide without dropping the tip temperature or causing thermal shock.
Why does my new tip refuse to accept solder out of the box?
Manufacturers coat new tips with a thin layer of protective oil or anti-corrosion wax to prevent shelf oxidation. If you apply solder directly, it will slide off. To properly initialize a new tip, wipe it on a dry brass sponge while it heats up to 250°C, then immediately apply a high-flux, rosin-core solder to tin the surface before raising the temperature to your working level.