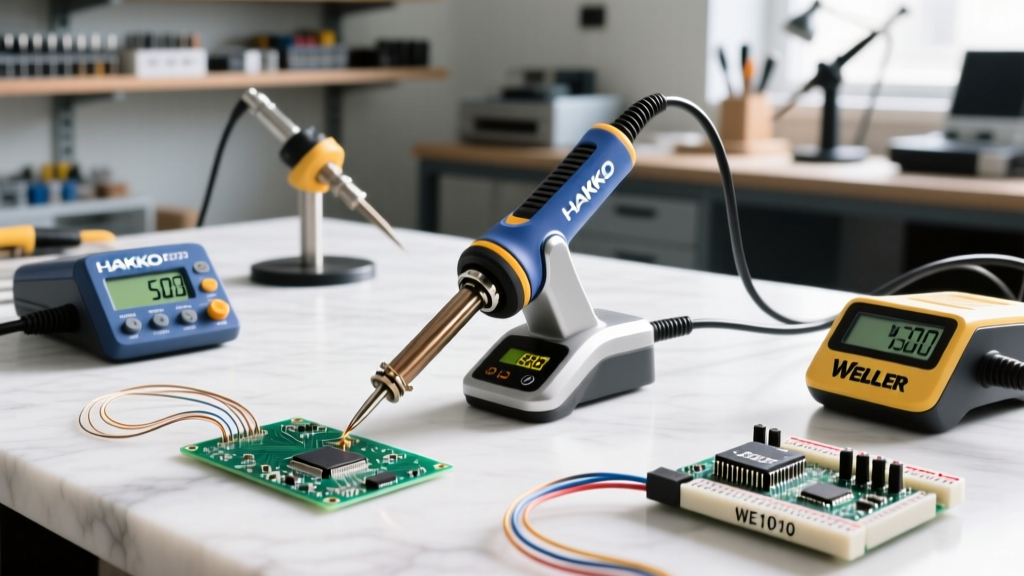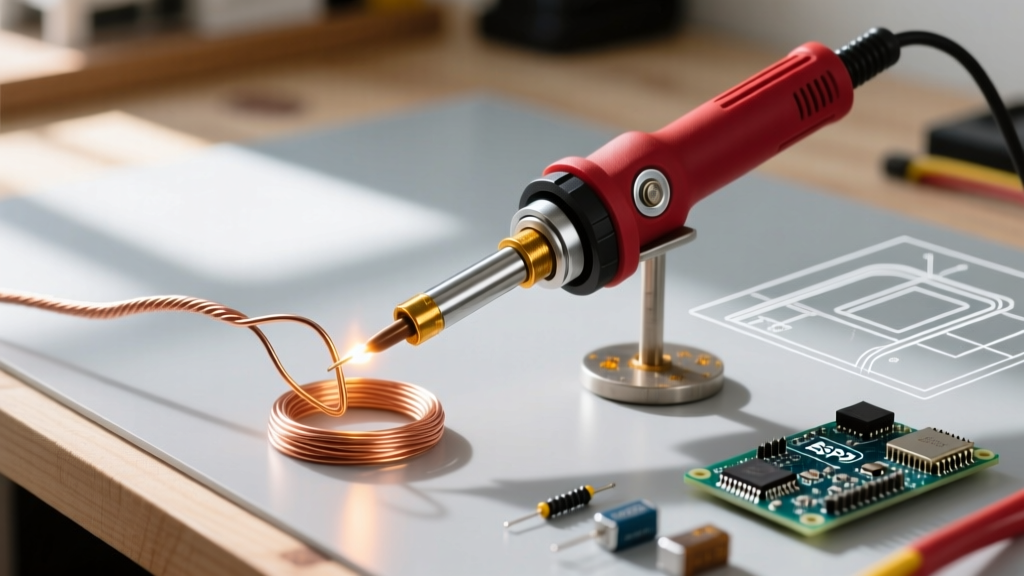

When beginners enter the world of electronics and DIY wiring, they often start with a standard pencil-style soldering iron. However, when it comes time to solder heavy-gauge silicone wires, large battery terminals, or thick copper grounding straps, a pencil iron simply lacks the thermal mass to get the job done. This is where a manual soldering gun becomes an indispensable tool in your workshop.
Unlike temperature-controlled soldering stations that use a ceramic heating element, a manual soldering gun relies on a heavy-duty step-down transformer. When you pull the trigger, the transformer converts 120V AC mains power into a massive current (often exceeding 400 amps) at a very low voltage (around 0.5V). This current passes directly through the copper loop tip, heating it to soldering temperatures in roughly three seconds.
This guide will walk you through the fundamentals of manual soldering guns, specific model recommendations for 2026, step-by-step techniques for heavy-duty wiring, and critical safety protocols to protect both you and your components.
The Golden Rule: When NOT to Use a Soldering Gun
Before we dive into techniques, we must address a critical failure mode that ruins thousands of dollars in electronics every year. Never use a transformer-based manual soldering gun on sensitive printed circuit boards (PCBs) or microcontrollers.
Expert Warning: The step-down transformer in a manual soldering gun generates a significant electromagnetic field (EMF) spike and a magnetic halo every time the trigger is pulled. According to NASA Workmanship Standards for aerospace soldering, magnetic induction from soldering tools can induce parasitic voltages in nearby traces, instantly destroying sensitive MOSFETs, Hall-effect sensors, and microcontroller I/O pins. Reserve your soldering gun exclusively for heavy mechanical joints, battery tabs, and thick wire-to-terminal connections.
Pencil Station vs. Manual Soldering Gun: Comparison Matrix
Understanding the physical differences between these tools will help you choose the right one for your specific project phase.
| Feature | Pencil Soldering Station (e.g., Hakko FX-888D) | Manual Soldering Gun (e.g., Weller D550) |
|---|---|---|
| Wattage Output | 65W - 80W (Continuous) | 100W - 260W (Trigger-Activated) |
| Heat-Up Time | 20 - 40 seconds | 2 - 4 seconds |
| Best Use Case | PCBs, SMD components, thin wires (24-14 AWG) | Heavy wires (12-2 AWG), XT90 connectors, plumbing |
| Tip Technology | Iron-plated copper with ceramic heater | Bare copper wire loop (replaceable) |
| Weight & Ergonomics | Lightweight (approx. 3.5 oz handle) | Heavy (approx. 2.5 lbs due to transformer) |
Top Manual Soldering Guns for Beginners in 2026
If you are looking to add a manual soldering gun to your bench, here are the most reliable models available on the market today, balancing price, durability, and parts availability.
1. Weller D550PK (260W/200W Dual-Trigger)
Retailing for approximately $115 in 2026, the Weller D550 is the undisputed heavyweight champion of DIY garages. It features a dual-stage trigger: a half-pull delivers 200 watts for standard heavy wire, while a full-pull engages 260 watts for massive battery terminals or 4 AWG cables. The included spotlight is surprisingly useful for illuminating deep chassis wiring harnesses.
2. Weller 9400 (100W/140W)
For lighter automotive work or 12 AWG to 16 AWG wire splicing, the 9400 is a budget-friendly powerhouse at around $45. It is significantly lighter than the D550, reducing wrist fatigue during extended harness-building sessions.
3. Weller 8200N (140W)
Priced near $55, this model offers a middle ground. It features a replaceable heating element and a slightly more ergonomic grip than the 9400, making it an excellent choice for hobbyists building custom drone battery harnesses or RC car wiring.
Step-by-Step: Soldering 8 AWG Wire to an XT90 Connector
To demonstrate proper manual soldering gun technique, we will walk through one of the most common high-current DIY tasks: attaching 8 AWG silicone wire to an XT90 battery connector. For this, you will need 60/40 rosin-core solder (0.062-inch diameter) and a high-quality liquid or paste flux.
- Preparation and Stripping: Strip exactly 5mm of insulation from the 8 AWG silicone wire. Do not strip more, or you risk a short circuit inside the XT90 housing. Apply a small drop of liquid flux to the exposed copper strands.
- Pre-Tinning the Wire: Hold the soldering gun in your dominant hand and the solder in your off-hand. Squeeze the trigger to full power. Touch the copper loop to the wire strands, then immediately feed the solder into the wire, not the tip. The heat must transfer from the tip, through the wire, to melt the solder. Once the flux boils and the solder wicks entirely into the strands, release the trigger. The joint should look shiny and smooth.
- Pre-Tinning the XT90 Cup: Apply flux inside the brass XT90 cup. Hold the gun tip against the outside edge of the cup and feed solder inside until the cup is about 2/3 full. Crucial: Do not overfill, and release the trigger immediately to prevent melting the surrounding yellow plastic housing.
- The Mating Process: Insert the pre-tinned wire into the pre-tinned XT90 cup. Apply the soldering gun tip to the brass cup for exactly 2 to 3 seconds. You will see the solder inside the cup flash-melt and flow up around the wire strands.
- The Cool Down: Remove the gun and hold the wire perfectly still for 5 seconds. Silicone wire retains heat, and moving it while the solder is in a "plastic" (semi-solid) state will cause a disturbed joint, leading to high electrical resistance and potential fire hazards under load.
Common Beginner Failure Modes and Troubleshooting
Even with the right tool, poor technique will result in compromised electrical connections. Watch out for these specific failure modes:
- Tip Pitting and Dissolution: Because the tip of a manual soldering gun is bare copper, it slowly dissolves into the molten solder alloy over time, creating deep pits. This is a chemical reaction, not a defect. Keep a 5-pack of replacement loops (like the Weller CT6F7, roughly $15) in your toolbox. Never file or sand a pitted copper tip; simply replace it.
- Cold Joints from "Torching": Beginners often use the gun like a blowtorch, waving it over the joint while feeding solder directly onto the gun tip. This melts the solder, but the underlying wire remains too cool to form a metallurgical bond. The result is a dull, grainy "cold joint" that will crack under vibration. Always heat the workpiece first.
- Melted Insulation (The Halo Effect): Holding the trigger down for more than 5 seconds on heavy wire will cause heat to travel up the copper strands via thermal conductivity, melting the silicone or PVC insulation inches away from the joint. Use a hemostat or alligator clip as a heat sink clamped between the joint and the insulation to absorb excess thermal energy.
Safety Protocols: Fumes, Lead, and Ergonomics
Soldering with a high-wattage gun vaporizes flux at a much higher rate than a pencil iron, creating dense plumes of smoke. According to OSHA guidelines on lead and soldering safety, prolonged exposure to rosin-based flux fumes is a known occupational hazard that can trigger severe asthma and respiratory sensitization.
Mandatory Ventilation: Never solder in a stagnant room. At a minimum, use a desktop fume extractor equipped with an activated carbon filter (such as the Hakko FA-400, priced around $60) positioned 6 inches from the joint. For heavy production work, an overhead articulated extraction arm venting to the outside is the gold standard.
Hygiene: If you are using traditional 60/40 tin-lead solder, always wash your hands with cold water and soap immediately after your session. Hot water opens the pores of your skin, potentially increasing lead absorption. Keep food and beverages strictly out of your soldering area.
Maintenance: Replacing and Tensioning the Copper Loop
The copper loop on a manual soldering gun is held in place by two brass or copper nuts on the front of the heating element. When replacing a worn loop, bend the new copper wire into a tight 'U' shape and insert the ends into the terminals.
Tighten the nuts by hand until they are snug, then use a pair of slip-joint pliers to give them exactly one-quarter turn. Do not overtighten. The thermal expansion and contraction of the copper loop during the 3-second heat cycles will naturally seat the connection. Overtightening the nuts will strip the soft brass threads on the heating element barrel, permanently ruining the soldering gun.
By respecting the immense thermal and electrical power of a manual soldering gun, beginners can safely tackle the heavy-duty wiring projects that standard pencil irons simply cannot handle. Keep your tips fresh, your flux active, and your joints shiny.