
Why the Pinecil V2 is the Best Beginner Smart Iron in 2026
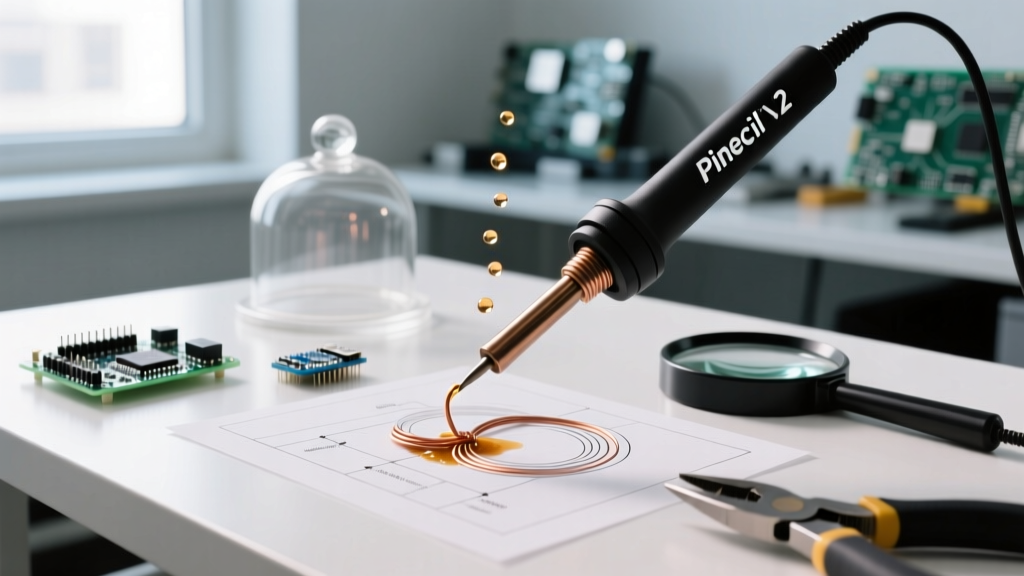
The Pinecil V2 soldering iron has completely disrupted the electronics workbench. Retailing for around $28 for the bare unit, it undercuts traditional analog stations like the Hakko FX-888D while offering advanced smart features, rapid thermal recovery, and open-source firmware. Powered by the Bouffalo Lab BL706 RISC-V system-on-chip, the V2 integrates Bluetooth Low Energy (BLE) 5.2, allowing wireless configuration via your smartphone.
For beginners, the learning curve of a smart iron can be steep. Unlike plug-and-play analog irons, the Pinecil V2 requires an understanding of USB-C Power Delivery (PD) negotiation, firmware profiles, and tip thermal mass. This guide will walk you through the exact setup, power requirements, and technique needed to achieve IPC-standard solder joints right out of the box.
The Power Supply Trap: USB-C PD vs. DC Barrel Jack
The most common mistake beginners make with the Pinecil V2 is plugging it into a standard 5V/2A smartphone charger. The iron will turn on, but it will only draw 10W, making it physically impossible to melt 63/37 rosin-core solder on anything larger than a tiny 0805 resistor pad.
To unlock the iron's full 65W potential, you must understand its dual power input architecture. According to the official Pine64 Wiki, the V2 supports both USB-C PD and a 5.5x2.5mm DC barrel jack.
| Power Source | Voltage / Current | Wattage | Heat-up Time (to 320°C) | Best Application |
|---|---|---|---|---|
| USB-C PD 3.0 | 20V / 3.25A | 65W | ~6 seconds | Heavy ground planes, thick wires |
| USB-C PD | 12V / 3A | 36W | ~15 seconds | Standard PCB through-hole |
| USB-C (Legacy) | 5V / 2A | 10W | N/A (Error) | Not supported / Useless |
| DC 5525 Barrel | 24V / 3A | 72W | ~5 seconds | Maximum thermal recovery |
Cable Selection: Why E-Marked Chips Matter
If you are using a 65W USB-C PD wall charger, the cable connecting it to the Pinecil V2 must be rated for at least 3A. For optimal performance and to prevent voltage drop over long cables, invest in a high-quality, silicone-jacketed USB-C cable with an internal E-marker chip. Standard cables bundled with cheap electronics often lack the wiring gauge to sustain 20V/3.25A, leading to the iron's screen displaying a "Power Source" error and shutting down mid-solder.
⚠️ CRITICAL GROUNDING WARNING: If you are soldering static-sensitive components (like bare MOSFETs or laser diodes), do not use USB-C. USB-C PD does not guarantee earth grounding the tip. Instead, use a grounded 24V DC barrel jack power supply. The DC input ties the tip's ground plane directly to the earth ground of your AC mains, preventing electrostatic discharge (ESD) from frying your silicon.
Firmware and PineSAM: Configuring Your Iron Wirelessly
One of the massive upgrades in the V2 is the BL706 chip's BLE integration. On the V1, changing settings required physically unscrewing the case and flashing the STM32 chip via serial. Today, you can use the PineSAM app (Pinecil Settings and Monitor) on your smartphone or desktop to configure the iron wirelessly.
Essential Settings to Change on Day One
- Sleep Mode Sensitivity: The V2 uses an internal 6-axis IMU (accelerometer/gyroscope) to detect movement. If your desk vibrates when you type, the iron might never enter sleep mode. Lower the motion sensitivity threshold in PineSAM to prevent the tip from oxidizing prematurely.
- Temperature Limits: Set your maximum temperature hard-limit to 380°C (716°F). Going higher than this will rapidly degrade the iron plating on your tips, causing them to pit and reject solder.
- Boot Behavior: Change the boot setting from "Auto-start" to "Sleep until moved." This prevents the iron from immediately heating up when plugged in, a crucial safety feature for beginners who might plug the iron in before preparing their workspace.
Choosing the Right TS100-Compatible Tips
The Pinecil V2 uses the industry-standard TS100 tip interface. However, not all tips are created equal. Pine64 released their own line of "Short Tips" which reduce the distance between the heating element and the work surface, drastically improving thermal transfer.
- TS-B2 (Conical / 0.5mm): Best for fine-pitch SMD work and 0603 components. Avoid using this on large ground planes; the thermal mass is too low, and the tip will stick to the pad.
- TS-D25 (Chisel / 2.5mm): The ultimate beginner workhorse. The flat edge maximizes surface area contact for through-hole LEDs, capacitors, and standard 2.54mm header pins.
- TS-K (Knife / 3.5mm): Excellent for drag-soldering SOIC-8 or TQFP-32 integrated circuits. The sharp point handles fine pitch, while the broad flat side transfers heat for drag techniques.
- Pine64 Short-Tip Chisel: Highly recommended for 2026 builds. The shortened shaft reduces thermal resistance, allowing the 65W heater to recover temperature 20% faster than standard length TS100 tips.
Step-by-Step: Soldering Your First Through-Hole Component
According to the SparkFun Soldering Tutorial, proper thermal management is the key to shiny, reliable joints. Here is the exact workflow for the Pinecil V2.
- Set the Correct Temperature: If using leaded solder (Sn63/Pb37), set the Pinecil to 300°C. If using lead-free SAC305 (common in modern commercial electronics), set it to 340°C.
- Tin the Tip: Before the iron even touches the PCB, melt a small amount of solder onto the tip. This "liquid bridge" dramatically increases thermal conductivity between the iron and the pad.
- Heat the Pad and Lead: Touch the tinned tip to the intersection of the copper pad and the component leg. Hold for exactly 1.5 to 2 seconds.
- Feed the Solder: Apply the solder wire to the pad and leg, not directly to the iron tip. The capillary action will pull the molten solder into the plated through-hole (PTH).
- Remove and Inspect: Remove the solder wire first, then pull the iron away at a 45-degree angle. The joint should cool in 2 seconds and form a smooth, concave fillet.
Troubleshooting Common Pinecil V2 Edge Cases
The "Tip Not Found" Error
If your Pinecil V2 screen flashes a tip error icon, the internal resistance measurement is failing. The V2 measures the resistance of the thermocouple inside the tip to determine its type. If the bayonet contacts on the iron shaft are oxidized, or if flux residue has built up, the circuit breaks.
The Fix: Unplug the iron. Use a fiberglass scratch pen or a cotton swab soaked in 99% isopropyl alcohol to aggressively clean the two metal contacts inside the tip shaft. Re-seat the tip firmly, ensuring it clicks into the bayonet mount.
Temperature Overshoot on Small Pads
Beginners often complain that the V2 "burns" small SMD pads. This usually happens because the default PID (Proportional-Integral-Derivative) tuning is optimized for heavy thermal loads. Using PineSAM, switch the PID profile to "Small Tip" or manually increase the 'D' (Derivative) value slightly to dampen the heater's aggressive response when it detects a rapid temperature drop upon touching a tiny component.
Final Thoughts on Workspace Safety
The Pinecil V2 reaches 350°C in seconds. Always use a heavy, heat-resistant silicone mat on your desk. Furthermore, soldering flux produces colophony fumes, which are a known respiratory sensitizer. Never solder in an unventilated room. Pair your Pinecil V2 with a localized HEPA and activated carbon fume extractor positioned exactly 4 inches from your workpiece to ensure a safe, professional-grade environment.