
The Thermal Reality of Heavy-Gauge Copper
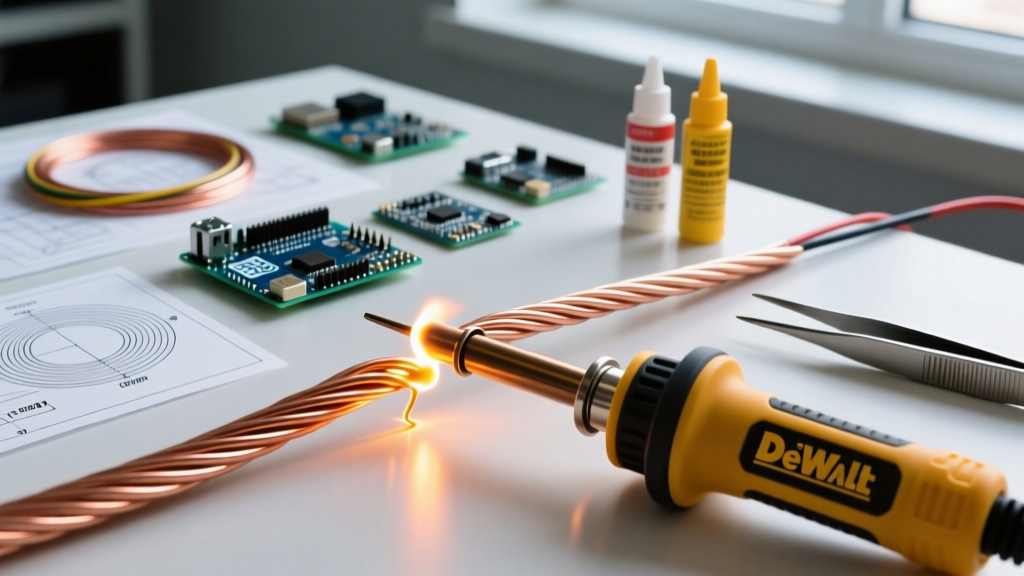
When field electricians, marine technicians, and solar installers reach for a DeWalt soldering iron in 2026, they are typically deploying the 20V MAX cordless platform to tackle high-thermal-mass connections. Unlike delicate printed circuit board (PCB) work that requires a precision bench station like a Hakko FX-951, heavy-gauge electrical wiring (ranging from 4 AWG up to 4/0 AWG) presents a massive thermal sink challenge. Copper is an exceptional conductor of both electricity and heat. When you apply a standard 60W iron to a 1/0 AWG battery cable, the copper rapidly pulls the heat away from the tip, resulting in cold joints, burnt flux, and compromised conductivity.
The DeWalt 20V MAX cordless soldering iron solves this by delivering high surge wattage directly to the joint without the tether of a bench power supply. However, raw power without proper technique will still yield substandard results. This technique guide details the exact metallurgical and procedural steps required to master heavy-duty field soldering using DeWalt cordless equipment.
Essential Tooling and Consumable Selection
Before striking an arc or heating a lug, your consumable selection must match the thermal mass of your workpiece. Using standard 0.031" electronics solder on a 2/0 AWG solar combiner box wire will result in hours of frustration and oxidized wire strands.
Tip Geometry and Thermal Transfer
For heavy-gauge wires, surface area contact is critical. Avoid conical or fine-point tips. You must use a heavy chisel or bevel tip to maximize the contact patch. A 3/8" or 1/2" heavy chisel tip allows the DeWalt iron to dump its thermal reservoir directly into the copper strands and the terminal lug simultaneously.
Solder Alloy and Diameter
- 60/40 Rosin Core (Leaded): Still the gold standard for field repairs due to its lower melting point (188°C / 370°F) and superior wetting characteristics. Use a minimum diameter of 0.125" (3.2mm) for wires larger than 2 AWG.
- SAC305 (Lead-Free): Required for commercial and RoHS-compliant installations. Melts at a higher 217°C (422°F). Because cordless irons can struggle to maintain closed-loop temperature stability at these higher thresholds, you must pre-heat the joint longer and use a highly active flux to prevent tip oxidation.
Step-by-Step Technique: Soldering 2/0 AWG Battery Cables
Creating a flawless, low-resistance joint on heavy battery cables requires a disciplined sequence. Follow this protocol to ensure the solder wicks entirely through the crimp barrel or splice.
- Mechanical Preparation: Strip the 2/0 AWG wire using a heavy-duty ratcheting stripper. Clean the exposed copper with a brass wire brush and isopropyl alcohol to remove surface oxidation. Insert the wire into the terminal lug and perform a mechanical crimp using a 12-ton hydraulic crimper. Never rely on solder for mechanical strength.
- Flux Application: Apply a generous amount of high-activity rosin paste flux (such as Kester 186 or Chip Quik SMD291) to the exposed wire strands and the seam of the crimp barrel. The flux will lower the surface tension and prevent oxidation during the extended heat cycle.
- The Pre-Heat Phase: Engage the DeWalt soldering iron and allow the 3/8" chisel tip to reach full operating temperature. Press the flat face of the tip firmly against the thickest part of the copper terminal lug. Hold for 15 to 20 seconds. You are heating the lug, which will then conduct heat inward to the wire strands.
- Feeding the Solder: Do not melt the solder on the iron tip and carry it to the joint; the flux will burn off before it reaches the copper. Instead, touch your 0.125" 60/40 solder wire directly to the seam where the wire enters the lug, opposite the iron tip. When the lug reaches the eutectic temperature, the solder will instantly flash-melt and wick deep into the barrel via capillary action.
- The Cool-Down: Remove the solder, then remove the iron. Hold the cable completely still for at least 30 seconds. Disturbing a heavy-gauge joint while the solder is in its plastic (semi-solid) state will cause micro-fractures, leading to a high-resistance failure point.
Solder is an electrical and environmental seal, not a structural adhesive. The NFPA 70 National Electrical Code mandates that spliced conductors must be mechanically joined before soldering to ensure the joint can withstand physical stress and vibration.
Thermal Management Matrix
Use the following reference table to adjust your DeWalt cordless iron technique based on the specific wire gauge you are terminating in the field.
| Wire Gauge (AWG) | Recommended Tip Size | Pre-Heat Time | Solder Diameter | Expected Solder Volume |
|---|---|---|---|---|
| 4 AWG | 1/4" Heavy Chisel | 8-12 seconds | 0.062" (1.5mm) | 1-2 inches |
| 1/0 AWG | 3/8" Heavy Chisel | 15-20 seconds | 0.125" (3.2mm) | 3-4 inches |
| 4/0 AWG | 1/2" Bevel/Chisel | 25-40 seconds | 0.125" - 0.188" | 6-8 inches |
Troubleshooting Common Heavy-Gauge Failures
Even with a high-wattage DeWalt soldering iron, field conditions can introduce variables that ruin a joint. Here is how to diagnose and fix the most common issues.
1. The 'Sweating' or Cold Joint
Symptom: The solder balls up on the outside of the lug and refuses to wick inside. The surface looks dull and grainy.
Cause: Insufficient pre-heating. The outer lug reached solder-melting temperature, but the inner copper strands remained below the eutectic point, acting as a heatsink.
Fix: Increase your pre-heat time by 10 seconds. Ensure your tip is clean and fully tinned to maximize thermal transfer. Apply more liquid flux to draw the heat inward.
2. Burnt, Blackened Flux Residue
Symptom: The joint is covered in a hard, black, crusty residue that is difficult to clean.
Cause: The iron tip was left on the joint too long after the solder flowed, or the temperature setting on the cordless unit was pushed to its absolute maximum for an extended period.
Fix: Remove the heat immediately once capillary action pulls the solder into the barrel. Clean the residue with a stiff brush and high-purity isopropyl alcohol to prevent long-term galvanic corrosion.
3. Rapid Tip Oxidation (Blue/Purple Scaling)
Symptom: The DeWalt iron tip turns dark blue or purple and stops accepting solder within minutes of use.
Cause: Cordless irons often run hotter than bench stations to compensate for thermal droop. Running a tip at 400°C+ in an oxygen-rich environment causes rapid iron plating oxidation.
Fix: Never leave the iron powered on while not in use. Keep a damp cellulose sponge or brass wool nearby, and apply a thick layer of 60/40 solder to the tip (tinning) the second you finish a joint to protect the plating from the air.
Safety Protocols for Field Soldering
Soldering heavy-gauge wires in confined spaces—such as engine bays, marine bilges, or solar inverter enclosures—introduces significant hazards. The vaporization of rosin flux generates colophony fumes, which are known respiratory sensitizers. According to the OSHA hazard guidelines, prolonged exposure to soldering fumes without adequate ventilation can lead to occupational asthma and contact dermatitis.
When utilizing a DeWalt cordless iron in the field, always deploy a portable battery-operated fume extractor or position a high-CFM inline fan to draw fumes away from your breathing zone. Furthermore, because you are working with heavy battery cables, always disconnect the negative terminal and isolate the positive leads before applying heat to prevent catastrophic short circuits and arc flashes, adhering strictly to IPC J-STD-001 and NFPA 70E safety boundaries for electrical work.
Final Thoughts on Cordless Precision
The DeWalt 20V MAX soldering iron is a brute-force tool designed for high-mass electrical terminations. By respecting the thermal dynamics of heavy copper, utilizing the correct high-volume consumables, and adhering to strict mechanical preparation standards, you can achieve aerospace-grade terminations on the dirtiest job sites. Master the heat cycle, trust the flux, and let the cordless platform deliver the power required for flawless 4/0 AWG joints.