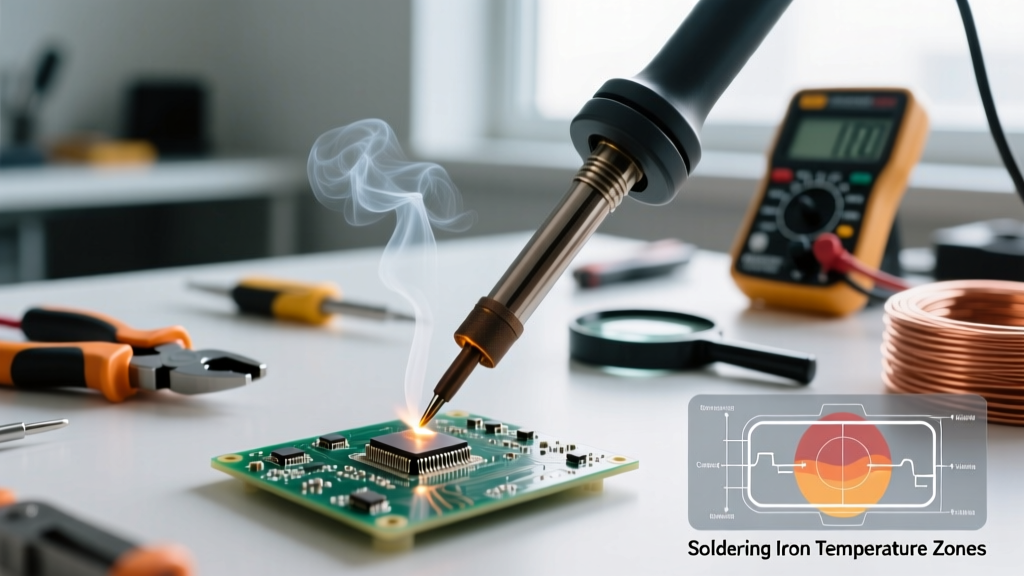

The Reality of Iron vs. Torch in Jewelry Making
Before diving into calibration, we must address a critical metallurgical misconception. If you are attempting to solder a sterling silver ring shank or weld gold bezels using traditional hard solder, a soldering iron will fail. Hard solders require temperatures exceeding 1,300°F (704°C), which demands an oxy-propane or butane torch. According to metallurgy guidelines from the Gemological Institute of America (GIA), attempting to use an iron for high-temperature alloys will result in cold joints, structural failure, and ruined workpieces.
However, learning how to use a soldering iron for jewelry is highly relevant for specific, growing niches in the craft: copper foil pendants, Precious Metal Clay (PMC) embellishments, brass jump ring closures, and mixed-media bezel setting using low-temperature, silver-bearing soft solders. For these applications, a calibrated, high-thermal-recovery soldering station is the perfect tool.
Alloy Requirements and Tool Selection Matrix
| Application | Typical Alloy | Melting Point | Required Tool |
|---|---|---|---|
| Sterling Silver Ring Shanks | Hard/Medium Silver Solder | 1,300°F - 1,450°F | Jewelry Torch (Not Iron) |
| Copper Foil Pendants | 60/40 Tin-Lead or SAC305 | 361°F - 424°F | 60W+ Soldering Station |
| Brass Jump Rings / Findings | Stay-Brite (95% Sn, 5% Sb) | 452°F (233°C) | 60W+ Soldering Station |
| Precious Metal Clay (PMC) | Low-Temp Silver Paste | 350°F - 400°F | Pencil Iron / Micro Station |
Choosing and Setting Up the Right Station for 2026
Jewelry components often feature extreme variations in thermal mass. A heavy brass cuff bracelet will rapidly drain heat from a standard 40W electronics iron, causing the solder to freeze mid-flow. To compensate, you need a station with aggressive thermal recovery and adjustable wattage.
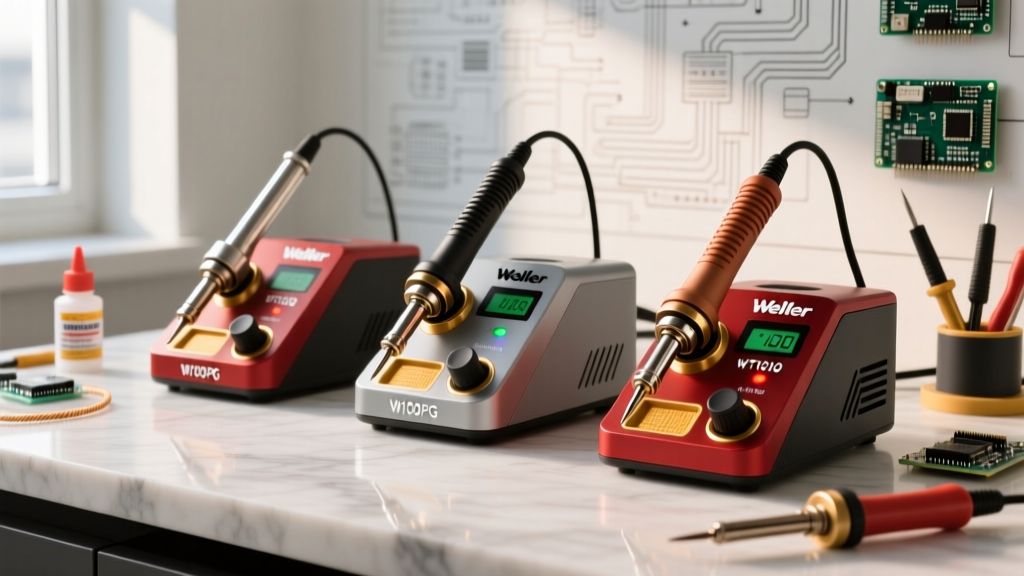
Recommended Stations
- Hakko FX-601 (Approx. $75): The gold standard for jewelry soft-soldering. It features a dial-adjustable temperature control built into the handpiece and a ceramic heater that recovers heat rapidly when touching thick brass or copper.
- Weller WE1010NA (Approx. $115): Offers digital precision and programmable temperature presets, ideal for jewelers who switch between delicate copper foil (310°C) and heavy jump rings (380°C) on the same bench.
Tip Selection for Jewelry Work
Ditch the standard conical tips that come in the box. Conical tips have poor thermal transfer for jewelry metals. Instead, stock up on:
- Chisel Tips (e.g., Hakko T19-D24): Essential for heavy brass cuffs and thick copper foil seams. The flat surface area maximizes thermal transfer.
- Bevel Tips (e.g., Hakko T19-C2): Perfect for scooping and dragging molten solder along delicate bezel wires or small jump rings.
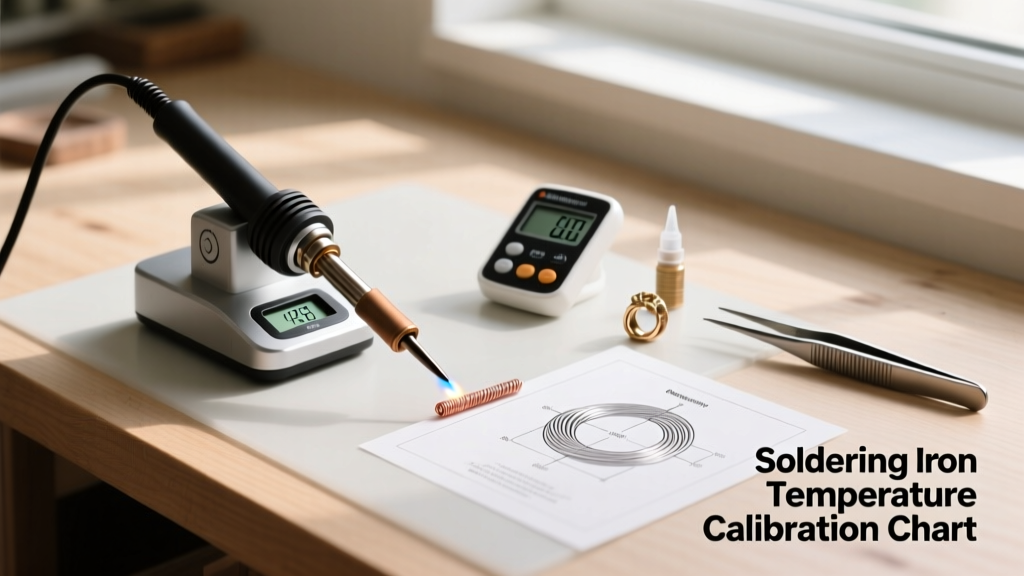
Step-by-Step Calibration for Jewelry Alloys
Jewelry solders, particularly silver-bearing alloys like Stay-Brite, have a very narrow plastic range (the window between melting and burning the flux). Proper tip calibration, as outlined in Hakko's official soldering protocols, ensures your dial setting matches the actual temperature at the tip's working surface.
- Establish a Baseline: Turn on your station and set it to 350°C (662°F). Allow it to stabilize for three minutes. Do not apply solder yet.
- Measure with a Tip Thermometer: Use a dedicated thermocouple tip thermometer (like the Hakko HAK-180, approx. $150). Apply a tiny bead of thermal paste to the thermocouple wire, then press the tip of your iron directly onto the sensor.
- Calculate the Offset: If your station reads 350°C but the thermometer reads 335°C, you have a 15-degree deficit. On stations like the FX-601, unscrew the handle grip to reveal the internal calibration dial. Use a micro flathead screwdriver to turn the offset dial until the station compensates for the deficit.
- Account for Flux Cooling: Liquid jewelry fluxes (like Novican or Rubyfluid) cause a rapid thermal shock when applied to a hot tip. Always calibrate your working temperature about 20°C higher than the solder's liquidus point to account for the instant the liquid flux hits the metal.
Practical Application: Soldering a Copper Foil Pendant
Let us apply this calibration to a common jewelry task: sealing a copper-foiled glass pendant. Adhering to soft-soldering principles defined by IPC standards, surface preparation is just as critical as thermal management.
The Workflow
Preparation: Ensure your copper foil is burnished completely flat. Any gaps will cause solder to bleed onto the glass, ruining the piece. Apply a thin, even coat of non-corrosive liquid flux (such as Novican) using a cotton swab.
Tack Soldering: Set your calibrated iron to 310°C (590°F) using a bevel tip. Apply a small amount of 60/40 rosin-core solder to the tip to create a 'thermal bridge'. Touch the tip to the foil seam for exactly 1.5 seconds to create tack points every half-inch. This prevents the foil from peeling back under heat.
Flowing the Bead: Increase your station to 340°C (644°F). Switch to a wider chisel tip. Feed the solder directly into the joint, not onto the iron tip. Move the iron at a steady pace of roughly 1 inch per second. If the solder looks dull and lumpy, you are moving too fast and the thermal mass of the glass is pulling heat away from the joint. Slow down and let the iron dwell for an extra half-second.
Troubleshooting Common Jewelry Soldering Failures
Expert Insight: In jewelry making, 90% of 'bad solder' complaints are actually 'burned flux' complaints. If your flux carbonizes into a black, glassy crust, the solder will ball up and refuse to wet the metal, regardless of how hot your iron is.
Failure Mode Matrix
| Symptom | Root Cause | Corrective Action |
|---|---|---|
| Solder balls up and rolls off the brass | Flux burned off or oxidation present | Clean metal with pumice powder; reapply fresh Rubyfluid flux; lower temp by 15°C. |
| Solder joint is dull, gray, and cracked | Cold joint due to thermal drain | Switch to a wider chisel tip; increase station temp by 20°C; pre-heat heavy brass with a heat gun. |
| Pitting or holes in the solder bead | Trapped moisture or excessive flux boiling | Allow liquid flux to dry for 10 seconds before applying the iron; use gel flux instead. |
| Solder sticks to the iron tip, not the work | Tip oxidation or lack of tinning | Clean tip with damp brass wool; apply fresh rosin-core solder immediately to re-tin the working surface. |
Expert Safety & Maintenance Protocols
Jewelry soldering often involves lead-bearing alloys (like traditional 60/40) or antimony-bearing alloys (like Stay-Brite). Always operate a localized fume extractor (such as the Hakko FA-400) positioned exactly 6 inches from your workpiece to capture rosin and metallic particulates. Never use plumbing-grade acid paste fluxes (like Tinsley) for jewelry; the chlorides will rapidly corrode your findings and cause skin irritation for the end wearer. Stick to jewelry-specific, non-corrosive liquid or gel fluxes.
Finally, never quench a hot jewelry soldering tip in water. The rapid thermal contraction will micro-fracture the iron plating on the copper core, leading to rapid tip degradation. Always tin the tip heavily with fresh solder before powering down the station to create an airtight seal against oxidation while it cools on your bench.