
The Thermal Architecture of the Hakko FX 601 Soldering Iron
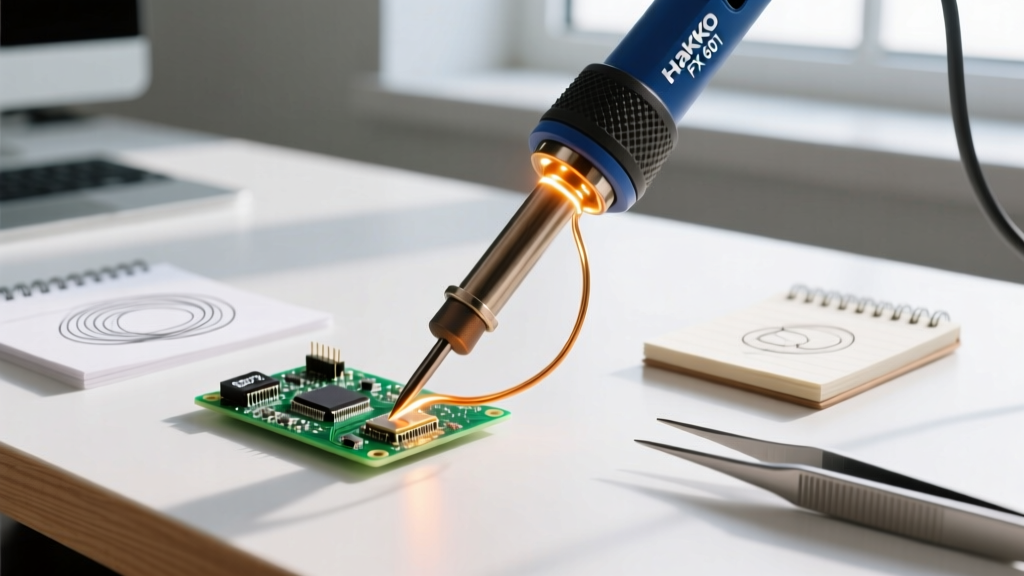
The Hakko FX 601 soldering iron occupies a unique space in the electronics workbench ecosystem. Priced typically between $75 and $89 in 2026, it bridges the gap between cheap, unregulated mains irons and full digital soldering stations like the FX-951. At its core, the FX-601 utilizes a 67-watt ceramic heating element paired with a closed-loop analog temperature control system. Unlike the older FX-600, the FX-601 features a revised pulse-width modulation (PWM) circuit that drastically improves thermal recovery when transitioning from idle to active soldering.
However, raw power is useless without proper technique. The analog dial located on the handle—graduated from 1 to 10—requires the operator to understand the metallurgical wetting process rather than relying on a digital readout. This guide details the exact techniques, tip geometries, and thermal profiles required to extract professional-grade results from this specific tool.
The T19 Tip Ecosystem: Avoiding the Compatibility Trap
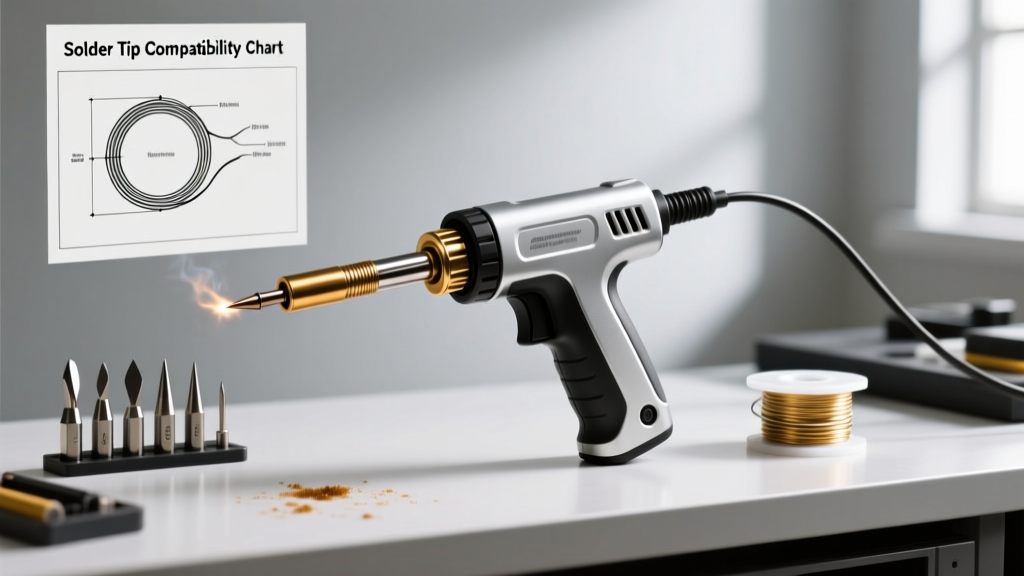
The most common failure point for beginners using the Hakko FX 601 soldering iron is purchasing the wrong replacement tips. The FX-601 uses the T19 series tip lineup, not the T18 series found on the popular FX-888D station. Attempting to force a T18 tip will damage the ceramic heater core.
- T19-B (Conical): Best for tight 0603 SMD pads and fine-pitch through-hole. Poor thermal mass transfer for heavy ground planes.
- T19-D24 (Chisel 2.4mm): The workhorse tip. The flat blade provides maximum surface area for standard DIP IC pins and 0.1-inch header joints.
- T19-K (Knife): Ideal for drag-soldering SOIC chips and cleaning up bridged pins. The edge can be used for precision, while the flat side holds heat for larger pads.
- T19-IL (Long Narrow Chisel): Essential for deep, recessed connections where the iron's shaft must clear surrounding tall capacitors or transformers.
Temperature Profiling Matrix
Because the FX-601 lacks a digital display, you must map the handle dial to the actual tip temperature based on your solder alloy. According to IPC-7711/7721 standards for rework and repair, the tip temperature should generally be set 150°C above the liquidus temperature of the solder alloy for rapid heat transfer without lingering.
| Dial Setting | Approx. Tip Temp | Target Alloy / Application | Dwell Time Limit |
|---|---|---|---|
| 2 - 3 | 240°C - 280°C | 63/37 Leaded (Fine SMD, delicate flex-PCB) | Max 2 seconds |
| 4 - 5 | 300°C - 340°C | 63/37 Leaded (Standard Through-Hole, wires) | Max 3 seconds |
| 6 - 7 | 350°C - 380°C | SAC305 Lead-Free (Standard PCB joints) | Max 3 seconds |
| 8 - 9 | 390°C - 420°C | Heavy Ground Planes, 10AWG+ Wire Lugs | Max 4 seconds |
Warning: Operating the dial above 8 for extended periods with leaded solder will rapidly oxidize the T19 tip plating, leading to permanent de-wetting.
The 4-Second Through-Hole Technique
Achieving a perfect concave fillet on a through-hole component requires a precise sequence. As outlined in SparkFun's through-hole soldering tutorial, the goal is to heat the workpiece, not melt the solder on the iron and carry it to the joint (which leaves the flux burned off before it reaches the pad).
- Prep & Tin (0.5s): Wipe the T19-D24 tip on a damp cellulose sponge or brass wool. Apply a micro-thin layer of fresh 63/37 rosin-core solder to the working edge of the tip to create a thermal bridge.
- Pad & Lead Contact (1.0s): Place the flat of the chisel tip so it simultaneously touches the copper pad and the component lead. Hold the iron at a 45-degree angle.
- Feed the Solder (1.5s): Introduce your solder wire to the opposite side of the lead, directly where the lead meets the pad. The heat will draw the molten solder through the barrel via capillary action. Stop feeding when the solder forms a smooth, concave volcano shape.
- Withdrawal (1.0s): Pull the solder wire away first, then flick the iron away at a 45-degree angle. This prevents the formation of a sharp 'icicle' or cold joint peak.
Pro-Tip for Heavy Copper: If you are soldering a thick ground plane that acts as a massive heat sink, the FX-601's 67W heater may stall. Pre-heat the board using a bottom-side PCB preheater to 100°C, or switch to the T19-D32 (3.2mm chisel) to increase thermal mass transfer.
Advanced Troubleshooting & Edge Cases
The 'Scratchy Dial' Temperature Fluctuation
Because the FX-601 uses a physical potentiometer on the handle for temperature adjustment, vaporized flux residues and ambient dust can infiltrate the dial housing over 12 to 18 months of use. This manifests as erratic temperature spikes or the heater light flickering irregularly. The fix: Unplug the iron, remove the two Phillips screws on the handle grip, and apply a single drop of DeoxIT D5 contact cleaner into the potentiometer slot. Rotate the dial back and forth 20 times to clear the carbon/flux buildup.
Tip De-wetting and Black Oxide Buildup
If your T19 tip turns dark blue or black and solder rolls off it in beads, the iron plating has oxidized. Never sand or file a T19 tip. The iron plating is only microns thick; abrading it exposes the copper core, which will dissolve into your solder and ruin the tip permanently. Instead, use a tip tinner compound (like Hakko 599B). Dip the hot, oxidized tip into the compound, wipe on brass wool, and immediately apply fresh rosin-core solder.
Longevity Protocols: Shut-Down and Storage
The lifespan of your Hakko FX 601 soldering iron's ceramic heater and tip is dictated entirely by your shut-down routine. Leaving a bare tip exposed to ambient oxygen while cooling guarantees heavy oxidation by your next session.
- Step 1: Turn the dial down to setting '2' and let the iron idle for 30 seconds to slightly reduce the thermal shock.
- Step 2: Apply a massive, thick blob of cheap, high-rosin 60/40 solder to the entire working surface of the tip. This 'sacrificial slug' will oxidize instead of the tip's iron plating.
- Step 3: Turn the station off and place it in its holder. Do not wipe the tip clean before storage.
- Step 4: Upon next powering up, allow the iron to reach operating temperature, then immediately wipe the sacrificial solder off on brass wool before applying your premium solder.
By respecting the thermal limits of the analog dial, utilizing the correct T19 geometries, and maintaining the potentiometer, the Hakko FX 601 soldering iron will reliably produce IPC-compliant joints for years, rivaling the output of digital stations costing three times as much.