
The Thermodynamics of Heat-Set Inserts
Integrating threaded brass inserts into 3D printed plastics like PLA, PETG, and ABS is the gold standard for creating durable, reusable mechanical joints. However, the process is highly unforgiving. Using the wrong soldering iron for heat set inserts is the leading cause of ruined prints, cross-threaded brass, and weakened structural walls. The core issue is not raw wattage; it is thermal mass and thermal recovery rate.
When a 200°C soldering tip touches a 5-gram brass M5 insert, the brass acts as a massive heat sink. A standard, low-cost 40W iron with a thin conical tip will experience an immediate temperature drop of up to 60°C. The PID controller struggles to recover, prompting the user to apply excessive downward pressure. This over-pressurization causes the molten plastic to extrude up the inside of the insert (the "volcano effect"), ruining the internal threads, or it melts the outer perimeter walls, destroying the radial grip required for pull-out strength.
According to engineering guidelines from Fictiv's manufacturing hub, achieving optimal pull-out and torque strength requires a uniform melt pool around the insert's knurled exterior without compromising the structural integrity of the surrounding printed layers. To achieve this in 2026, you need a tool with aggressive thermal recovery and the correct tip geometry.
2026 Tool Comparison Matrix
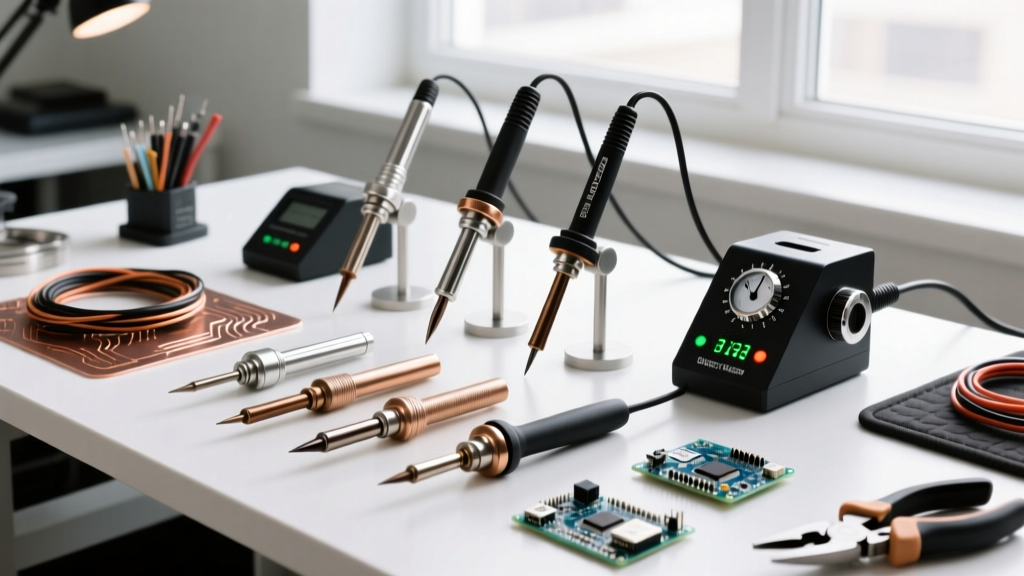
We tested four distinct categories of tools to determine the best soldering iron for heat set inserts across hobbyist and low-volume production environments.
| Tool / Station | Wattage | Thermal Recovery | Ideal Tip Geometry | 2026 Price Range | Best Use Case |
|---|---|---|---|---|---|
| Hakko FX-888D | 70W | Excellent (Sub-5s) | T18-D16 (Chisel) | $110 - $125 | Benchtop standard, high reliability |
| Virtjoule Insert Tool | 48W | Moderate | Custom Knurl-Matched | $45 - $55 | Dedicated insert installation |
| Pinecil V2 | 65W (via USB-C PD) | Very Good (RISC-V PID) | TS-I010 (Modified Flat) | $26 - $35 | Portable, travel, tight budgets |
| Generic 40W Iron (e.g., Weller SP40N) | 40W | Poor (15s+) | Conical (Stock) | $15 - $25 | Not recommended (High failure rate) |
Deep Dive: The Top Contenders
1. Hakko FX-888D (The Benchtop Benchmark)
The Hakko FX-888D remains the undisputed champion for general electronics and insert work. Its 70W ceramic heater and massive thermal reservoir in the T18 tip series mean that when it contacts a cold brass insert, the temperature drop is minimal and recovery is nearly instantaneous.
- Pro: Unmatched durability and tip availability. The digital PID loop handles the sudden thermal shock of a large M8 brass insert without stalling.
- Con: Requires purchasing a separate, specific tip (like the T18-D16 or T18-C) for insert work, as the stock conical tip is unsuitable.
- Expert Tip: Set the station to 20°C above your target plastic melting point. For PETG, set the dial to 260°C to compensate for the thermal transfer loss into the brass.
2. Virtjoule Heat-Set Insert Tool (The Specialist)
Unlike modified electronics soldering stations, the Virtjoule tool was engineered from the ground up specifically for 3D printing post-processing. It features a custom-machined brass tip designed to mate perfectly with the outer knurling of standard diagonal-pattern heat-set inserts.
- Pro: The knurl-matched tip prevents the tool from slipping off the insert, a common issue with flat chisel tips that can scar your printed part.
- Con: Single-purpose tool. You cannot use it for soldering PCBs. It also lacks the sheer thermal mass of a 70W benchtop station for very large (M8+) inserts.
3. Pinecil V2 (The Smart Portable Option)
Powered by a 32-bit RISC-V processor, the Pinecil V2 allows for granular PID tuning. For heat-set inserts, you can increase the 'Boost' temperature setting and lower the sleep timeout, ensuring the iron stays at peak thermal readiness during repetitive installation sessions.
- Pro: Incredibly fast heat-up time (under 15 seconds) and highly portable. Excellent for makers who work in shared spaces or travel.
- Con: Requires a high-quality 65W+ USB-C PD power supply to achieve its rated thermal recovery. Using a standard 20W phone charger will result in catastrophic thermal droop.
Tip Geometry: The Hidden Failure Point
The most critical factor when selecting a soldering iron for heat set inserts is not the handle or the brand, but the tip geometry. As noted in MatterHackers' comprehensive guide on 3D printed hardware, the physical interface between the iron and the brass dictates the success of the installation.
The Golden Rule of Insert Tips: Never use a conical (pointed) tip. A conical tip will wedge itself deep into the insert's internal threads. As the brass heats and expands, the tip gets stuck, and upon removal, it will often pull the insert back out of the plastic or leave molten plastic smeared across the internal threading.
Ideal Tip Shapes:
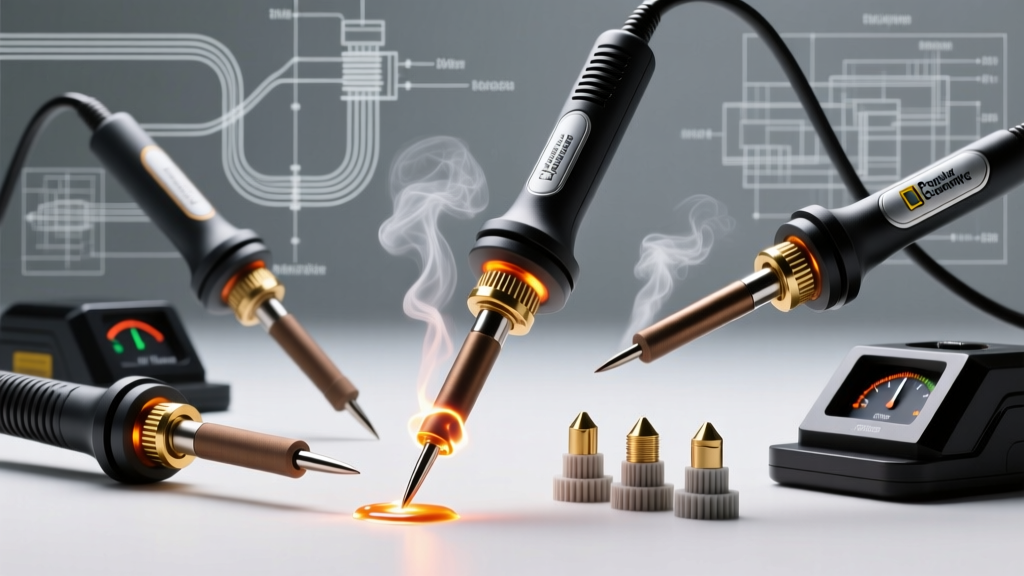
- Chisel / Flat Tip: Rests perfectly on the top rim of the insert, transferring heat radially without entering the internal threads.
- Bevel / Spoon Tip: Allows for slight angling while maintaining a flat contact surface area against the brass rim.
- Custom Knurl-Matched: (Found on specialty tools) Grips the outside of the insert for maximum torque transfer and alignment.
Material-Specific Temperature Profiles
Setting your iron to the correct temperature is vital. If the iron is too cold, the plastic won't melt uniformly, leading to crooked inserts. If too hot, the plastic degrades, loses layer adhesion, and the insert will spin freely under minimal torque.
| 3D Print Material | Glass Transition / Melt Temp | Recommended Iron Setting | Installation Notes |
|---|---|---|---|
| PLA | ~60°C / 150°C | 200°C - 220°C | Highly prone to thermal creep. Remove iron immediately after the insert is flush. |
| PETG | ~80°C / 220°C | 240°C - 260°C | Sweet spot for most functional parts. Excellent radial grip. |
| ABS / ASA | ~105°C / 230°C | 280°C - 300°C | Requires higher heat to melt the tough polymer chains. Ensure good ventilation. |
| Nylon (PA) | ~140°C+ / 260°C+ | 320°C - 350°C | Requires a high-end station (e.g., JBC or Weller WE1010). Standard irons will fail. |
Troubleshooting Common Failure Modes
1. The "Volcano" Effect (Plastic Inside Threads)
Cause: Using a conical tip, or pushing the insert too far past the bottom of the printed hole.
Solution: Switch to a flat chisel tip. Ensure your printed hole depth is 0.5mm deeper than the insert length to allow space for the displaced molten plastic to pool at the bottom without rising into the threads.
2. Insert Spins During Installation
Cause: The iron temperature is too low, meaning the plastic isn't melting fast enough, and the friction of the brass knurling against the solid plastic causes the insert to rotate instead of sink.
Solution: Increase iron temperature by 20°C. Do not apply excessive downward force, as this will snap the insert's top rim.
3. Insert Pulls Out Under Load
Cause: The hole diameter in your CAD model is too large. Heat-set inserts rely on an interference fit.
Solution: For an M3 brass insert, the recommended pilot hole diameter in PLA/PETG is exactly 4.0mm to 4.2mm. If your printer over-extrudes and the hole is smaller, drill it out rather than forcing the insert with the iron.
Final Verdict for 2026
If you are setting up a dedicated post-processing station for a small business or frequent prototyping, the Hakko FX-888D equipped with a T18-D16 chisel tip is the most robust, cost-effective choice. Its thermal recovery is unmatched in its price class, ensuring every insert goes in straight and true.
For casual hobbyists printing PLA or PETG enclosures on the weekend, the Pinecil V2 offers incredible value, provided you pair it with a legitimate 65W USB-C laptop charger and swap the stock tip for a flat variant. Avoid generic, unbranded 40W mains-powered irons; the frustration of stripped inserts and melted prints will cost you far more in wasted filament and time than the price of a proper temperature-controlled station.