
The Reality of Field Repairs: How to Solder Without a Soldering Iron
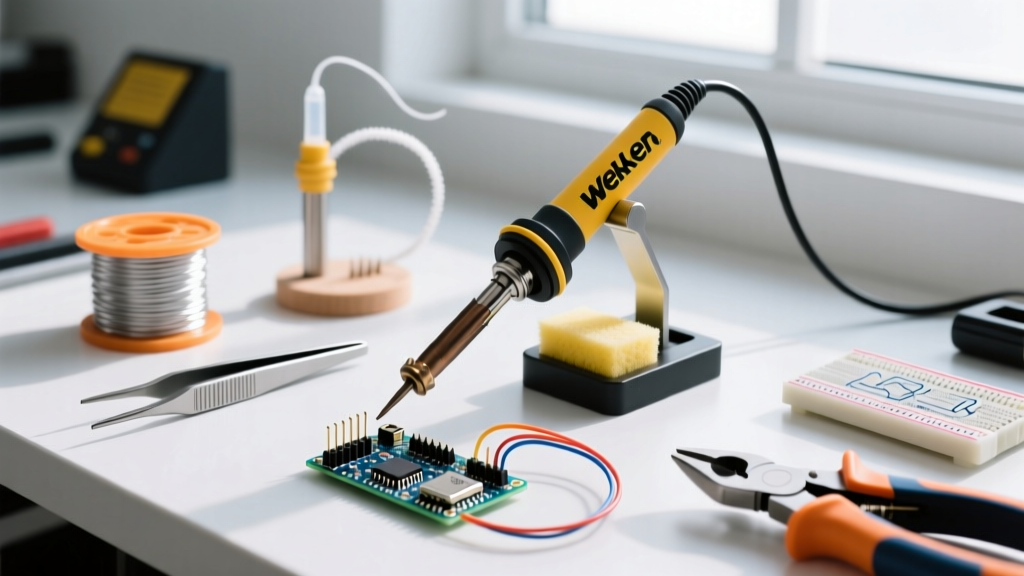
When you are stranded in an automotive bay, off-grid in a remote telemetry station, or dealing with a sudden equipment failure where your primary Weller or Hakko station is unavailable, knowing how to solder without a soldering iron transitions from a party trick to a critical survival skill. However, bypassing a dedicated temperature-controlled iron introduces severe thermal management challenges. A standard soldering iron relies on conductive heat transfer, precisely matching the thermal mass of the pad and component. Alternative methods rely on convective or radiant heat, which drastically alters the thermal profile and increases the risk of catastrophic component failure.
Before attempting any alternative soldering method, you must understand the metallurgy of your consumables. According to standard solder alloy data documented on Wikipedia's comprehensive solder metallurgy guide, traditional Sn63/Pb37 (tin-lead) eutectic solder melts precisely at 183°C (361°F). Modern lead-free SAC305 (Sn96.5/Ag3.0/Cu0.5) requires a higher liquidus point of 217°C (423°F). Your alternative heat source must safely exceed these thresholds without exceeding the glass transition temperature (Tg) of standard FR4 fiberglass PCBs, which typically delaminate or scorch between 130°C and 170°C depending on the laminate grade.
Expert Warning: Never attempt alternative thermal soldering on Ball Grid Array (BGA) chips, fine-pitch SMD components (0402 or smaller), or moisture-sensitive devices (MSDs) without pre-baking. Rapid convective heating will trigger the "popcorn effect," where trapped moisture vaporizes and fractures the IC packaging from the inside out.
Method 1: The Butane Micro-Torch (Radiant & Convective Heat)
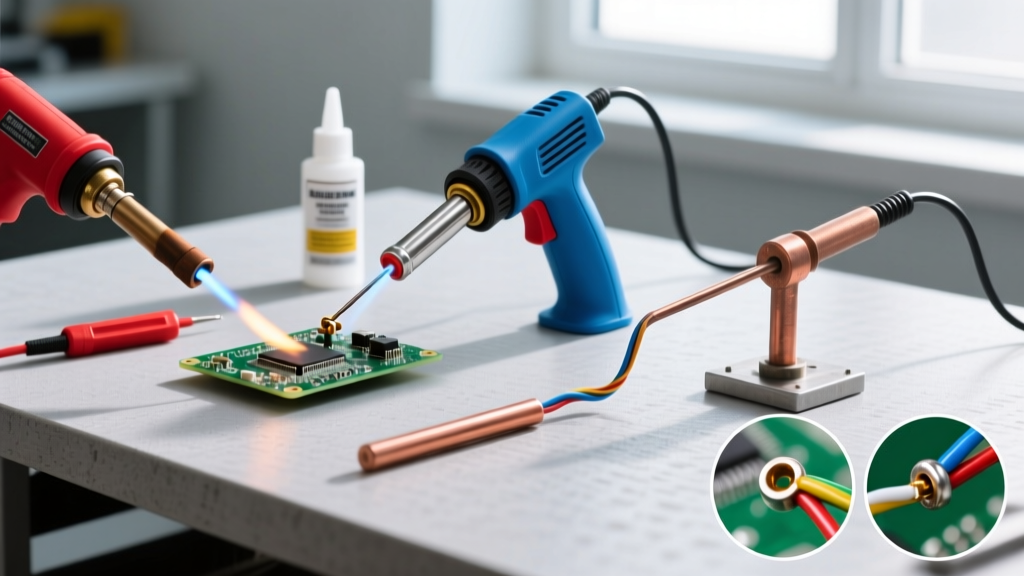
A butane micro-torch is the most viable alternative for heavy-gauge wire splicing, large through-hole components, and thick ground planes that would normally drain the heat from a standard 60W iron. Models like the Blazer GT8000 (approx. $45) or the budget-friendly SE MT-76K (approx. $15) offer piezo ignition and adjustable flame profiles.
The Technique: Indirect Thermal Loading
The most common failure mode when using a torch is applying the flame directly to the solder wire. This results in a "cold joint" where the solder melts into a ball and sticks to the flux residue, failing to alloy with the copper substrate.
- Preparation: Mechanically clean the copper with a fiberglass scratch pen or fine brass wool. Apply a generous amount of high-tack flux, such as Amtech NC-559-V2-TF. The flux acts as a thermal bridge and prevents rapid oxidation caused by the open flame.
- The Sweep: Ignite the torch and adjust it to a pinpoint, blue-cone flame. Keep the flame 1.5 to 2 inches away from the workpiece. Use a continuous, sweeping motion. Never hold the flame static.
- Capillary Feeding: Once the flux begins to bubble and turn clear (indicating the substrate has reached ~150°C), touch the solder wire to the copper wire or pad, not the flame. If the copper is hot enough, capillary action will draw the solder into the joint.
- Quenching: Remove the heat immediately. Allow the joint to cool naturally. Do not blow on it, as rapid cooling can cause micro-fractures in the crystalline structure of lead-free alloys.
Method 2: Precision Heat Gun Rework
While hardware store heat guns like the Wagner HT1000 ($25) are common, they are dangerously overpowered for PCBs, outputting air at 750°F (399°C) on their lowest setting. This will melt PVC wire insulation and lift copper pads in seconds. For emergency PCB rework, a dedicated hot air rework station like the Quick 861DW ($170) is vastly superior, allowing precise airflow and temperature control.
Managing Airflow and Tombstoning
When using hot air to reflow solder paste or salvage components, airflow velocity is just as critical as temperature. Set the station to 280°C (for leaded) or 320°C (for lead-free) with a low airflow setting (approx. 20-30 liters/minute).
- The Tombstone Risk: If you heat one side of a two-terminal SMD capacitor faster than the other, the surface tension of the melting solder on the hot side will pull the component upright, creating a "tombstone." Always use a circular motion with a wide nozzle (e.g., 8mm or 10mm) to ensure uniform convective heating across the entire component body.
- Kapton Tape Shielding: Surround the target area with Kapton (polyimide) tape to protect adjacent plastic connectors and heat-sensitive components from stray convective currents.
Method 3: The Aluminum Foil Heat Transfer (MacGyver Method)
If you have absolutely no professional tools—only a lighter, a stove, or a candle—and need to splice 18AWG to 22AWG stranded wires, aluminum foil acts as a rudimentary thermal diffuser. This method is strictly for wire splicing and should never be used on PCBs.
Step-by-Step Foil Splicing
- Strip the wires and twist them together in a Western Union splice for mechanical strength.
- Wrap the splice tightly in a single layer of standard kitchen aluminum foil.
- Inject liquid rosin flux into the foil wrap using a syringe or brush.
- Hold the foil-wrapped splice over a lighter flame or stove burner for 4 to 7 seconds. The foil disperses the intense localized heat, turning it into a makeshift oven.
- Touch solid-core solder to the edge of the foil wrap. The heat will transfer through the foil, melting the solder, which will then wick through the wire strands via capillary action.
- Let it cool, unwrap the oxidized foil, and clean the joint with isopropyl alcohol.
Method 4: Conductive Silver Epoxy (The Non-Thermal Bypass)
Sometimes, the correct answer to "how to solder without a soldering iron" is to stop trying to solder. If you are repairing a broken PCB trace, a damaged flexible printed circuit (FPC), or a heat-sensitive RF component, thermal methods will destroy the substrate. In 2026, advanced conductive epoxies offer a reliable, zero-heat alternative.
Products like MG Chemicals 8331 Silver Conductive Epoxy (approx. $65 for a 7g dual-syringe kit) or CircuitWorks CW2400 provide excellent electrical conductivity without a heat source. According to the MG Chemicals technical documentation, these isotropic epoxies cure at room temperature and provide a volume resistivity as low as 0.0006 Ω·cm.
Application Parameters and Limitations
Conductive epoxy is not a structural adhesive; it is an electrical bridge. You must use standard cyanoacrylate (superglue) or UV resin to mechanically secure the wire or component to the board first. Once mechanically anchored, apply a small bead of silver epoxy across the electrical junction.
- Cure Time: 24 hours at 24°C (75°F), or 1 hour if you can safely apply a gentle 65°C heat source (like a desktop lamp or automotive dashboard heater).
- Current Limitations: Silver epoxy has higher resistance than a metallurgical solder joint. It is ideal for signal traces, I2C lines, and low-current sensors (<500mA). Do not use it for power rails, motor leads, or high-current automotive wiring, as the epoxy will overheat and degrade under heavy ampacity loads.
Emergency Soldering Methods: Comparison Matrix
| Method | Heat Source Type | Temp Control | PCB Risk Level | Ideal Application | Est. Cost (2026) |
|---|---|---|---|---|---|
| Butane Micro-Torch | Radiant / Convective | Manual (Distance) | High (Scorching) | Heavy gauge wires, large ground lugs | $15 - $45 |
| Hot Air Rework Gun | Convective | Digital / Precise | Medium (Lifting) | SMD removal, heat shrink, large pads | $160 - $250 |
| Aluminum Foil Wrap | Conductive (Diffused) | None (Timed) | N/A (Wires Only) | Emergency 18-22AWG wire splicing | < $1 (Foil) |
| Silver Conductive Epoxy | None (Chemical Cure) | N/A | Zero (No Heat) | Broken traces, FPC, heat-sensitive ICs | $40 - $70 |
Critical Failure Modes and Edge Cases
When deviating from IPC J-STD-001 requirements for metallurgical soldering—as outlined by the official IPC standards body—you must actively monitor for specific physical failure modes:
1. Z-Axis CTE Mismatch and Pad Lifting
FR4 printed circuit boards have a high Coefficient of Thermal Expansion (CTE) along the Z-axis (thickness). When you apply a butane torch or unregulated heat gun, the fiberglass expands rapidly upward. Because the copper pad is constrained by the surrounding laminate, this Z-axis expansion creates immense shear stress, literally ripping the copper pad off the substrate. Always pre-heat the board gently before applying localized high heat.
2. Insulation Melt-Back
Standard PVC wire insulation begins to soften at 105°C and melts into a toxic, viscous liquid around 160°C-200°C. Because alternative heat sources lack the localized precision of a chisel-tip iron, the heat travels down the copper wire via thermal conductivity, melting the insulation inches away from the joint. To prevent this, wrap the wire insulation in a damp paper towel or use aluminum alligator clips as heat sinks between the joint and the insulation jacket.
3. Flux Carbonization
Open flames and unregulated heat guns will instantly burn rosin-based fluxes into a hard, black, carbonized crust. This crust is mildly conductive and highly corrosive over time, leading to parasitic leakage currents and eventual galvanic corrosion of the copper. If you must use a torch, switch to a no-clean, synthetic flux like Chip Quik NC191, which is formulated to withstand higher thermal excursions without carbonizing.
Final Verdict: Know Your Limits
Understanding how to solder without a soldering iron is about triage, not permanent manufacturing. A butane torch will get a heavy-gauge automotive battery cable spliced on the side of the highway. A syringe of silver epoxy will bypass a severed trace on a drone's flight controller in the field. However, once you return to the bench, these emergency repairs should be evaluated, reworked with a proper temperature-controlled station, and verified for long-term reliability.