
The Electromagnetic Engine: Understanding the Weller Transformer
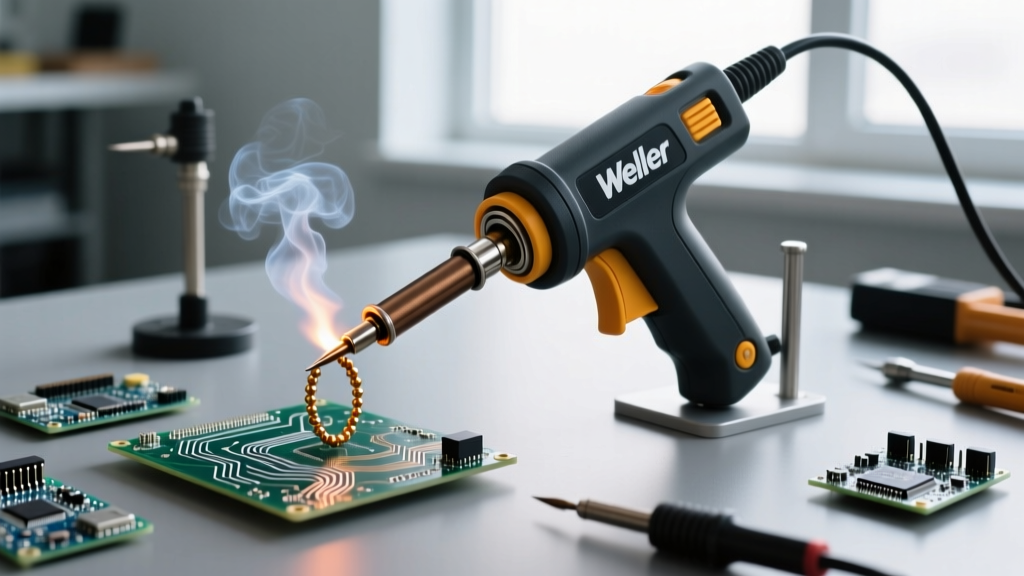
Before mastering the physical technique of how to use a Weller soldering gun, you must understand the physics that separates it from a standard ceramic-core soldering iron. A Weller gun does not use a resistive heating cartridge. Instead, it utilizes a heavy step-down transformer. When you pull the trigger, 120V (or 240V) AC current passes through the primary coil, inducing a massive, low-voltage, high-amperage current in the secondary coil—which is the copper loop tip itself.
Because of the I²R (current squared times resistance) heating principle, the copper loop heats up to 500°F (260°C) in under six seconds. This rapid thermal delivery makes it the undisputed king of heavy-gauge wire, chassis grounding, and stained glass work. However, this same electromagnetic brute force requires a specific operational cadence to avoid damaging your workpiece or burning out the tool's primary winding.
2026 Model Matrix: D550 vs. 9400PK
Weller's transformer lineup remains dominated by two iconic platforms. Choosing the right one dictates your heat management strategy.
| Feature | Weller D550PK (Professional) | Weller 9400PK (Consumer/DIY) |
|---|---|---|
| Wattage (High / Low) | 260W / 200W | 120W / 100W |
| Peak Tip Temperature | ~900°F (482°C) | ~800°F (426°C) |
| 2026 Average Retail Price | $129.99 | $64.99 |
| Ideal Application | 10-14 AWG wire, heavy lugs, plumbing | 16-20 AWG wire, hobby electronics, RC |
| Standard Loop Tip | D611-120 (Heavy Duty) | 9400T (Standard) |
Step-by-Step Execution: How to Use a Weller Soldering Gun
Using a transformer gun is an exercise in rhythm and thermal mass management. Follow this exact sequence for heavy-duty electrical connections.
- Mechanical Preparation: According to NASA-STD-8739.3 Workmanship Standards, solder should never act as the sole mechanical bond. Strip your wires and create a physical splice (e.g., a Western Union splice or a crimped ring terminal) before applying heat.
- Chemical Fluxing: Apply a generous coat of rosin-based or no-clean flux to the joint. Never use plumbing acid flux on electrical connections, as it will rapidly corrode the copper loop tip and degrade the joint over time.
- Tinning the Loop: Unlike a beveled iron tip, the Weller loop holds solder in its center arch. Melt a small amount of 60/40 or SAC305 rosin-core solder directly into the loop before touching the workpiece. This creates a liquid thermal bridge, transferring heat to the joint 40% faster than a dry loop.
- The Approach and High-Heat Surge: Hook the tinned loop over the wire or terminal. Pull the trigger to the second (fully depressed) position to engage the high-wattage surge. Hold for 3 to 5 seconds until you see the flux boil and the joint begin to shine.
- Feed and Modulate: Feed your solder wire into the joint (not directly onto the copper loop). As the solder flows, release the trigger slightly to the first position to drop the wattage and prevent overheating the wire insulation.
- Withdrawal and Cooling: Remove the solder wire first, then slide the gun away from the joint. Hold the connection perfectly still for 4 seconds until the solder crystallizes. Blowing on the joint can cause a micro-fracture known as a disturbed joint.
The Art of the Dual-Position Trigger
The dual-position trigger is the defining feature of professional Weller guns. The first click engages the low-wattage primary winding tap (e.g., 200W on the D550), while pushing past the tactile bump engages the high-wattage tap (260W).
Pro-Tip from the Bench: Never hold the trigger in the high-heat (second) position for more than 30 continuous seconds. The massive current draw generates intense heat inside the transformer housing. Exceeding this duty cycle will eventually melt the internal bobbin or burn out the primary winding. Use High to reach temperature, and Low to maintain it.
Troubleshooting Common Gun Failures
Even experienced technicians encounter issues when transitioning from temperature-controlled stations to manual transformer guns. Here is how to diagnose and fix the most common failure modes.
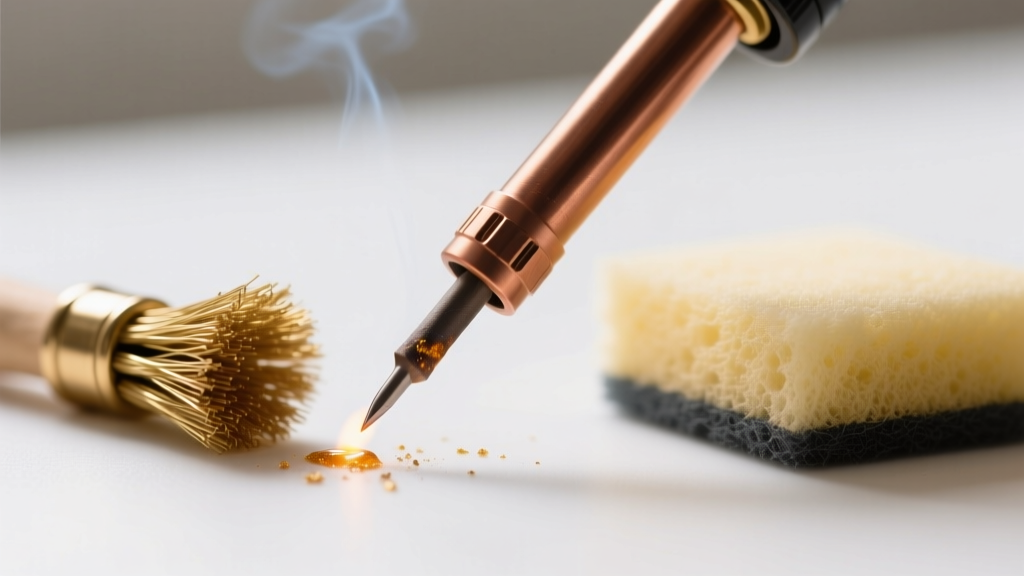
- Pitted or Dissolved Loop Tips: If your copper loop looks chewed or asymmetrical, you are likely using a damp cellulose sponge to clean it. The sudden thermal shock of a wet sponge on a 900°F copper loop causes micro-fractures and accelerates oxidation. Fix: Use a dry brass wire sponge or a dedicated rosin-flux cleaning block.
- Intermittent Heating or Arcing at the Nuts: The loop tip is held in place by two wing nuts. If these loosen due to thermal expansion and contraction, electrical arcing will occur at the contact block, pitting the brass. Fix: Clean the contact block with a wire brush and tighten the nuts using the 'finger-tight plus one-quarter turn' rule. Over-torquing with pliers will strip the soft brass threads.
- Cold Joints on Heavy Lugs: A dull, gray, or grainy solder joint on a large grounding lug means the gun's thermal mass was insufficient. The heavy copper lug acted as a massive heat sink, dropping the loop temperature below the solder's liquidus point before the core heated up. Fix: Pre-heat the lug with a hot air gun set to 150°C before applying the Weller gun, or upgrade to the 260W D550 model.
When to Avoid the Transformer Gun
While learning how to use a Weller soldering gun is essential for heavy electrical work, it is equally important to know when to leave it in the toolbox. Transformer guns are fundamentally incompatible with modern printed circuit boards (PCBs). The massive thermal shock will lift copper pads from the FR4 substrate instantly.
Furthermore, the intense alternating magnetic field generated by the transformer's core can induce destructive eddy currents in nearby closed conductive loops. This poses a severe risk to sensitive RFID tags, unshielded Hall-effect sensors, and can interfere with nearby medical devices like pacemakers. For PCB rework and delicate surface-mount components, always defer to a closed-loop, thermocouple-controlled soldering station like the Weller WE1010 or Hakko FX-888D, adhering to the thermal profiling guidelines established by IPC J-STD-001.
Final Thoughts on Heavy-Duty Soldering
Mastering the Weller soldering gun is about respecting its raw power. By leveraging the dual-heat trigger, maintaining a proper liquid thermal bridge with rosin flux, and adhering to strict mechanical prep standards, you can create bulletproof electrical connections that will outlast the equipment they serve. For genuine replacement tips and official service schematics, always refer to the Apex Tool Group Weller portal to avoid counterfeit copper alloys that degrade rapidly under high-amperage thermal cycling.