
The Metallurgy of Tip Oxidation
To effectively fix an oxidized soldering iron tip, you must first understand the physical structure of the tool. A common misconception among hobbyists is that soldering tips are solid iron or steel. In reality, modern high-performance tips—such as the Hakko T18 series or Weller RT micro-tips—are built around a high-conductivity copper core. This copper core is electroplated with a microscopically thin layer of iron (typically 0.1mm to 0.25mm thick) to provide durability and resist solder erosion, and finally flash-plated with chromium or tin to prevent wetting on the non-working surfaces.
When the iron plating on the working end is exposed to atmospheric oxygen at temperatures exceeding 300°C, it rapidly undergoes a chemical reaction to form iron oxide (Fe2O3). This black, crusty layer acts as a severe thermal insulator. More importantly, it prevents molten solder from achieving 'wetting'—the metallurgical process where solder forms an intermetallic bond with the base metal. Without wetting, heat transfer plummets, resulting in cold solder joints, prolonged dwell times, and damaged PCB pads. According to industry standards outlined in the SparkFun soldering tutorial, maintaining a pristine, tinned tip is the single most critical factor in achieving reliable electrical connections.
Diagnostic Matrix: Assessing Tip Damage
Not all oxidation is created equal. Before attempting any restoration, diagnose the severity of the oxidation to determine if the tip is salvageable. Attempting to aggressively clean a breached tip will only destroy the copper core beneath.
| Oxidation Stage | Visual Symptom | Plating Status | Expert Restoration Method |
|---|---|---|---|
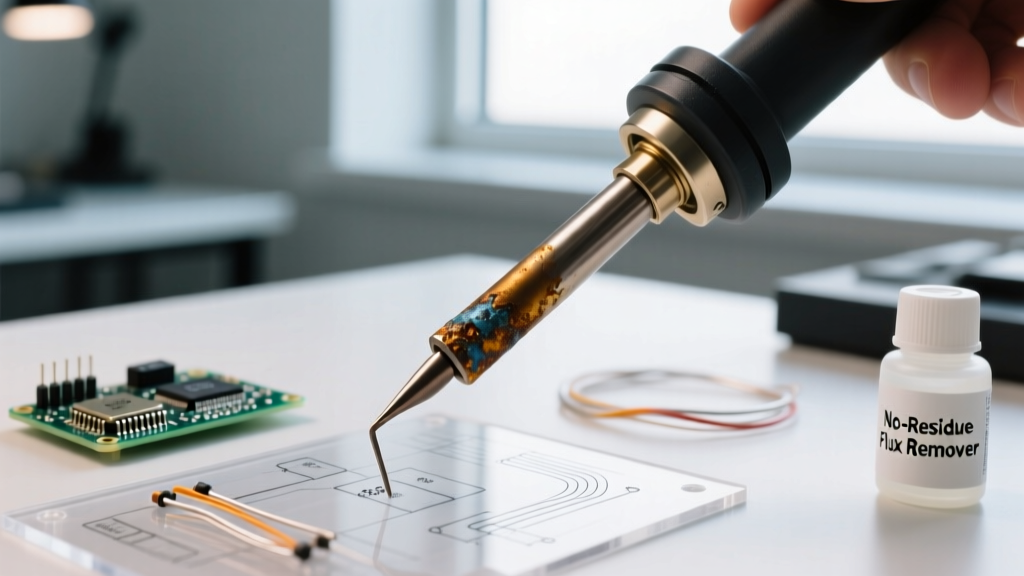
| Stage 1: Light | Blue, gold, or faint yellow discoloration | Intact | Rosin flux paste + brass wire sponge |
| Stage 2: Medium | Dull gray or spotty black crust; solder balls up | Intact but heavily oxidized | Chemical Tip Tinner / Activator |
| Stage 3: Severe | Pitting, scaling, flaking, or exposed copper | Breached / Destroyed | Discard immediately; replace tip |
Step-by-Step Restoration Protocols
If your diagnostic places the tip at Stage 1 or Stage 2, follow these precise, actionable protocols to restore the working surface without compromising the iron plating.
Protocol A: The Tip Tinner Method (For Medium Oxidation)
When standard cleaning fails, you need a chemical reducing agent. Commercial tip tinners (such as MG Chemicals 4901 or Kester Tip Tinner, typically priced around $8.50 to $11.00 in 2026) contain a mixture of stannous oxide, aggressive rosin activators, and fine solder powder.
- Reduce Station Temperature: Lower your soldering station (e.g., Weller WE1010NA or Hakko FX-951) to 250°C. Applying a chemical activator at 380°C will instantly carbonize the flux, creating an even harder layer of burnt residue.
- The Dip Technique: Plunge the oxidized tip directly into the tip tinner compound for exactly 2 to 3 seconds. You will see a small amount of smoke as the activators strip the iron oxide layer.
- Wipe and Inspect: Immediately wipe the tip on a damp cellulose sponge or brass wool to remove the carbonized flux residue.
- Re-Tin Immediately: The bare iron is now highly vulnerable to flash-oxidation. Within one second of wiping, apply fresh, high-quality 63/37 eutectic solder to the entire working surface to create a protective thermal barrier.
Protocol B: The Sacrificial Solder & Flux Method (For Light Oxidation)
For early-stage discoloration where you lack a dedicated chemical tinner, you can use a highly fluxed sacrificial joint.
- Apply a massive glob of tacky flux (such as Amtech NC-559-V2-TF) to a scrap piece of copper wire or a brass terminal.
- Melt a large volume of 63/37 solder over the fluxed copper.
- Submerge the oxidized tip into this molten, highly active flux pool for 5 to 10 seconds. The aggressive rosin will gently dissolve the light iron oxide without mechanical abrasion.
- Wipe clean on brass wool and apply a fresh coat of solder.
The Thermal Shock Debate: Sponges vs. Brass Wool
A leading cause of premature tip failure—and subsequent severe oxidation—is the improper use of damp cellulose sponges. When a soldering tip heated to 380°C makes contact with a room-temperature wet sponge, the surface temperature drops by up to 150°C in a fraction of a second. This violent thermal shock causes micro-fractures in the 0.1mm iron plating. Over weeks of use, these microscopic cracks expand, allowing oxygen to reach the copper core, leading to Stage 3 pitting.
Expert consensus heavily favors dry brass wire sponges (like the Hakko 599B) for routine wiping. The brass curls scrape away oxidized solder and burnt flux residue mechanically, but because the brass absorbs and dissipates heat slowly, the tip suffers virtually zero thermal shock. Reserve the damp sponge only for removing heavy, sticky water-soluble flux residues that brass wool cannot dislodge.
Preventative Station Configuration
Restoring an oxidized soldering iron tip is a reactive measure; true expertise lies in proactive station management. As highlighted in the comprehensive Adafruit Guide to Excellent Soldering, proper tool maintenance drastically extends the lifespan of your consumables. Implement the following configurations on your digital soldering station:
1. Calibrate Auto-Sleep Modes
Leaving a soldering iron idle at 350°C for more than 15 minutes guarantees heavy oxidation. Configure your station's auto-sleep feature to trigger after 5 minutes of inactivity. Set the sleep temperature to 200°C. This is a critical threshold: it is hot enough to prevent the solder from freezing and cracking the tip's thermal bond, but cool enough to slow the oxidation rate of the iron plating by over 80%.
2. Match Temperature to the Alloy
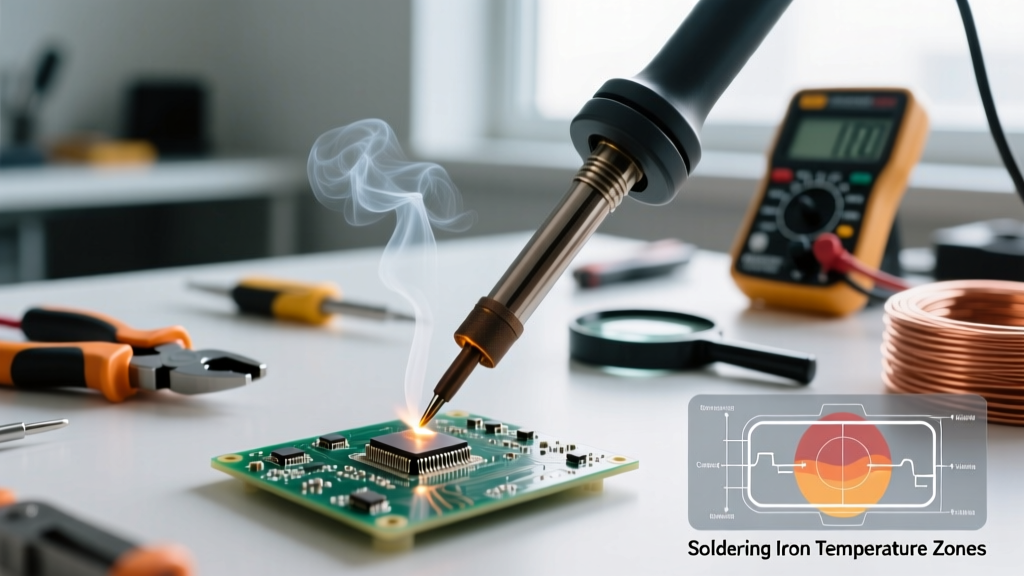
Many technicians blindly set their stations to 400°C, believing higher heat equals faster soldering. In reality, excessive heat destroys tips and pads. If you are working with standard Sn63/Pb37 (leaded) solder, your station should be set between 300°C and 320°C. If you are transitioning to lead-free SAC305 alloys (which have a higher melting point of 217°C–220°C), set the station to 340°C–350°C. Running lead-free solder at 380°C+ accelerates both tip oxidation and copper pad lifting on FR4 laminates.
3. The 'Never Leave Bare' Rule
Before powering down your station, always melt a large, generous blob of cheap, heavily fluxed solder onto the tip. This 'sacrificial tinning' acts as a physical oxygen barrier while the tool cools down to room temperature. When you power the station back on, simply wipe this sacrificial blob off onto your brass sponge, leaving a perfectly pristine, shiny working surface underneath.
Expert Warning: Never attempt to clean an oxidized tip with sandpaper, a metal file, or a rotary Dremel tool. These abrasive methods will instantly strip away the microscopic iron plating, exposing the soft copper core. Once exposed, the molten solder will dissolve the copper tip in a matter of seconds, permanently ruining the tool.