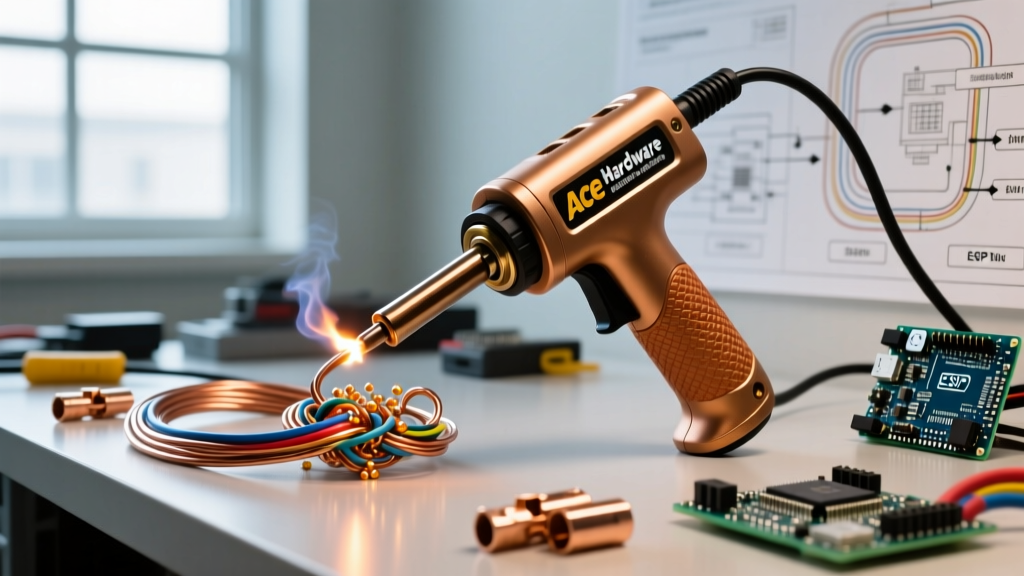

The Role of the Transformer Soldering Gun in Modern Electrical Work
When tackling heavy-gauge wiring, grounding lugs, or stained glass projects, a standard 40W ceramic pencil iron is entirely inadequate. This is where the transformer-based soldering gun becomes indispensable. For many professionals and serious DIYers, sourcing these tools locally means relying on a soldering gun Ace Hardware typically stocks in its electrical aisle. Unlike precision station irons designed for printed circuit boards (PCBs), soldering guns utilize a step-down transformer to deliver massive amperage directly through a copper wire loop tip, generating rapid, intense heat.
In this comprehensive technique guide, we will explore the specific heavy-duty models available at retailers like Ace Hardware, the physics of transformer-based heating, and the exact step-by-step methodology required to execute flawless, high-tensile splices on 10 AWG to 2 AWG wire.
Soldering Iron vs. Soldering Gun: Understanding the Thermal Differences
Before applying heat to your workpiece, it is critical to understand why you are choosing a gun over a station. According to the IPC J-STD-001 standards for soldered electrical assemblies, thermal mass and heat transfer rates dictate your tool choice. A soldering gun's copper loop tip has virtually zero thermal mass but immense electrical current, allowing it to heat up in 3 to 5 seconds.
| Feature | Ceramic Soldering Station | Transformer Soldering Gun |
|---|---|---|
| Wattage Output | 40W - 80W | 120W - 260W+ |
| Heat-Up Time | 15 - 45 seconds | 3 - 6 seconds |
| Primary Use Case | PCBs, SMD, delicate 22-30 AWG | Heavy wire splices, lugs, plumbing |
| Tip Material | Iron-plated copper | Replaceable bare copper wire loop |
| Magnetic Interference | Negligible | High (Damages sensitive ICs) |
Top Soldering Gun Ace Hardware Models (2026 Inventory Guide)
While inventory fluctuates by region, the soldering gun Ace Hardware locations carry generally falls into three distinct tiers, dominated heavily by the Weller brand. Here is what you should look for and expect to pay in 2026:
1. Weller D550PK (260W / 200W Dual-Trigger)
- Price Range: $85 - $95
- Best For: 8 AWG to 2 AWG battery cables, heavy grounding straps, and large stained glass seams.
- Expert Insight: The dual-trigger design is crucial. Squeezing fully engages the 260W high-heat mode to melt heavy joints, while releasing halfway drops it to 200W for maintenance heating. This prevents the copper tip from pitting and dissolving into the molten solder pool.
2. Weller 9400PK (120W / 80W Dual-Trigger)
- Price Range: $50 - $65
- Best For: 14 AWG to 8 AWG automotive wiring, household electrical splices, and hobbyist metalcraft.
- Expert Insight: This is the most versatile mid-tier option. It provides enough thermal recovery to solder a 10 AWG wire to a brass terminal block without scorching the surrounding insulation.
3. Bernzomatic ST2200T (200W Trigger-Action)
- Price Range: $35 - $45
- Best For: Occasional DIY plumbing (copper pipe flash-soldering) and basic wire tinning.
- Expert Insight: Lacks the dual-trigger nuance of the Weller models. You must manually pulse the trigger to avoid overheating the tip, which makes it less ideal for sustained, high-precision electrical work.
Step-by-Step Technique: Splicing 8 AWG Wire with a 260W Gun
Soldering heavy-gauge wire requires a specific sequence to ensure the solder wicks into the copper strands via capillary action rather than just forming a superficial bulb around the outside. Always reference Weller's official application guides for tip maintenance, as transformer guns require more active management than station irons.
- Mechanical Preparation: Strip exactly 1.5 inches of insulation from both 8 AWG wires. Solder provides electrical conductivity and environmental sealing, not mechanical strength. Perform a tight lineman's splice (twisting the exposed strands together) using lineman's pliers. Trim any protruding wire spikes.
- Pre-Tinning the Copper Loop: Transformer tips oxidize instantly. Squeeze the trigger to HIGH. The moment the copper loop turns dull red (approx. 3 seconds), release to LOW and immediately melt 60/40 rosin-core solder (0.062" diameter) directly onto the tip until it is shiny and silver.
- Heat Transfer Phase: Press the pre-tinned tip against the center of the twisted wire splice. Squeeze the trigger to HIGH for 4-6 seconds. You will see the rosin flux boil and bubble inside the wire strands.
- Solder Application: Release the trigger to LOW. Apply your 0.062" solder wire to the opposite side of the joint from the gun tip. If the joint is hot enough, the solder will instantly flash-melt and wick completely through the splice. Feed exactly 1.5 to 2 inches of solder wire.
- Cooling and Inspection: Remove the gun tip and hold the wires perfectly still for 4 seconds. A proper joint will cool to a bright, shiny chrome finish. A dull, grainy finish indicates a "cold joint" caused by movement during the liquidus-to-solidus phase transition.
CRITICAL WARNING: Never use a transformer soldering gun on or near sensitive semiconductor components, microcontrollers, or pacemakers. The tip of a soldering gun is a single-turn secondary winding of a transformer, creating a concentrated, high-amperage electromagnetic field that can instantly fry MOSFET gates or induce erratic behavior in digital logic circuits.
Troubleshooting Matrix: Common Soldering Gun Failures
Heavy-duty soldering introduces unique failure modes due to the sheer thermal energy and chemical reactions involved. Use this matrix to diagnose issues on the fly.
| Symptom | Root Cause | Corrective Action |
|---|---|---|
| Tip Pitting / Notching | Copper loop dissolving into molten tin (leaching) due to sustained HIGH trigger usage. | Replace the copper loop (e.g., Weller CT6D7 replacement tip). Never file a pitted copper loop; it alters the resistance and burns out the primary transformer. |
| Solder Balls Up / Won't Wick | Heavy oxidation on the wire strands or insufficient flux. | Clean wire with isopropyl alcohol and apply external liquid or paste flux before attempting the joint again. |
| Insulation Melt-Back | Thermal runaway traveling down the copper strands into the PVC/XLPE jacket. | Clamp a copper alligator clip (heat sink) between the splice and the insulation to absorb excess thermal energy. |
| Gun Humming but No Heat | Loose set screws on the transformer secondary bus bars. | Unplug the unit. Open the pistol grip housing and tighten the hex screws securing the copper loop to the internal brass blocks. |
Safety, Fume Extraction, and Maintenance
Operating a 260W soldering gun vaporizes rosin flux at a much higher volume than a standard pencil iron. Colophony (rosin) fumes are a known respiratory sensitizer and can induce occupational asthma if inhaled repeatedly in poorly ventilated spaces. For comprehensive safety data regarding soldering materials and heavy metal exposure, always consult the EPA's guidelines on lead and heavy metal safety, especially if you are still utilizing older 60/40 leaded solder stocks for specific plumbing or vintage automotive restorations.
Maintenance Best Practices for 2026
- Leave it Tinned: Never store a soldering gun with a bare copper tip. Before unplugging the tool, melt a heavy glob of solder over the entire loop. This sacrificial layer will oxidize during storage, protecting the structural copper underneath.
- Inspect the Power Cord: The heavy transformer and thick power cord create a strain point at the pistol grip. Inspect the rubber boot weekly for cracking to prevent severe 120V AC shock hazards.
- Use a Damp Sponge: Keep a cellulose sponge damp (not soaking) in your work area. Briefly dragging the hot, flux-encrusted tip across the sponge before re-tinning keeps the joint chemistry pure and prevents carbon buildup.
Mastering the soldering gun Ace Hardware stocks requires respecting the brute-force thermodynamics of transformer technology. By selecting the correct wattage, utilizing the dual-trigger for thermal management, and executing proper mechanical splices beforehand, you can create heavy-duty electrical joints that will outlast the equipment they power.