
The Legacy and Reality of the Hakko FX888D and FX-888
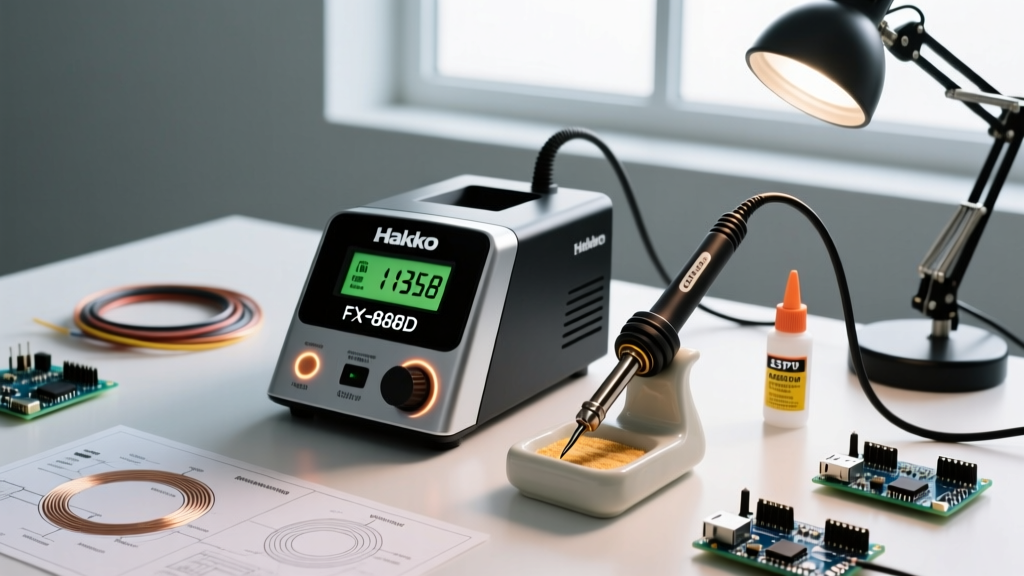
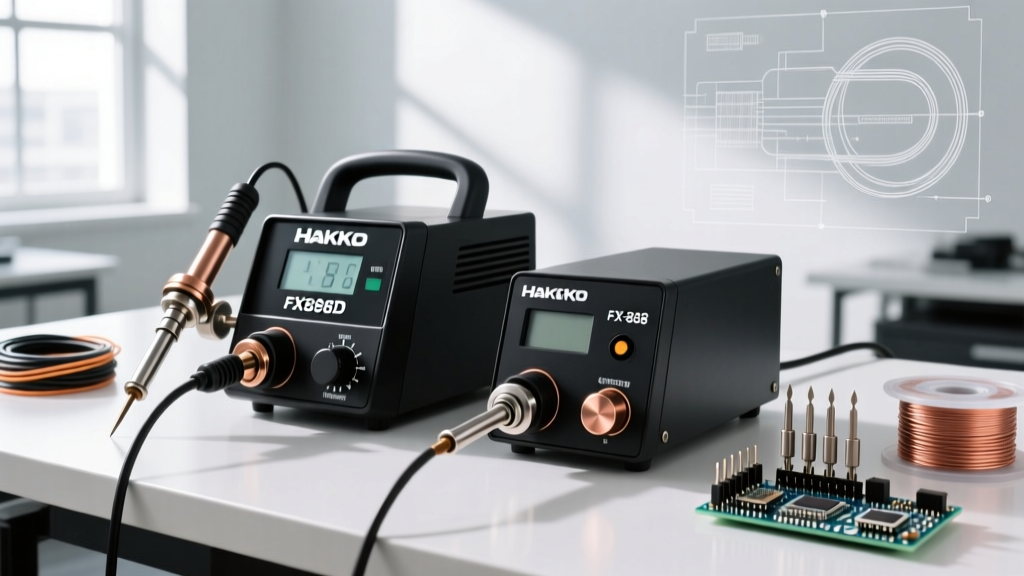
For over a decade, the Hakko FX-888 (analog) and its successor, the Hakko FX888D digital soldering station, have remained the undisputed workhorses of both professional electronics manufacturing and advanced DIY labs. As of 2026, despite the influx of cheap, generic USB-C soldering irons, the thermal mass and closed-loop PID temperature control of the FX-888D keep it at the top of the IPC J-STD-001 compliance recommendations for benchtop rework.
However, heavy daily use, improper tip tinning, and marketplace counterfeits can lead to performance degradation. Furthermore, when sourcing replacements online, buyers often search for the Hakko FX888D 23BY digital soldering station, encountering cryptic SKU suffixes like "23by" or "FX 888D FX 888" bundled listings. These are typically third-party marketplace identifiers or bundle codes, not distinct hardware revisions. The internal architecture remains the standard Hakko design.
This comprehensive troubleshooting and maintenance guide will help you diagnose hardware faults, recalibrate the digital offset, and extend the lifespan of your T18 heating elements.
Quick Diagnostic Matrix: FX-888D Error Codes & Symptoms
Before opening the chassis or ordering replacement parts, use this diagnostic matrix to isolate the failure point. The FX-888D features a built-in self-diagnostic routine that triggers specific visual cues on the dual-digit LED display.
| Symptom / Display | Probable Cause | Immediate Action Required |
|---|---|---|
| Flashing "ERR" | Open sensor circuit; broken heater wire; tip not fully seated. | Reseat tip. If persistent, test wand cord continuity and replace ceramic heater. |
| Temperature Fluctuates ±15°C | Severe tip oxidation; failing triac on mainboard; poor AC mains. | Clean tip with brass wool. Check station grounding and recalibrate offset. |
| Station Won't Power On | Blown internal thermal fuse; faulty power switch; bad transformer. | Unplug immediately. Open chassis and test the 1.5A thermal fuse with a multimeter. |
| Slow Heat Recovery | Using counterfeit T18 tip; thick lead-free solder without flux. | Verify tip authenticity. Switch to no-clean or rosin-core flux to aid thermal transfer. |
Deep-Dive Troubleshooting: Common Hardware Failures
1. Resolving the Dreaded "ERR" Display Flash
When the FX-888D display flashes "ERR", the station's internal microcontroller has detected an open circuit in the thermal sensor loop. The T18-compatible ceramic heater utilizes a 5-pin DIN connector. The sensor pins are separate from the heater pins to allow the PID controller to read the exact temperature at the tip's core.
- Reseat the Tip: Loosen the sleeve nut, pull the T18 tip out, and push it back in firmly. A microscopic layer of oxidized flux on the sensor coupling can trigger an ERR code.
- Test the Wand Cord: Unplug the wand from the station. Using a digital multimeter set to continuity (Ohms), probe the pins on the wand's plug. Pins 1 and 2 (Heater) should read between 10Ω and 15Ω. Pins 3 and 4 (Sensor) should read near 0Ω to 2Ω at room temperature. Pin 5 is Earth Ground.
- Inspect the PCB Socket: If the wand tests fine, the issue lies in the station's front-panel PCB socket. Cold solder joints on the back of the 5-pin DIN receptacle are a known failure mode after years of wand tugging.
2. Analog FX-888 Dial Calibration Drift
While the digital FX-888D dominates modern benches, many labs still operate the legacy analog FX-888 (often recognized by its blue and yellow chassis). The analog version relies on a potentiometer dial. Over time, the carbon track inside the potentiometer degrades, causing a 20°C to 40°C drift between the dial's printed number and the actual tip temperature.
Expert Tip: Never trust the printed numbers on the analog FX-888 dial. Always use a Hakko 191 digital soldering thermometer to measure the actual tip temperature via a surface thermocouple, and adjust the hidden CAL potentiometer on the front panel using a small flathead screwdriver until the physical reading matches your target.
Step-by-Step: Calibrating the FX-888D Offset Mode
Unlike the analog version, the FX888D digital soldering station uses a digital offset calibration method. This is necessary when switching to high-thermal-mass T18 tips (like the T18-D32 chisel) or when working in environments with heavy ambient drafts that skew the internal sensor readings.
To ensure compliance with Hakko's official operational guidelines, follow this exact sequence:
- Power off the station using the rear rocker switch.
- Press and hold the UP arrow button on the front panel.
- While holding the UP button, flip the power switch ON.
- The display will flash the current offset value (usually 00). Release the UP button.
- Use the UP and DOWN arrows to input the temperature difference measured by your external thermocouple. For example, if the station reads 350°C but your thermocouple reads 340°C, input an offset of +10.
- Press the ENTER button to save the value to the non-volatile memory.
Replacing the Ceramic Heater Assembly
If your multimeter confirms an open circuit on pins 1 and 2 of the wand plug, the ceramic heater inside the wand tube has fractured. This is common if the iron is repeatedly dropped on a hard tile floor. Replacement heaters cost between $25 and $35 in 2026, a fraction of a new station.
- Step 1: Unscrew the metal sleeve nut and remove the soldering tip and rubber sleeve.
- Step 2: Grasp the exposed ceramic heater element gently. Do not use metal pliers, as the ceramic is brittle and will shatter. Pull it straight out of the wand tube.
- Step 3: Insert the new OEM Hakko heater. Ensure the sensor leads are not pinched against the inner metal wall of the wand tube, which will cause a short to ground and blow the station's internal fuse.
- Step 4: Reassemble and perform a 5-minute burn-in test at 300°C to cure any manufacturing residues on the new ceramic element.
Preventative Maintenance Protocol (2026 Standards)
Maintaining the Hakko FX 888D and FX 888 requires adherence to strict ESD and thermal management protocols. According to the ESD Association standards, a soldering station must maintain a tip-to-ground resistance of less than 5 ohms to safely dissipate static charges away from sensitive CMOS and MOSFET components.
Daily Maintenance Checklist
- Tinning Before Power-Down: Never leave the tip bare. Before turning off the station, apply a generous blob of 63/37 rosin-core solder to the tip. This sacrificial layer oxidizes instead of the tip's iron plating.
- Brass Wool Over Sponges: Wet cellulose sponges cause rapid thermal shock, leading to micro-fractures in the tip's iron plating and eventual copper core dissolution. Use dry brass wool instead.
- Check the Grounding Wire: The green grounding wire attached to the rear of the chassis must be securely fastened to a verified earth ground. Test this annually with a multimeter.
The Danger of Counterfeit T18 Tips
The market is flooded with counterfeit T18 tips that cost $2 instead of the standard $9. These fakes use inferior copper alloys and lack the proprietary iron plating thickness required for lead-free soldering (which operates at higher temperatures, typically 360°C to 380°C). Counterfeit tips will pit, corrode, and destroy your ceramic heater's thermal coupling within weeks. Always purchase from authorized Hakko distributors.
FAQ: Hakko FX888D & FX-888 Station Queries
Can I use FX-888 analog tips on the FX-888D digital station?
Yes. Both the analog FX-888 and the digital FX888D utilize the exact same T18 series soldering tips and the same basic wand architecture. The primary difference lies in the station's internal control board and the user interface.
Why does my FX-888D keep resetting to 350°C when I turn it on?
The FX-888D is programmed to default to 350°C upon initial power-up as a safe baseline for standard 60/40 tin-lead solder. To retain your preferred temperature (e.g., 320°C), you must enter the setup mode (hold ENTER while powering on) and adjust the default set temperature, or simply adjust it manually each session. If the station is completely losing its memory, the internal EEPROM on the main PCB may be failing, though this is exceptionally rare.
Is the Hakko FX-888D suitable for heavy ground-plane PCB soldering?
While the 70-watt transformer in the FX-888D is excellent for 90% of through-hole and surface-mount work, massive multi-layer ground planes can drain the thermal capacity faster than the PID loop can recover. For heavy ground-plane work in 2026, professionals typically step up to the Hakko FX-951 or the FX-1000 series, which utilize active, high-frequency induction heating rather than standard ceramic resistance heating.