
The Reality of Electric Jewelry Soldering
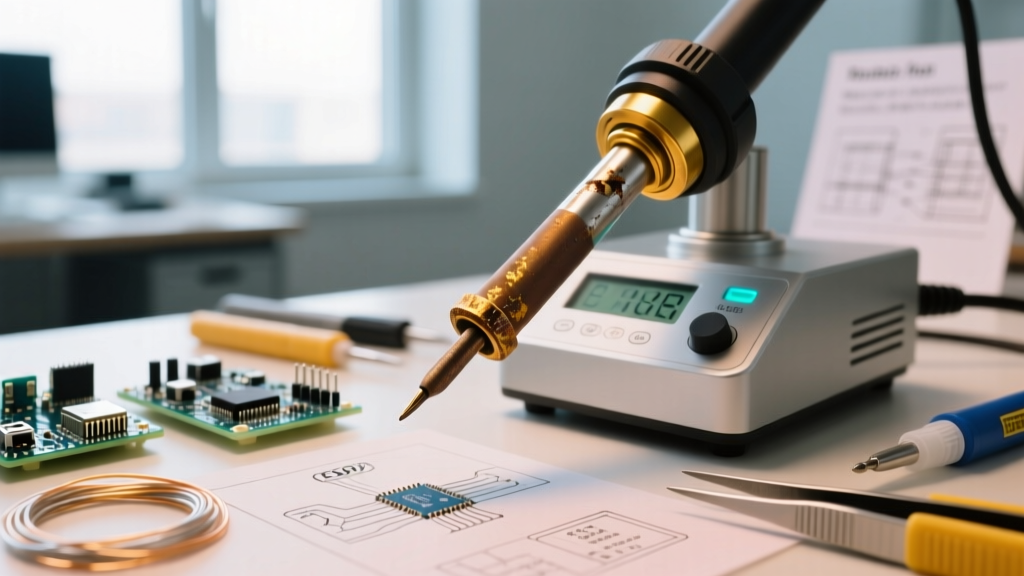
When most artisans ask how to solder jewelry with a soldering iron, they are usually met with immediate skepticism from traditional metalsmiths. The conventional wisdom in the jewelry industry is that butane or oxy-acetylene torches are the only viable tools for precious metals. However, in 2026, advancements in high-wattage, temperature-controlled electronics soldering stations have made electric soldering a viable, highly controlled alternative for specific jewelry applications—particularly when working with heat-sensitive gemstones, low-temperature silver alloys, or pewter.
The primary hurdle is thermal conductivity. Sterling silver has a thermal conductivity of roughly 429 W/m·K, meaning it pulls heat away from a soldering iron tip significantly faster than the copper PCB traces these irons are designed for. If your iron lacks the thermal mass and rapid recovery time to compensate for this heat sink effect, the solder will ball up, oxidize, and create a brittle, failed joint. This guide compares the tools required to overcome this physics problem and provides a masterclass in executing electric jewelry soldering.
Tool Comparison Matrix: Iron vs. Dedicated Electric vs. Torch
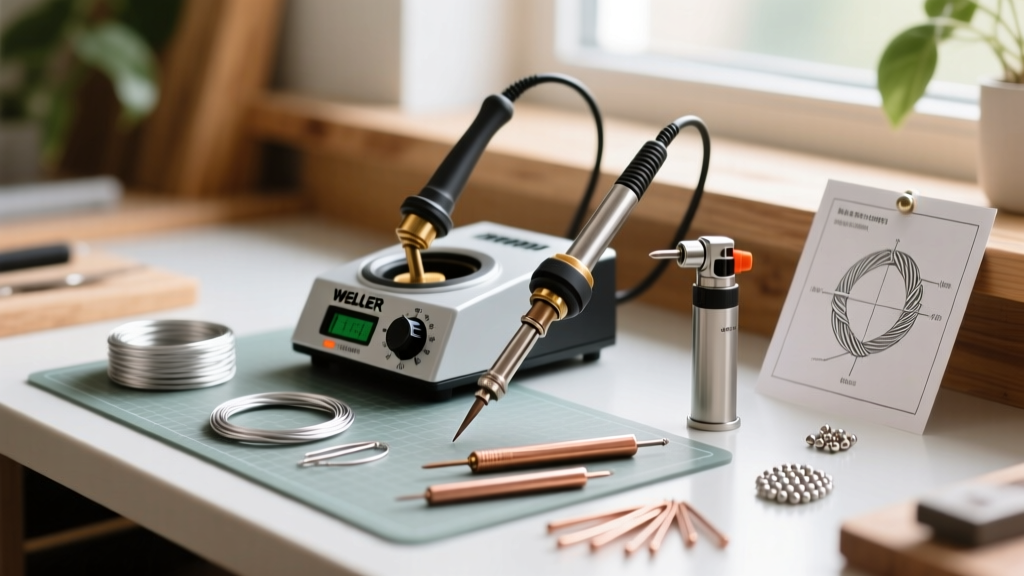
Before striking an arc or lighting a torch, you must match the tool to the metallurgical requirements of your piece. Below is a comparison of the three primary heating methods used in modern jewelry fabrication and repair.
| Tool Category | Specific Model (2026 Standard) | Max Temp & Recovery | Best Application | Approx. Cost |
|---|---|---|---|---|
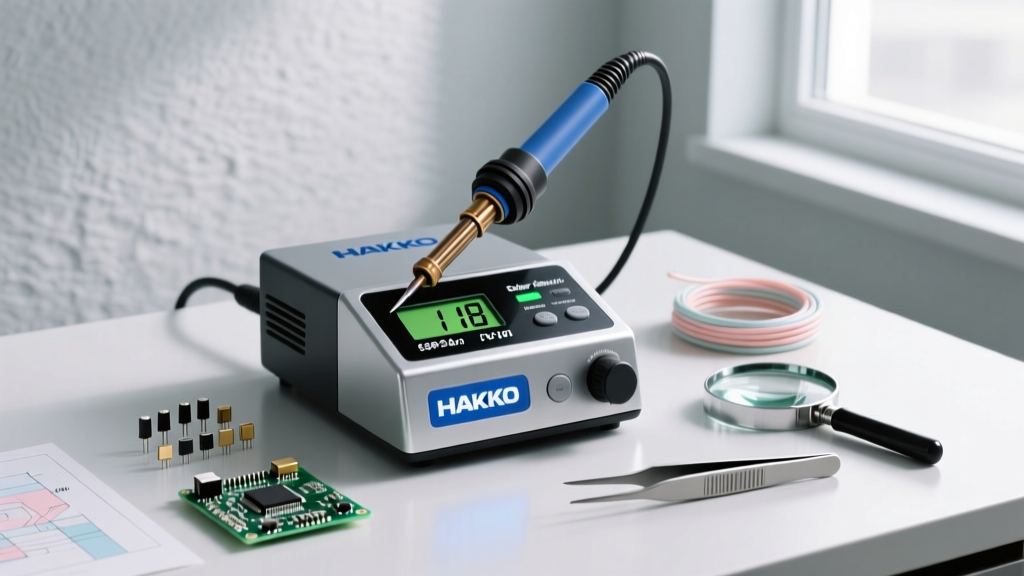
| High-End Electronics Station | Hakko FX-951 (72W) | 895°F (480°C) / Rapid | Low-temp silver solder, pewter, heat-sensitive stone proximity | $265 - $290 |
| Dedicated Jewelry Electric Solderer | Rio Grande Electro-Solder | Variable / Moderate | Chain repair, jump rings, localized spot soldering | $450 - $520 |
| Butane Micro-Torch | Blazer Big Shot | 2,500°F (1,370°C) / Instant | Hard/Medium silver solder, sizing rings, heavy fabrication | $65 - $85 |
Why Standard Electronics Solder Fails on Jewelry
A critical mistake beginners make is attempting to use standard electronics solder (like Sn63/Pb37 or lead-free SAC305) on silver or gold. While these alloys melt at accessible temperatures (361°F to 430°F), they lack the precious metal content required for jewelry. Furthermore, without the correct chemical flux, tin-based electronics solder will not wet to sterling silver. It will simply roll off the surface. To solder jewelry with an iron, you must use specialized low-temperature jewelry solders, such as Tix Low-Temp Silver Solder (melting at 355°F / 179°C) or specialized pewter solders, paired with their proprietary liquid fluxes.
Step-by-Step: How to Solder Jewelry with a Soldering Iron
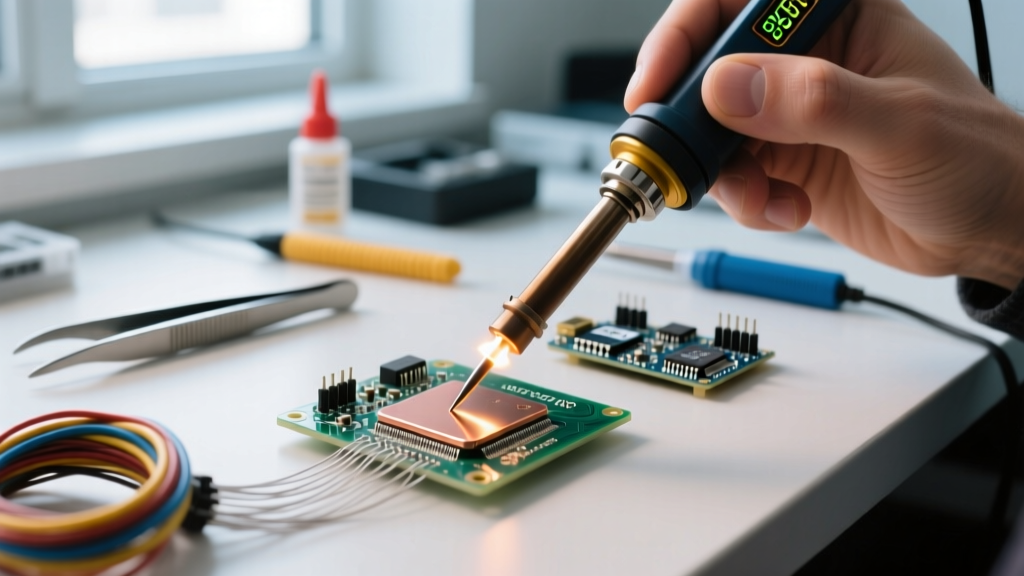
For this procedure, we are using a high-performance station like the Hakko FX-951 or the Weller WE1010NA, paired with Tix solder and Tix flux. This method is ideal for repairing jump rings, attaching earring posts, or sizing pewter castings where a torch would destroy adjacent epoxy or heat-sensitive stones like opals and turquoise.
Step 1: Surface Preparation and Fit-Up
Electric soldering relies entirely on capillary action and direct surface contact. Unlike a torch, which can flood a wide area with heat, an iron requires a tight, mechanical fit.
- Clean the metal: Use a fiberglass scratch brush or 600-grit sandpaper to remove all oxidation and oils from the joint area.
- Secure the piece: Use a third-hand tool or cross-locking tweezers. Do not hold the piece with your fingers; the thermal transfer through silver will burn you within seconds.
- Apply Flux: Brush a generous amount of Tix liquid flux onto the seam. The flux will lower the surface tension and prevent oxidation while the iron heats the metal.
Step 2: Tip Selection and Thermal Management
Never use a conical (pointed) tip for jewelry. The surface area is too small to transfer heat into a thick silver shank. Instead, select a C4 (Hoof/Bevel) or a D24 (Chisel) tip. The flat, wide surface area maximizes thermal transfer.
Pro-Tip: Set your soldering station 100°F to 150°F above the melting point of your solder. If using Tix solder (355°F), set the Hakko FX-951 to roughly 450°F (230°C). When the iron touches the silver, the metal will act as a massive heat sink, instantly dropping the tip temperature. The extra thermal headroom ensures the tip stays above the solder's flow point during the transfer.
Step 3: Tinning and Execution
- Tin the tip: Apply a tiny amount of standard electronics solder to the iron's tip. This creates a liquid thermal bridge that dramatically speeds up heat transfer to the jewelry piece.
- Heat the joint, not the solder: Press the tinned tip firmly against the silver seam. Hold for 3 to 5 seconds to allow the silver to reach temperature.
- Feed the jewelry solder: Touch the Tix solder wire to the edge of the iron tip and the silver joint simultaneously. If the silver is hot enough, the solder will instantly flash and wick into the seam via capillary action.
- Remove heat immediately: Pull the iron away and let the piece sit undisturbed for 10 seconds. Moving the piece while the low-temp solder is in its plastic phase will result in a fractured, crystallized joint.
Edge Cases and Failure Modes
Even with the right tools, electric jewelry soldering presents unique failure modes that torch users rarely encounter.
The "Cold Joint" Phenomenon
If the solder forms a dull, grainy bead on top of the seam rather than flowing smoothly into it, you have created a cold joint. This happens because the iron's thermal recovery rate was too slow for the mass of the jewelry. Solution: Upgrade to a higher wattage station, switch to a wider bevel tip, or pre-heat the jewelry piece on a hotplate to 200°F before applying the iron.
Gemstone Thermal Shock
While electric irons are safer than torches, they still pose risks to gems. According to the Gemological Institute of America (GIA), sudden localized heating can cause internal fracturing in heavily included stones. While diamonds and sapphires can generally withstand the 355°F required for low-temp soldering, stones like emeralds (which are often oil-treated) and opals (which contain trapped water) can crack or dry out. Always remove heat-sensitive stones before soldering, or use specialized heat-sink putty (like Rio Chill) on the stone side of the joint.
Expert Verdict: When to Use an Iron vs. a Torch
Understanding how to solder jewelry with a soldering iron is an invaluable skill for bench jewelers specializing in repair and mixed-media fabrication. Electric stations offer unparalleled precision for micro-soldering, jump ring closures, and working near heat-sensitive components. However, for structural joints—such as sizing a heavy sterling silver ring or fabricating a load-bearing clasp—a traditional torch and hard silver solder (melting at 1,325°F) remain mandatory. For a comprehensive look at jewelry-specific solder alloys and fluxes, bench jewelers should consult technical data sheets from major suppliers like Rio Grande to ensure their thermal profiles match their chosen tools.
By respecting the thermal limits of your equipment and utilizing low-temperature precious metal solders, a high-end electronics soldering station becomes a lethal weapon in the modern jeweler's arsenal.