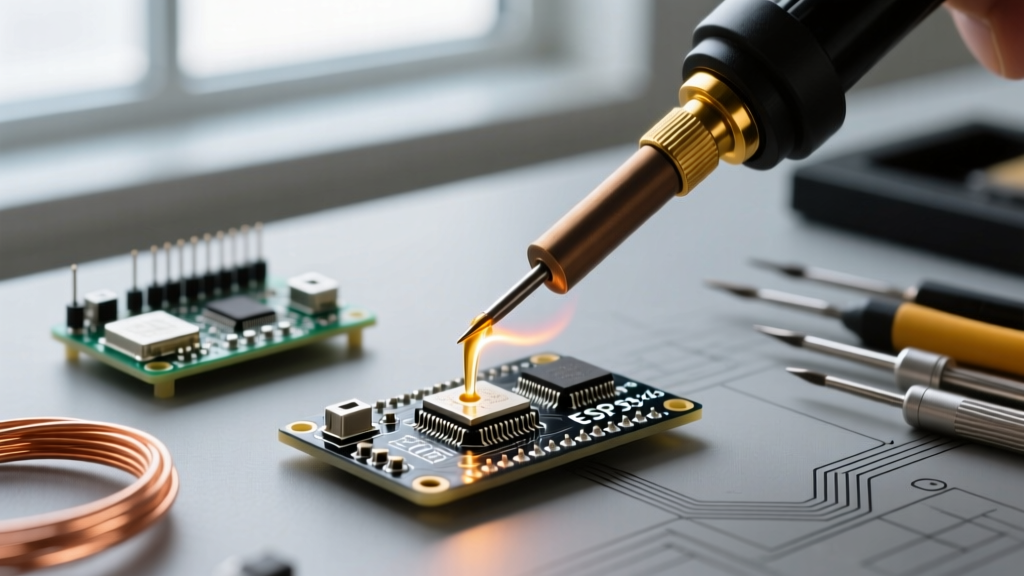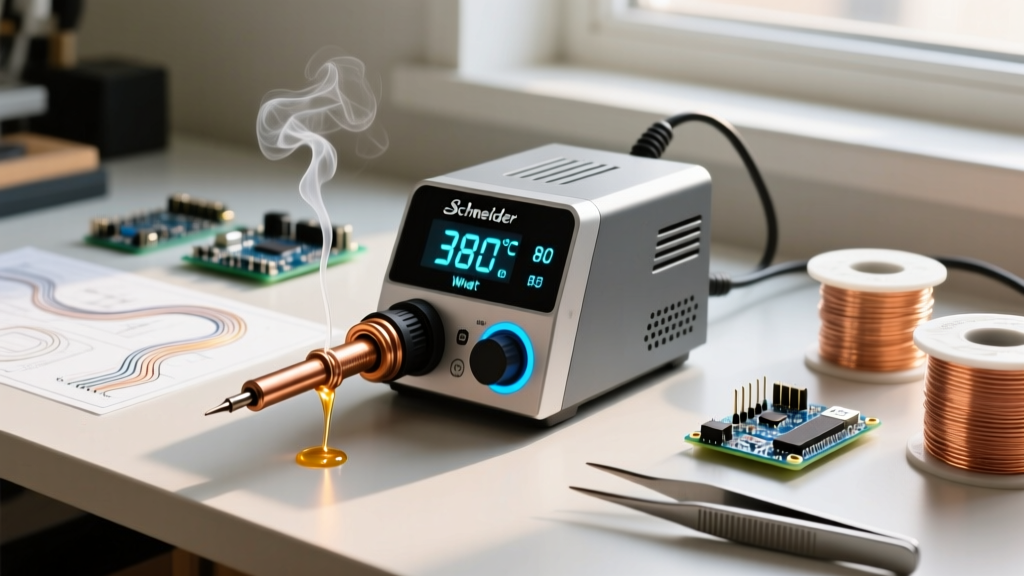

The Schneider 80 Watt Soldering Station: A 2026 Prosumer Workhorse
In the rapidly evolving landscape of electronics repair and DIY fabrication, the Schneider 80 watt soldering station has carved out a highly specific niche. Retailing between $95 and $125 USD in 2026, it bridges the gap between entry-level 60W clones and premium $200+ digital stations like the Weller WE1010 or Hakko FX-951. For technicians and advanced hobbyists, this station offers a robust 80W ceramic heating core, isolated 24V AC transformer architecture, and ESD-safe wand assembly. However, out-of-the-box performance is only the baseline. To truly leverage the thermal recovery and precision of this platform, you must understand its thermodynamics, calibration nuances, and maintenance edge cases.
Quick Specifications & Thermal Profile
- Power Output: 80W (Peak transient delivery to ceramic core)
- Temperature Range: 200°C – 480°C (392°F – 896°F)
- Heater Type: 4-wire ceramic sensing element (Alumina substrate)
- Wand Voltage: 24V AC (Galvanically isolated from mains)
- Tip Compatibility: Schneider ST-Series slide-on ceramic sleeves
The Physics of the 80W Ceramic Core
Many users mistakenly equate wattage strictly with maximum temperature. In reality, wattage dictates thermal recovery rate. When you apply a room-temperature ST-series chisel tip to a massive copper ground plane on a 4-layer PCB, the tip's temperature plummets. A standard 60W station will stall, causing the solder to freeze and resulting in a cold, dull joint. The Schneider 80 watt soldering station utilizes a high-current 24V AC secondary winding that dumps immediate energy into the ceramic heater, recovering the 150°C temperature delta in under 3 seconds.
However, this rapid recovery requires precise sensor feedback. The 4-wire ceramic element dedicates two wires to heating and two to the thermocouple sensor. If the wand's 5-pin DIN connector is subjected to lateral stress, the delicate sensor pins can fatigue, causing the station to read a false 'open circuit' and flash an error code. Always route the silicone cord over the edge of your workbench rather than letting it drag across sharp chassis edges.
Tip Selection: Matching Thermal Mass to the PCB
The Schneider ST-series tips rely on a slide-on sleeve mechanism that maximizes surface contact with the ceramic heater. Selecting the wrong tip geometry is the number one cause of perceived 'underperformance' in 80W stations. You must match the tip's thermal mass to the pad's heat dissipation rate.
| Tip Geometry (ST-Series) | Thermal Mass | Ideal Application | Recommended Temp (SAC305) |
|---|---|---|---|
| 1.2mm Conical (ST-I) | Low | 0402/0603 SMD, fine-pitch SOIC | 340°C (644°F) |
| 2.4mm Chisel (ST-D24) | Medium | Through-hole DIP, 0805 SMD, general wire | 350°C (662°F) |
| 3.2mm Bevel (ST-C3) | High | Solder cup terminals, heavy gauge wire | 360°C (680°F) |
| 4.0mm Knife (ST-K) | Very High | Multi-layer ground planes, desoldering braiding | 370°C (698°F) |
Expert Insight: Never use a 1.2mm conical tip on a large ground plane and compensate by turning the dial to 420°C. This will instantly oxidize the iron plating on the tip, rendering it permanently non-wettable. Instead, switch to a 3.2mm Bevel tip and keep the temperature at a moderate 350°C. Thermal transfer is about surface area contact, not raw heat.
Advanced Thermal Calibration & Offset Adjustments
While the Schneider 80 watt soldering station features digital readouts (on the digital variants) or analog dials (on the analog variants), environmental factors and heater aging can introduce a ±10°C offset. According to the IPC J-STD-001 standard for soldered assemblies, temperature profiling at the tip is critical for ensuring proper flux activation and intermetallic compound (IMC) formation.
Step-by-Step Calibration Procedure
To calibrate the internal feedback loop, you will need a K-type thermocouple, a digital multimeter, and a small flathead jeweler's screwdriver.
- Prepare the Sensor: Apply a microscopic bead of high-temperature thermal paste to the junction of your K-type thermocouple. Secure it to the flat face of a 2.4mm Chisel tip using a tiny strip of Kapton tape.
- Heat Soak: Set the station to 350°C (662°F). Allow the system to reach thermal equilibrium. Wait until the station's indicator light cycles off and on at least three times (approximately 4 minutes).
- Measure the Delta: Read the temperature on your multimeter. If the multimeter reads 342°C but the station displays 350°C, you have an -8°C offset.
- Adjust the Trim Pot: Unplug the station. Open the chassis (or access the side calibration port, depending on your exact model year). Locate the multi-turn blue trim potentiometer labeled 'CAL'. Make micro-adjustments (1/8th of a turn) using the jeweler's screwdriver.
- Verify and Seal: Reassemble, plug in, and re-measure. Once the delta is within ±2°C, apply a drop of clear nail polish or Loctite 495 to the trim pot screw to prevent vibration-induced drift.
Flux Activation and Wetting Profiles
A soldering iron is merely a heat delivery vehicle; the actual chemical work is done by the flux. When using the Schneider 80W station with lead-free SAC305 (Sn96.5/Ag3.0/Cu0.5) wire, understanding flux activation temperatures is paramount. Most no-clean and rosin-activated (RA) fluxes activate between 180°C and 220°C. If your tip temperature is too low, the flux will not clear the metal oxides, resulting in a de-wetted, grainy joint. If the temperature exceeds 380°C, the flux will burn off instantly, leaving behind a charred, conductive residue that can cause parasitic capacitance in high-frequency RF circuits.
For optimal results with the Schneider platform, apply the solder wire directly to the pad, not the iron tip. The iron tip should contact the pad and the component lead simultaneously for 1.5 seconds to pre-heat the joint, then feed the solder into the opposite side of the joint. This ensures the flux activates precisely where the metallurgical bond is forming.
ESD Safety and Grounding Verification
Modern MOSFETs and CMOS logic gates can be destroyed by electrostatic discharge (ESD) events as low as 20 volts—far below the threshold of human perception. The Schneider 80 watt soldering station is designed with an ESD-safe wand, featuring a conductive silicone grip and a dedicated grounding wire routed through the 5-pin DIN cable to the station's chassis ground.
According to the ESD Association's ANSI/ESD S20.20 standard, the resistance from the soldering tip to the earth ground pin must be strictly maintained. As outlined in Fluke's technical guidelines on ESD measurement, you should periodically verify this path:
- Set your multimeter to the lowest Ohms range.
- Place the black probe on the station's earth ground terminal (or the third prong of the mains plug).
- Place the red probe directly on the tinned soldering tip.
- The resistance should read less than 2.0 ohms. If it reads higher, the internal grounding wire in the wand may be fractured, or the tip sleeve is heavily oxidized internally, breaking the electrical path to the ceramic heater's grounding collar.
Maintenance Schedule and Failure Modes
To extract years of reliable service from your Schneider station, implement a strict maintenance protocol. The most common failure mode in 2026 is not the transformer or the PCB, but the irreversible oxidation of the tip's iron plating.
The 'Tinning Before Shutoff' Rule
Never leave a bare tip exposed to ambient air while hot. When you power down the station, immediately apply a massive blob of 63/37 rosin-core solder to the tip. This sacrificial layer will oxidize instead of the iron plating. When you power the station back on, simply wipe the oxidized sacrificial solder off on a damp cellulose sponge or brass wool, and re-tin with fresh solder.
Brass Wool vs. Cellulose Sponge
While damp cellulose sponges are traditional, they cause severe thermal shock. Dropping a 350°C tip onto a wet sponge causes the temperature to plummet by over 100°C in a fraction of a second. Over hundreds of cycles, this thermal cycling causes micro-fractures in the alumina ceramic heater core, eventually leading to catastrophic heater failure. Transition to a dry brass wool tip cleaner. Brass is softer than the iron plating on the tip, so it will remove oxidized solder and flux residue without scratching the tip or inducing thermal shock.
Final Verdict for the Advanced Technician
The Schneider 80 watt soldering station remains a highly capable, cost-effective platform for serious PCB rework, provided the user respects its thermal boundaries and maintenance requirements. By pairing the correct ST-series tip geometry with rigorous calibration and strict ESD grounding protocols, this station can easily rival units costing twice as much. Treat the ceramic core with care, manage your flux activation windows, and let the 80W transformer do the heavy lifting on those stubborn multi-layer ground planes.