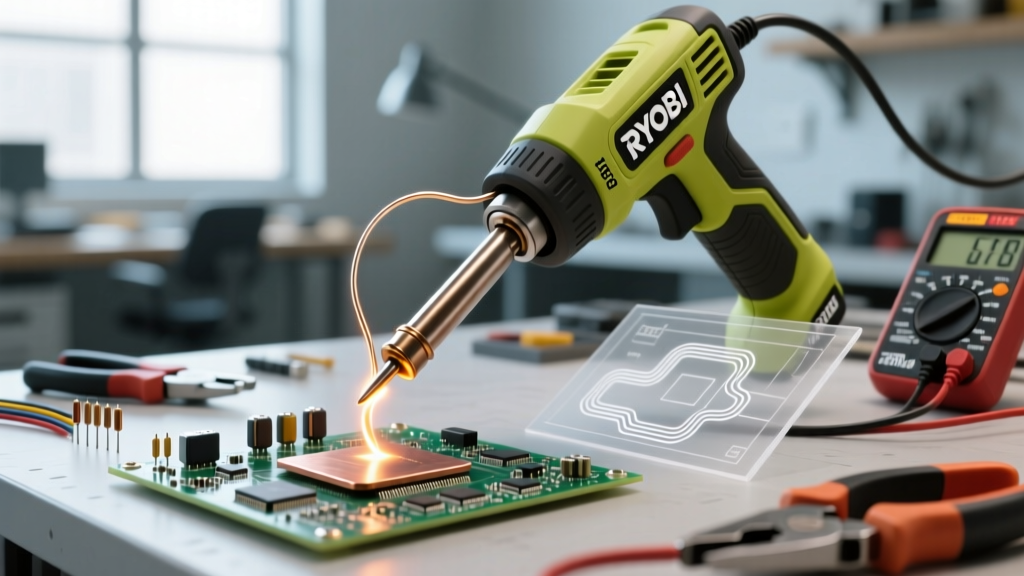

The "Ryobi Soldering Gun" Misconception: What You Are Actually Holding
Before diving into the setup and calibration process, we must address a widespread terminology issue in the DIY electronics community. While hobbyists and plumbers frequently search for a Ryobi soldering gun, it is vital to clarify that Ryobi’s 18V ONE+ lineup features a cordless soldering iron (Model P310), not a traditional transformer-based, pistol-grip soldering gun like the classic Weller 9400. Traditional soldering guns use a step-down transformer to push massive current through a copper loop tip, heating up in seconds but lacking precision.
The Ryobi P310, however, is a high-wattage, wand-style cordless iron. Because the inline 18V battery attachment gives it a bulky, power-drill-like profile, the "gun" moniker has stuck in forums and search engines. Understanding this distinction is critical for calibration: you are working with a Pulse Width Modulation (PWM) controlled resistive heating element, not a raw current loop. Proper setup of this PWM system is what separates a reliable field tool from a frustrating paperweight.
Phase 1: Power Source Selection and Voltage Sag Management
The most common failure point when setting up any cordless soldering tool is ignoring the internal resistance of the battery. When the P310’s ceramic heating element engages, it draws a massive inrush current (often exceeding 4 amps) to reach its target temperature of 800°F (426°C) rapidly. According to Battery University, high current draws cause lithium-ion cells to experience voltage sag. If the voltage drops below the tool's low-voltage cutoff, the internal PCB will throttle the heating element, resulting in an underpowered tip that fails to melt SAC305 lead-free solder.
Battery Matrix: Runtime vs. Thermal Recovery
To properly calibrate your tool's performance expectations, match your battery to your specific soldering task. Below is a 2026 performance matrix based on continuous 14-gauge wire tinning:
| Battery Model | Voltage Under 4A Load | Cold-to-Ready Heat-Up | Estimated 63/37 Joints per Charge |
|---|---|---|---|
| 1.5Ah Compact (P108) | 15.2V | 22 Seconds | ~45 Joints |
| 4.0Ah High Performance (PBP004) | 17.1V | 14 Seconds | ~160 Joints |
| 8.0Ah High Performance (PBP008) | 17.4V | 12 Seconds | ~350 Joints |
Expert Setup Rule: Never use a partially depleted Compact battery for heavy-gauge plumbing or automotive wiring. The voltage sag will cause the PWM controller to pulse erratically, leading to cold solder joints that violate IPC J-STD-001 requirements for proper metallurgical wetting.
Phase 2: Mechanical Calibration and Tip Installation
The thermal transfer efficiency of your Ryobi cordless iron relies entirely on the physical interface between the ceramic heater and the copper core of the soldering tip. The P310 uses a proprietary set-screw retention system rather than the slip-on sleeves found on Hakko or Weller stations.
CRITICAL WARNING: Do not use a standard flathead screwdriver or an oversized hex key on the tip retention screw. The M3 set-screw must be tightened using the exact 2mm hex wrench provided in the P310 kit. Torque it to approximately 0.5 Nm. Over-tightening will warp the soft copper core of the tip, creating a microscopic air gap that acts as a thermal insulator, effectively destroying your heat transfer.
Step-by-Step Tip Seating Procedure
- Clean the Heater Shaft: Before installing a new tip, wipe the ceramic heater shaft with isopropyl alcohol (99%) to remove any manufacturing oils or oxidation.
- Inspect the Tip Bore: Look inside the hollow base of the Ryobi 6.5mm chisel tip. Ensure there is no debris or old flux residue.
- Seat Fully: Push the tip onto the heater shaft until it bottoms out completely. You should feel a distinct "click" or stop.
- Secure the Set-Screw: Tighten the M3 screw just until you feel resistance, then give it a quarter-turn more. Do not force it.
Phase 3: The Critical First-Tinning Procedure
Cordless irons heat up aggressively. If you trigger the Ryobi P310 and wait for the LED to turn green before applying solder, the tip will have already exceeded 850°F, instantly oxidizing the iron plating and rendering it non-wettable. Proper calibration of your workflow requires pre-emptive tinning.
- Step 1: Coat the cold tip heavily with a high-rosin flux core solder (Sn63/Pb37 is recommended for initial tinning due to its lower 361°F melting point and superior wetting).
- Step 2: Press the power button. The LED will glow red, indicating the PWM is delivering maximum duty cycle to the heater.
- Step 3: As the tip reaches 361°F, the solder will melt and flow across the iron plating, creating a protective barrier against oxidation before the tip reaches its peak 800°F operating temperature.
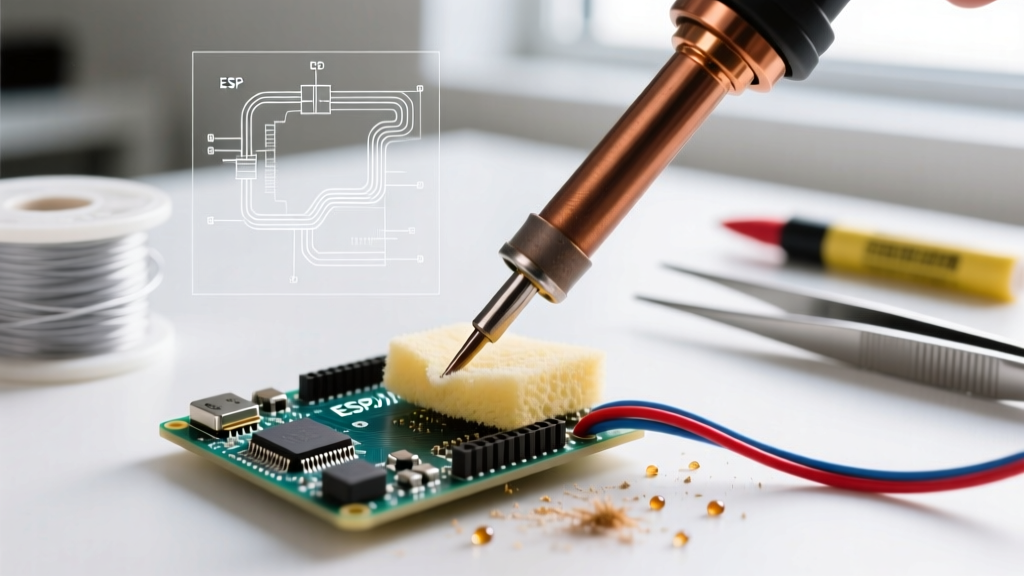
- Step 4: Once the LED turns green (approx. 14 seconds with a 4.0Ah battery), wipe the tip on a damp cellulose sponge or brass wool to remove the burnt flux, leaving a bright, silvery tinned surface.
Phase 4: Thermal Management and Duty Cycle Calibration
Unlike a benchtop station with a digital temperature dial, the Ryobi P310 relies on an internal thermocouple and a fixed-target PWM controller. You cannot "calibrate" the temperature via software; instead, you must calibrate your technique to the tool's thermal mass.
Reading the LED Feedback Loop
The LED indicator on the P310 is your primary diagnostic tool for thermal calibration:
- Solid Red: Heater is at maximum duty cycle. The tip is recovering from a massive thermal load (e.g., soldering a large ground plane). Action: Wait. Do not apply more solder yet.
- Solid Green: Tip has reached the target setpoint (~800°F). The PWM is pulsing at a low duty cycle to maintain heat. Action: Ideal state for making solder joints.
- Flashing Red/Green: Error state or thermal runaway. This usually indicates the tip is not seated properly, and the thermocouple is reading the ambient air temperature instead of the tip mass. Action: Power off immediately, reseat the tip, and restart.
Troubleshooting Common P310 Failure Modes
Even with perfect setup, field conditions can introduce variables that disrupt your soldering workflow. Here is how to diagnose and fix the most common edge cases:
1. Solder Balls Up and Refuses to Wet
Diagnosis: Tip oxidation or flux depletion. The Ryobi iron runs hotter than standard 60W bench irons. If left idle in the "on" position for more than 3 minutes, the rosin flux will burn off, and the iron plating will oxidize.
Solution: Turn the tool off when not actively soldering. To fix an oxidized tip, use a specialized tip tinner (a mixture of abrasive powder and solder) while the tip is warm, then re-tin with fresh 63/37 solder.
2. Tool Shuts Off Mid-Joint
Diagnosis: Battery Management System (BMS) thermal trip or voltage cutoff. High-amp draw generates heat inside the battery cells. If you are using an older 1.5Ah compact battery in a hot environment, the BMS will cut power to prevent cell damage.
Solution: Upgrade to a Ryobi High Performance battery. These feature advanced cell spacing and better thermal dissipation, allowing for sustained high-amp draws without triggering the BMS cutoff.
3. Sluggish Thermal Recovery on Thick Wires
Diagnosis: Insufficient thermal mass. The standard conical tip included with the P310 lacks the physical volume to transfer heat into 10 AWG or 12 AWG wires quickly.
Solution: Swap to the Ryobi proprietary 6.5mm heavy-duty chisel tip. The increased surface area and copper mass will act as a thermal reservoir, bridging the gap between the ceramic heater and the high-mass workpiece.
Final Verdict: Optimizing Your Cordless Workflow
Setting up the Ryobi P310 requires a shift in mindset from traditional benchtop soldering. By treating the battery as an integral component of the thermal circuit, respecting the mechanical tolerances of the set-screw, and utilizing pre-emptive tinning to manage the aggressive heat-up curve, you transform this tool from a simple DIY novelty into a highly capable field instrument. Whether you are repairing automotive wiring harnesses or installing remote telemetry sensors off-grid, proper calibration ensures your joints meet professional reliability standards every single time.
For further reading on professional soldering requirements and metallurgical wetting standards, refer to the Ryobi Tools Support Center for official P310 maintenance schematics and the IPC guidelines for electronic assembly.