
The Allure and Anatomy of Mid-Century Soldering Tools
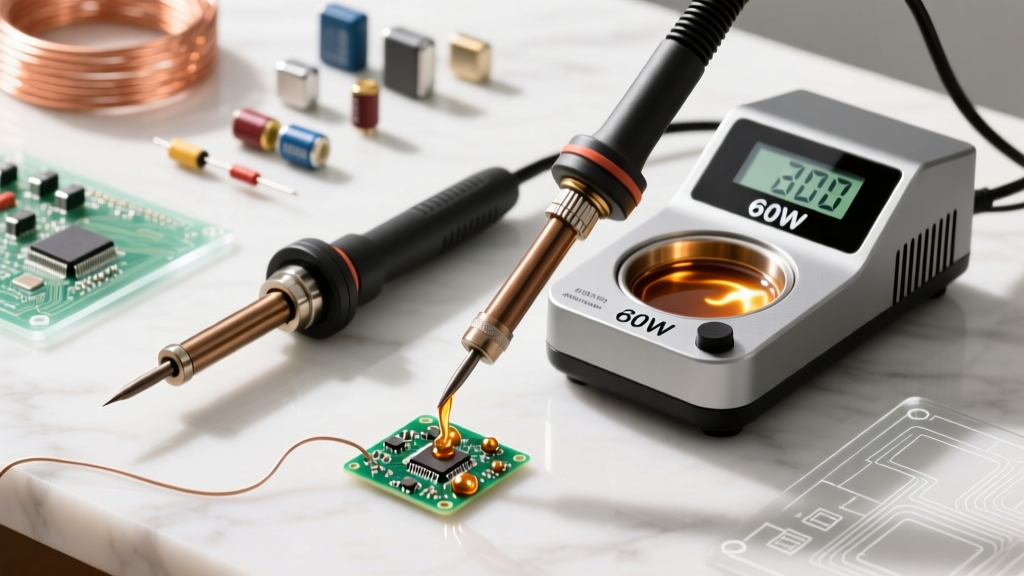
For electronics enthusiasts, hardware hackers, and vintage audio restorers, a vintage soldering iron represents an era of uncompromising industrial design. Models like the Weller SP40 (introduced in the 1960s) and the Ungar 7700 were built with heavy-gauge stainless steel barrels, Bakelite handles, and massive solid-copper tips. Unlike modern disposable tools, these irons were engineered to be fully serviceable. However, purchasing an unrestored vintage soldering iron from an estate sale or online auction in 2026 comes with severe electrical and chemical hazards that must be addressed before the tool ever touches a workbench.
At the heart of a classic Weller SP series iron is a mica-wound heating element. Nichrome resistance wire is wrapped around a thin sheet of mica, which acts as an electrical insulator while allowing thermal transfer to the outer steel casing. While this design provides immense thermal mass, decades of thermal cycling cause the mica to become incredibly brittle. Understanding this anatomy is the first step in a safe and effective restoration.
Critical Safety Hazards in Pre-1980s Irons
The Mica Element and Lethal Shock Risk
The most dangerous failure mode of a vintage soldering iron is a cracked mica insulator. If the mica fractures, the live 120V AC nichrome wire can make direct contact with the outer stainless steel barrel. Because original mid-century irons were equipped with ungrounded 2-prong NEMA 1-15P plugs, the metal barrel becomes fully energized. If you touch the barrel while your arm is resting on a grounded metal workbench, the current will pass through your body. This is not a minor shock hazard; it is a potentially lethal electrocution risk.
Asbestos, Lead, and Degrading Insulation
Older manufacturing processes frequently utilized asbestos in high-temperature applications. In many vintage irons, the internal strain relief bushing and the heat-shielding wrap around the power cord contain asbestos fibers. When handling degraded internal insulation, be aware of older manufacturing materials. According to OSHA guidelines on lead and heavy metal exposure, older soldering equipment may also harbor lead dust in the handle crevices from decades of use with 60/40 Sn/Pb solder. Always wear an N95 respirator and nitrile gloves when opening the handle of an unrestored vintage tool, and dispose of any fibrous white or grey dust as hazardous waste.
The Two-Prong Plug and Grounding Dilemma
Modern electrical codes strictly require metal-chassis heating appliances to be grounded. Upgrading to a grounded plug aligns with the NFPA National Electrical Code requirements for metal-chassis appliances, ensuring that if an internal short occurs, the breaker trips immediately rather than energizing the user.
Step-by-Step Restoration: Rewiring a Weller SP40
Restoring a Weller SP40 40W pencil iron is a highly rewarding weekend project. The goal is to replace the degraded PVC cord, upgrade to a 3-prong grounded plug, and verify the integrity of the mica element.
Materials and Cost Breakdown (2026 Pricing)
- Unrestored Weller SP40 (eBay/Estate Sale): $18 – $28
- 18 AWG Silicone-Fiberglass Jacketed Wire (6 ft): $14.00 (Must be rated for 200°C+)
- NEMA 5-15P 3-Prong Rewireable Plug: $4.50
- Heat Shrink Tubing & Ring Terminals: $3.00
- Total Restoration Cost: ~$39.50 – $49.50
Note: Never use standard PVC-jacketed power cords for soldering irons. PVC melts at approximately 105°C. The ambient temperature near the strain relief of a 40W iron frequently exceeds 120°C, which will melt PVC insulation and expose live AC voltage. Always use high-temperature silicone or fiberglass-braided wiring.
The Rewiring Procedure
- Disassembly: Remove the two set screws on the Bakelite handle using a hollow-ground gunsmith screwdriver to prevent stripping the vintage slotted screws. Slide the handle back to expose the internal terminal block.
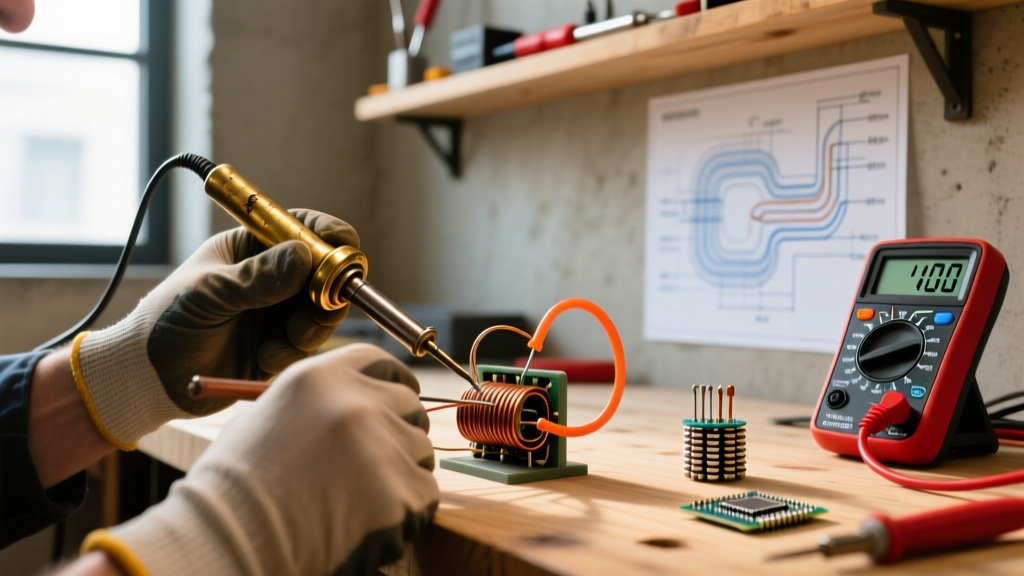
- Element Inspection: Use a multimeter to check the resistance across the two heating element terminals. A 40W iron at 120V should read approximately 360 ohms (calculated via R = V²/P). Next, check for continuity between either terminal and the outer steel barrel. If you read any continuity to ground, the mica element has failed and must be replaced or the iron scrapped.
- Cord Preparation: Strip the outer silicone jacket of your new 18 AWG high-temp cord. Strip the inner wires and crimp high-temperature nickel-plated ring terminals onto the ends.
- Grounding the Chassis: This is the most critical safety step. Locate the internal metal strap or the screw that secures the steel barrel to the internal chassis. Attach the green ground wire's ring terminal directly to this metal-to-metal junction. This ensures the outer barrel is tied to earth ground.
- Termination: Connect the black (hot) and white (neutral) wires to the heating element terminals. Polarity does not matter for a resistive AC heating element, but ensure the connections are tight to prevent arcing.
- Reassembly: Apply a small dab of high-temperature RTV silicone to the cord strain relief to prevent mechanical fatigue, slide the Bakelite handle forward, and secure the set screws.
Thermal Performance: Vintage Copper vs. Modern Ceramic
How does a restored 1960s Weller SP40 stack up against modern 2026 standards like the Hakko FX-888D or the RISC-V powered Pinecil V2? The answer depends entirely on your use case. Proper thermal profiling is essential for reliable joints, as outlined in the IPC J-STD-001 standard, which emphasizes maintaining adequate thermal mass to prevent cold joints on heavy ground planes.
| Feature | Weller SP40 (Restored) | Hakko FX-888D | Pinecil V2 |
|---|---|---|---|
| Heater Technology | Mica-wound Nichrome | Ceramic (Alumina) | Thick-Film Resistive |
| Heat-up Time (to 350°C) | ~120 seconds | ~25 seconds | ~6 seconds |
| Thermal Recovery | Slow (High thermal mass) | Fast (PID controlled) | Instant (High wattage DC) |
| Tip Material | Solid Copper (ET Series) | Iron-plated (T18) | Iron-plated (TS100/Pine) |
| Best Application | Massive through-hole, thick ground planes, plumbing | General PCB, mixed SMD/Through-hole | Micro-SMD, field repair, portable |
| 2026 Avg. Price | $45 (Restored) | $105 | $26 |
The vintage Weller SP40 excels in high-thermal-mass scenarios. If you are soldering heavy-gauge wire to a massive copper lug, or working on vintage tube amplifier chassis with thick steel ground planes, the sheer thermal inertia of the solid copper tip prevents the joint from sucking the heat away. However, for delicate 0603 surface-mount components, the slow thermal recovery and lack of precise digital temperature control make the vintage iron a liability.
Solid Copper Tip Refurbishment and Tinning
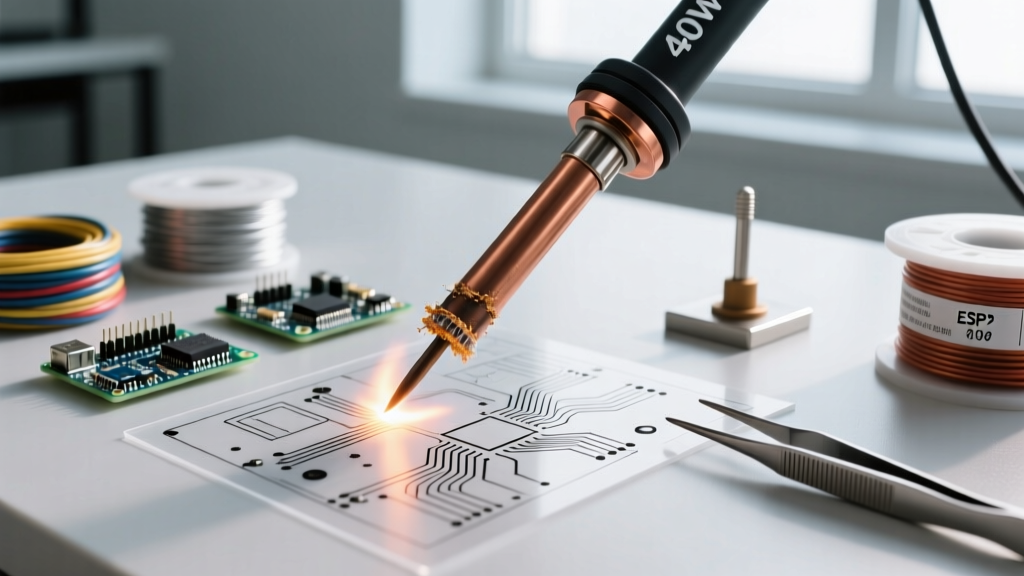
Modern soldering iron tips are iron-plated to prevent the solder from dissolving the copper core. Vintage irons like the Weller SP series use solid copper tips (such as the Weller ET series). While solid copper offers superior thermal conductivity, it is highly susceptible to oxidation and pitting.
The Refurbishment Protocol
- Mechanical Cleaning: Never use steel wool or sandpaper on a hot copper tip, as this will embed iron particles that cause rapid galvanic corrosion. Use a brass wire sponge or a specialized copper-tip cleaning file while the tip is cool to remove heavy black copper oxide (CuO).
- Flux Application: Apply a generous amount of rosin-based (RMA) liquid flux to the cold tip.
- Initial Tinning: Power on the iron. As it reaches melting temperature, immediately apply 63/37 Sn/Pb eutectic solder (or a high-flux Sn60/Pb40 variant). The flux will boil off, reducing the remaining oxides, and the solder will alloy directly with the bare copper.
- Maintenance: Wipe the tip on damp cellulose sponge or brass wool after every three joints. Never leave a vintage copper tip untinned while powered on, or it will develop a thick layer of non-conductive oxidation within minutes, rendering it useless.
Expert Insight: If a solid copper tip develops deep pits from prolonged exposure to lead-free (SAC305) solder, the tip is permanently ruined. Lead-free soldays dissolve solid copper at an exponentially faster rate than Sn/Pb alloys. Always dedicate vintage solid-copper tips exclusively to leaded solder work.
Pros and Cons of Daily Driving Vintage Gear
The Advantages
- Unmatched Thermal Mass: Ideal for heavy-duty through-hole work, stained glass, and thick gauge wiring.
- Repairability: Every component, from the heating element to the handle, can be disassembled and replaced.
- Aesthetics and Ergonomics: The weight and balance of a Bakelite and steel iron provide a premium, tactile experience that lightweight plastic modern stations lack.
The Drawbacks
- Slow Response: Mica heaters lack the rapid thermal feedback loops of modern ceramic sensors.
- Maintenance Heavy: Solid copper tips require constant vigilance, cleaning, and re-tinning.
- ESD Unsafe: Unless specifically modified with ESD-safe grounding straps, the leakage current from a mica-wound AC element can damage highly sensitive, unshielded CMOS logic gates.
Verdict: Should You Restore a Vintage Soldering Iron?
Restoring a vintage soldering iron is a masterclass in mid-century electrical engineering and a highly practical way to acquire a heavy-duty tool for a fraction of the cost of a modern high-wattage station. By replacing the hazardous PVC cord with high-temperature silicone wiring, implementing a proper 3-prong chassis ground, and meticulously maintaining the solid copper tip, you can safely bring a piece of electronics history back to life. While it will never replace a digital Pinecil V2 for micro-soldering, a restored Weller SP40 remains an undisputed king for heavy thermal loads on the workbench.