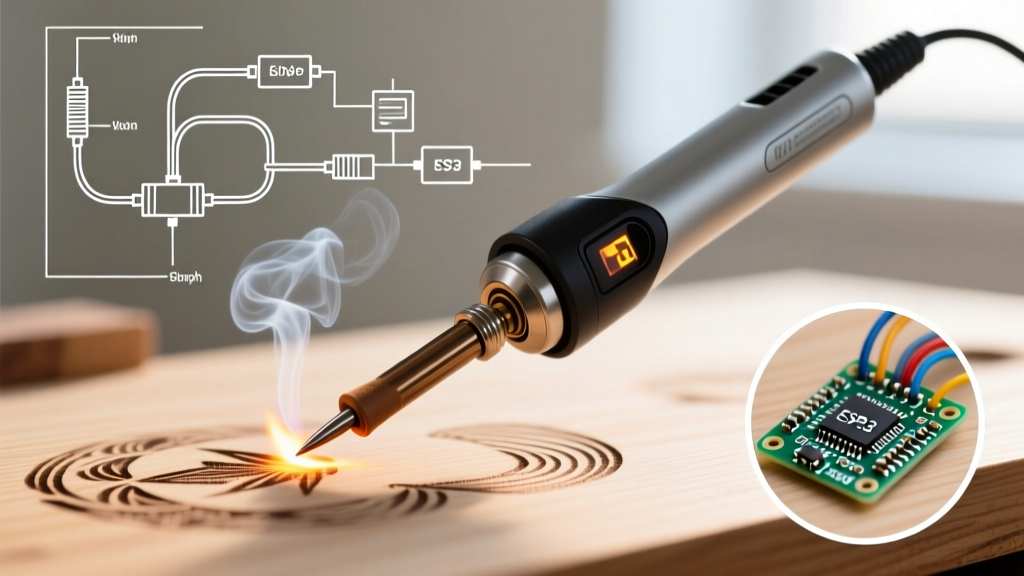

Pyrography, the art of decorating wood with burn marks, traditionally relies on dedicated wire-nib burners or cheap craft pens. However, advanced makers and electronics hobbyists are increasingly repurposing high-end digital soldering stations for woodworking. Why? Superior thermal recovery, precise digital temperature control, and ergonomic grips designed for hours of use. This feature deep dive explores the exact physics, hardware modifications, and technique shifts required to successfully use a soldering iron for wood burning.
The Physics of Pyrography: Thermal Recovery vs. Peak Heat
When adapting electronics tools for woodworking, the most common mistake is obsessing over peak temperature. Wood acts as a dynamic thermal sink; its moisture content and cellular density rapidly draw heat away from the tip. A cheap 30W craft pen might claim a peak temperature of 750°F, but the moment it touches dense oak, the tip temperature plummets, resulting in uneven, blotchy burns and the need for excessive downward pressure.
Professional soldering stations solve this through thermal recovery—the speed at which the station's heater and sensor loop can push watts back into the tip. A 65W digital station will maintain a steady 450°F at the tip contact point far better than a 30W analog pen. When selecting a soldering iron for wood burning, prioritize wattage and sensor proximity over maximum temperature dials.
Metallurgy and Tip Degradation: The Hidden Cost
Electronics soldering tips are engineered with a copper core for heat transfer, plated with iron to resist molten solder corrosion, and finished with chromium. This metallurgy introduces a specific failure mode when used for pyrography: terpene carbonization.
Wood contains natural resins and terpenes that vaporize and carbonize at temperatures above 400°F. Unlike rosin flux in electronics, which is designed to clean and protect, wood sap bakes onto the iron plating, creating an insulating carbon layer. This layer destroys thermal transfer, forcing the user to increase the temperature, which in turn oxidizes the tip faster. To combat this, pyrographers using soldering stations must clean their tips with brass wool every 10 to 15 minutes of active burning, never using abrasive sandpaper or steel wool which will strip the iron plating.
Tip Profiles and Their Pyrography Applications
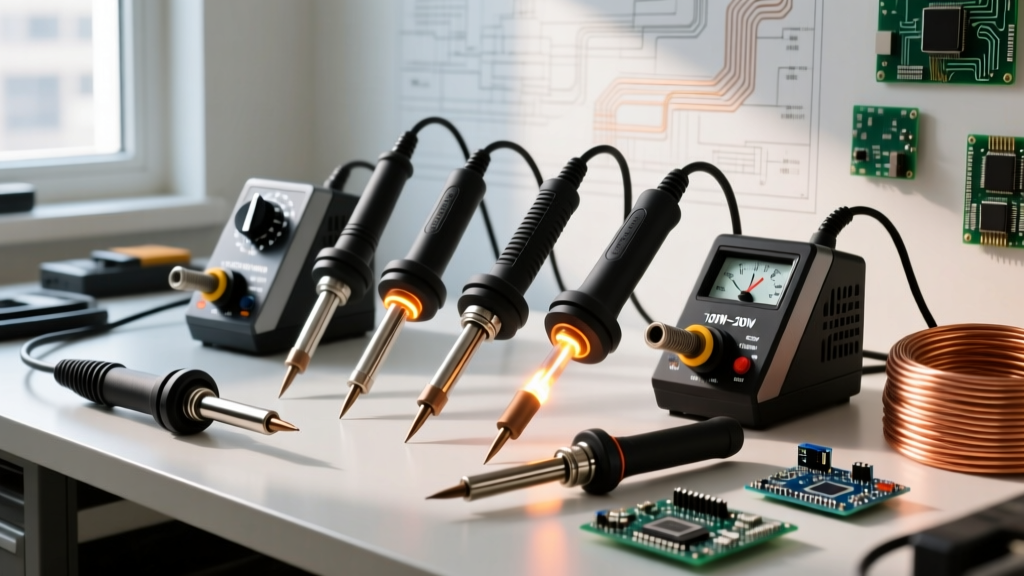
Electronics tips are optimized for wetting solder to copper pads. For wood, we need geometric profiles that maximize surface contact for shading or minimize it for fine lines. Below is a breakdown of standard electronics tip shapes adapted for wood burning.
| Tip Geometry | Electronics Model Example | Pyrography Effect | Best Wood Type |
|---|---|---|---|
| Conical (Pointed) | Hakko T18-B | Fine line work, stippling, and intricate detailing. | Basswood, Birch |
| Chisel (Angled) | Hakko T18-D24 | Broad shading, calligraphy-style strokes, and straight edges. | Maple, Cherry |
| Bevel (Scoop) | Weller ETP | Concave shading, filling large background areas quickly. | Walnut, Oak |
| Knife (Blade) | Hakko T18-K | Sharp geometric cuts, feathering, and high-contrast edges. | Hardwoods, Leather |
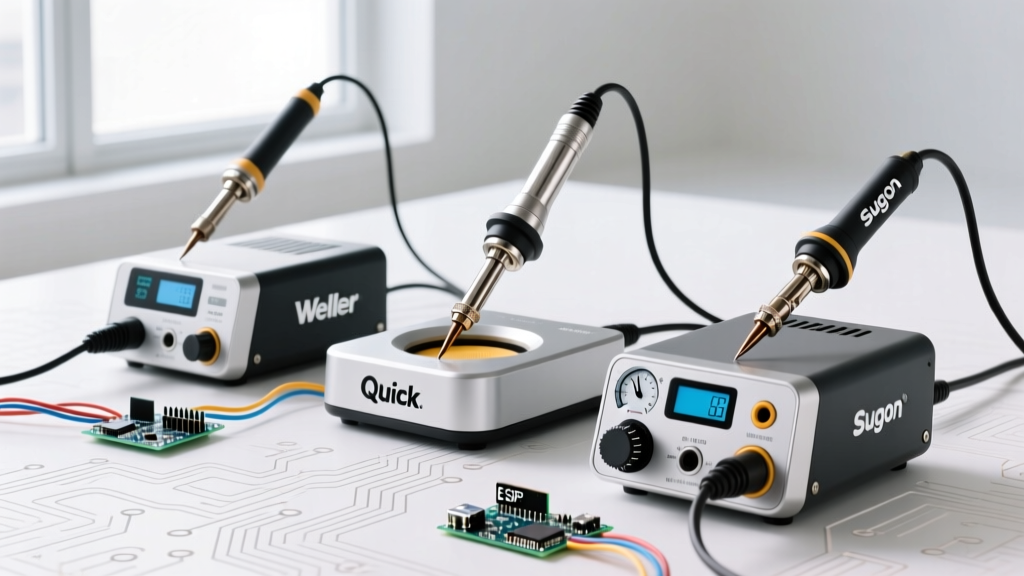
Station Showdown: Hakko FX-888D vs. Weller WES51
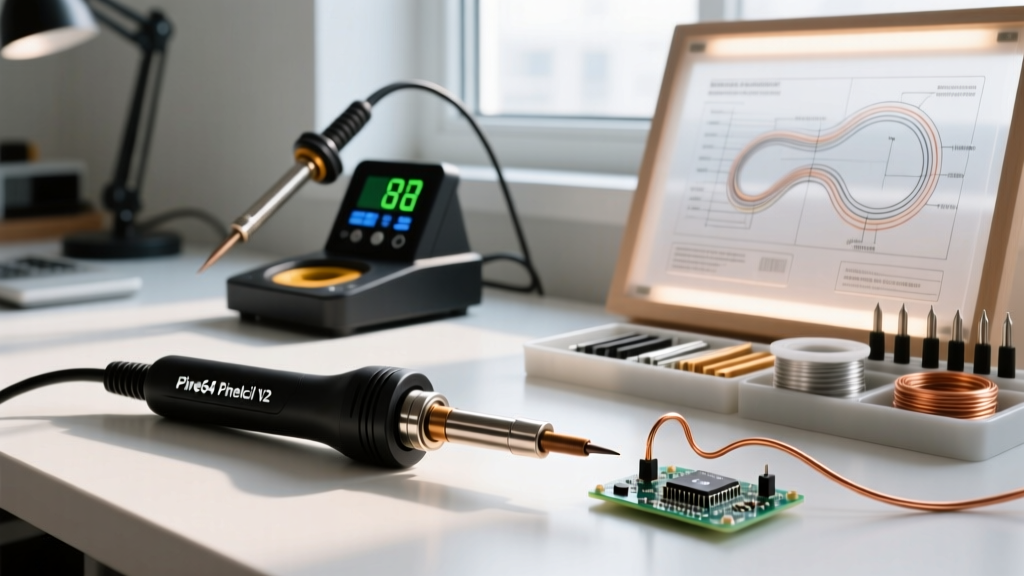
If you are building a dedicated pyrography setup from electronics surplus or buying new in 2026, two stations dominate the workbench. Here is how they perform when adapted for wood.
Hakko FX-888D (65W Digital)
Priced between $115 and $135, the FX-888D is the gold standard for digital thermal control. Its T18 tip series offers massive variety. The digital interface allows you to lock in exact temperatures (e.g., 380°F for soft pine), and the station's aggressive PID controller pulses power rapidly to maintain that heat. Advantage: The T18-C (Conical) tip is exceptionally long, providing excellent visibility for detailed portrait pyrography.
Weller WES51 (50W Analog)
Retailing for $120 to $140, the WES51 uses an analog dial and a highly responsive ceramic heater. While it lacks digital precision, its ET series tips are slightly thicker, offering higher thermal mass. Advantage: The heavier thermal mass of the Weller ETA tip holds heat incredibly well when dragging through dense, resinous woods like Southern Yellow Pine, where the Hakko might momentarily stutter.
Step-by-Step Temperature Calibration Guide
Different wood species require vastly different thermal inputs. Using a comprehensive wood species guide is critical before applying heat. Follow this calibration protocol:
- Prep the Surface: Sand the wood to 320-grit. Any scratches will catch the soldering tip, causing jagged burn lines.
- Softwoods (Basswood, Pine): Set the station to 350°F - 390°F. The low density and high resin content mean the wood will darken quickly. Use a light touch and fast stroke speed.
- Medium Hardwoods (Cherry, Maple): Set to 400°F - 450°F. These woods have tight, even grains perfect for shading. Allow the tip to dwell for 0.5 seconds per stroke to achieve deep mahogany tones.
- Dense Hardwoods (Oak, Walnut): Set to 460°F - 520°F. Open-pore woods like oak require higher heat to ensure the burn penetrates the earlywood and latewood evenly. Use a chisel tip to bridge the grain gaps.
Pro-Tip: Never exceed 550°F on any wood species. Beyond this threshold, you are not burning the wood fibers; you are actively vaporizing them, which creates deep, irreversible gouges and excessive smoke.
Health and Safety: Wood Fumes and Particulates
Repurposing a soldering iron for wood burning generates microscopic particulate matter and volatile organic compounds (VOCs). The CDC NIOSH guidelines on wood dust explicitly warn that thermal degradation of certain exotic woods (like Rosewood or Cocobolo) releases highly toxic and sensitizing fumes that can cause severe respiratory distress and allergic reactions.
- Ventilation: Always use a fume extractor rated for organic vapors, not just a standard soldering fan with a carbon pad.
- Respiratory Protection: Wear an N95 or P100 respirator when doing heavy shading, as the thermal plume carries fine carbonized dust.
- Material Selection: Stick to untreated, unfinished woods. Burning polyurethane, varnish, or pressure-treated lumber releases cyanide gas and other lethal compounds.
Maintenance: Cleaning Carbonized Tips
Because you cannot use standard electronics rosin flux to 'tin' and clean a tip used on wood, you must adopt a dry-cleaning protocol. According to the Hakko USA tip maintenance guide, preserving the iron plating is paramount.
Keep a coil of brass wire wool on your bench. Every 15 minutes, wipe the hot tip through the brass coil. The brass is softer than the iron plating but hard enough to scrape off carbonized wood resin. If the tip develops black oxidation that brass cannot remove, use a specialized tip tinner (which contains mild abrasives and solder) to chemically strip the oxidation, then immediately wipe it clean with a damp cellulose sponge before returning to the wood.
Frequently Asked Questions
Can I use standard 60/40 solder on the tip to help it glide on wood?
No. Applying solder to the tip for wood burning will transfer lead and heavy metals directly into the wood grain, which is highly toxic, especially if the wood will be used for food-safe items like cutting boards or bowls. Furthermore, the flux in the solder will create a sticky, unusable mess when mixed with wood sap.
Will using a soldering iron for wood void the manufacturer's warranty?
Technically, yes. Soldering stations are engineered and warranted for use with tin/lead or lead-free solder alloys. The acidic nature of wood sap and the higher sustained temperatures required for pyrography can degrade the heater element and tip plating faster than intended. Treat your pyrography tips as consumables.
Is a soldering station better than a dedicated wire-loop pyrography pen?
For fine-line detail work and stippling, a solid copper-core soldering tip offers superior edge definition compared to a flexible nichrome wire loop. However, for large-scale background shading and fluid, calligraphy-style strokes, a dedicated wire-loop burner with a bent nib remains the superior ergonomic choice.