
Introduction to Propane Soldering
Welcome to the heavy-duty side of soldering. While electric stations like the Hakko FX-888D dominate delicate PCB work, a propane soldering iron is the undisputed king of thick-gauge electrical lugs, copper plumbing, and stained glass foiling. When you need to transfer massive amounts of thermal energy into a 2/0 AWG battery cable or a 1-inch copper water main, standard 60-watt electric irons simply cannot compete.
However, wielding an open flame and a brass tip that operates at 800°F (426°C) requires respect, preparation, and technique. This beginner guide will walk you through the exact setup, thermal management, and safety protocols required to master propane soldering in 2026.
Propane vs. Butane vs. Electric: Understanding the Difference
Before striking a match, beginners must understand where propane fits in the soldering ecosystem. Many hardware stores sell 'cordless irons' that run on butane (like the Weller Portasol). Propane setups are fundamentally different and are generally built from a micro-torch with a threaded soldering tip attachment.
| Feature | Propane Torch Iron | Butane Cordless Iron | Electric Station |
|---|---|---|---|
| Primary Use | Plumbing, heavy lugs, stained glass | Field electrical repair, automotive | PCBs, microelectronics, fine wire |
| Max Thermal Output | Extremely High (1200+ BTU) | Medium (50-100 Watts equiv.) | Low to Medium (40-80 Watts) |
| Temperature Control | Manual (Flame distance/valve) | Catalytic (Self-regulating) | Digital / Thermostatic |
| Tip Material | Solid Brass or Copper | Iron-plated Copper | Iron-plated Copper |
Essential Gear & 2026 Buyer's Budget
To build a reliable propane soldering setup, you need specific components. Do not attempt to use a standard wide-nozzle plumbing torch without a proper soldering tip attachment, as you will scorch your workpiece and burn your flux instantly.
- The Torch: The Bernzomatic TS4000 (approx. $55) is the industry standard for pure propane. It features a push-button igniter and a precise flame adjustment valve. Avoid the TS8000 for beginners; it is designed for MAP-Pro gas and runs too hot for standard brass soldering tips.
- The Fuel: Standard 14.1 oz blue Bernzomatic Propane cylinders ($4 - $6). Never use yellow MAP-Pro cylinders with standard brass tips, as the higher combustion temperature (3,730°F vs 3,600°F) will cause thermal runaway and melt the tip's threading.
- The Tip: A 3/8-inch brass chisel tip (e.g., Bernzomatic ST2200T or generic equivalents, approx. $18). Brass is used because it transfers heat aggressively and resists dissolving in molten solder better than copper.
- Heat Mat: A 1/4-inch silicone fiberglass heat mat rated to 1000°F ($20). This is non-negotiable for protecting your workbench.
The Secret to Success: Flux Selection
Expert Insight: The most common beginner mistake with a propane soldering iron is using standard electronics rosin-core solder on plumbing joints, or using plumbing paste flux on electrical wires. The high heat of propane will incinerate standard rosin flux in seconds, leaving a charred, unsolderable mess.
- For Plumbing (Copper Pipes): Use a water-soluble or high-temperature petroleum-based paste flux (e.g., Oatey No. 5). Pair this with 95/5 Tin-Antimony solder (approx. $25/lb). Never use lead-based solder on potable water lines.
- For Heavy Electrical (Battery Lugs): Use a high-solids, no-clean liquid or gel rosin flux (e.g., MG Chemicals 8341). Pair this with 60/40 or 63/37 Rosin-Core solder. The gel flux resists boiling off under the intense propane heat long enough for the thick copper lug to reach flow temperature.
Step-by-Step Setup and Soldering Technique
Follow this exact sequence to achieve a perfect metallurgical bond without damaging your equipment.
Step 1: Purge and Ignite
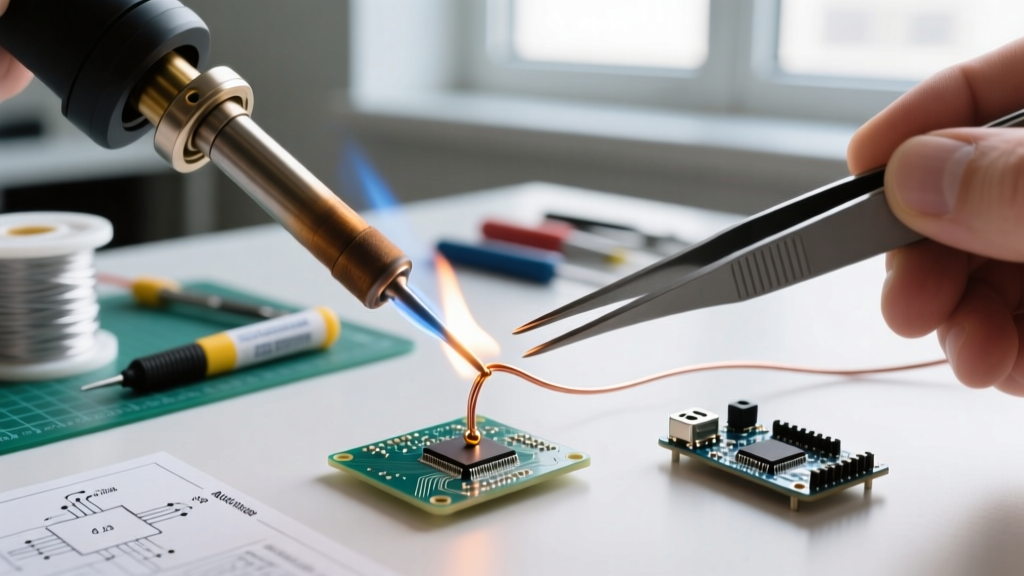
Thread the brass tip onto the TS4000 torch by hand. Do not use pliers; overtightening will strip the soft brass threads. Open the gas valve a quarter turn and press the igniter. You should see a sharp, blue inner cone flame.
Step 2: Achieve Thermal Equilibrium
Adjust the flame so the inner blue cone is exactly 1/2 inch away from the base of the brass tip. If the flame licks the sides of the tip, you are wasting heat. Let the iron heat soak for 45 to 60 seconds. The brass will transition from shiny to a dull, oxidized bronze color.
Step 3: Pre-Tin the Tip
Touch your solder directly to the brass tip. If it melts instantly and coats the tip in a shiny silver layer, you are at the correct temperature (approx. 750°F). If the solder turns into a slushy paste, give it another 15 seconds. Wipe the tip on a damp cellulose sponge to remove excess flux residue.
Step 4: Heat the Workpiece, Not the Solder
Apply flux to your joint. Press the flat face of the tinned brass tip firmly against the workpiece (the copper pipe or the brass lug). Count to 5. Then, touch the solder wire to the opposite side of the joint. When the workpiece reaches the eutectic temperature, the solder will flash and wick into the joint via capillary action. Remove the solder, then remove the iron.
Critical Safety Protocols
Using a propane soldering iron introduces open flames and toxic fumes into your workspace. According to the NFPA 51B Standard for Fire Prevention During Hot Work, you must maintain a safe perimeter. For indoor DIY soldering, this means a minimum 3-foot clearance from all combustibles, backed by your silicone heat mat.
Furthermore, ventilation is paramount. Soldering generates volatile organic compounds (VOCs) from the flux and, if using leaded solder, microscopic lead particulates. The Cornell University Environmental Health and Safety (EHS) guidelines mandate local exhaust ventilation. At a minimum, use a variable-speed desktop fume extractor with a HEPA and activated carbon filter positioned 6 inches from the joint, or work in a garage with cross-ventilation.
Troubleshooting Common Beginner Mistakes
| Issue | Root Cause | The Fix |
|---|---|---|
| Solder balls up and rolls off | Flux has burned away; tip is oxidized. | Remove from heat. Let cool slightly. Re-apply fresh gel flux and re-tin the tip. |
| Tip turns black and crusty | Flame is too high; thermal runaway. | Reduce gas valve. Keep the inner blue cone 1/2 inch from the brass base. |
| Joint is dull and grainy (Cold Joint) | Heat applied to solder, not the workpiece. | Hold the iron on the thick metal lug for 3-5 seconds before introducing solder. |
| Soldering tip threading seizes | Cross-threading or overtightening with tools. | Apply high-temp anti-seize compound to the torch threads before attaching the brass tip. |
Final Thoughts
Mastering the propane soldering iron is a rite of passage for DIYers tackling automotive wiring, off-grid solar battery banks, or home plumbing. By respecting the thermal dynamics of brass tips, choosing the correct high-temperature flux, and adhering to strict ventilation standards, you will achieve bulletproof joints that electric irons simply cannot replicate. Keep your flame steady, your flux fresh, and your heat mat clean.