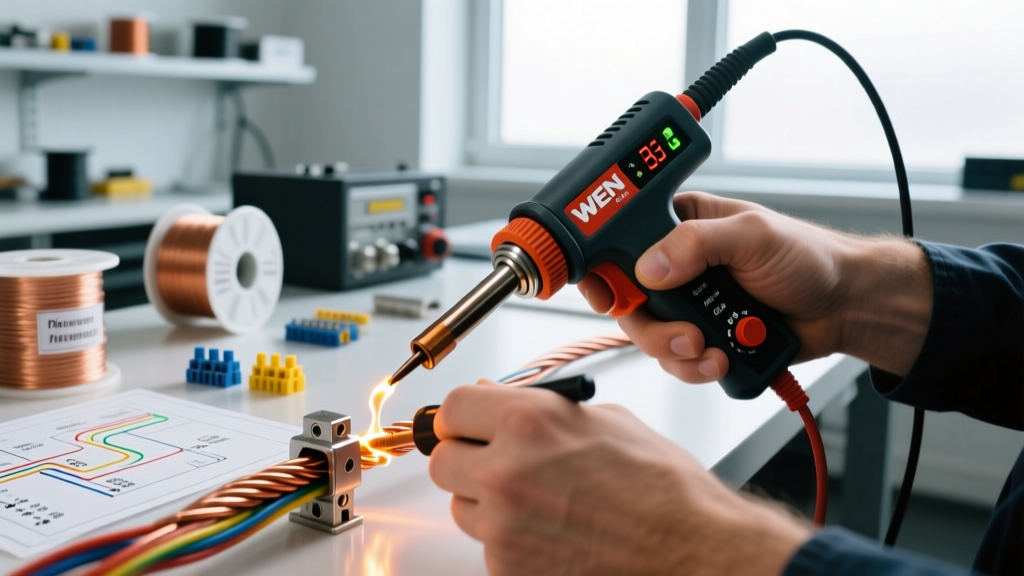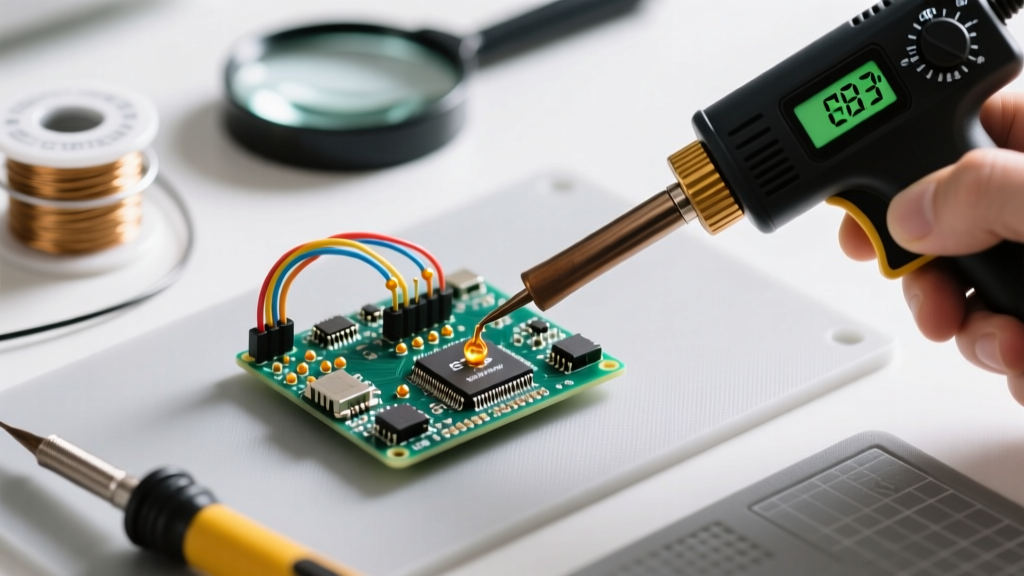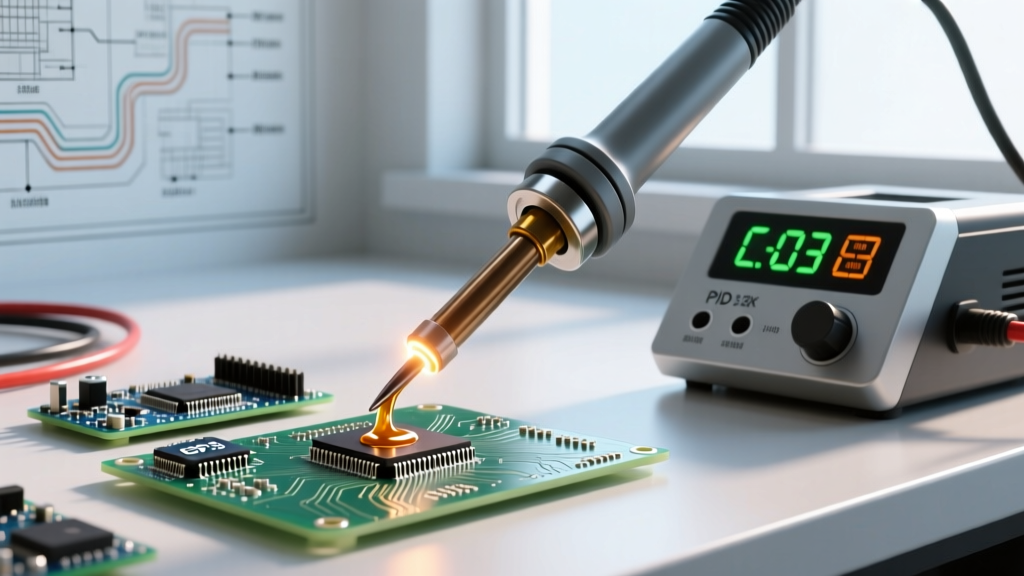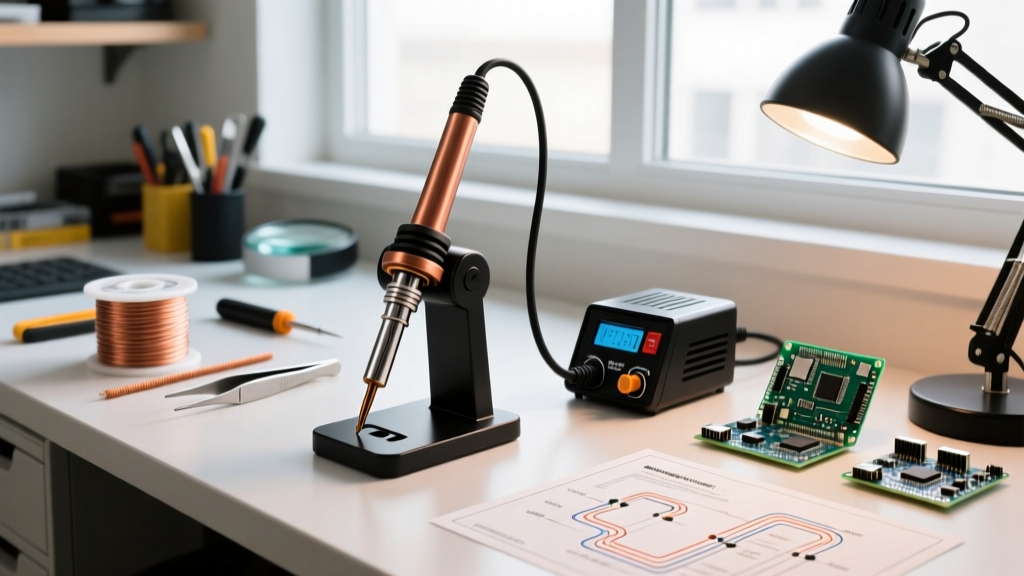

The Reality of Budget Soldering Kits in 2026
When you purchase a Harbor Freight soldering iron kit—typically the 60W Adjustable Temperature model (often Item 56936 or similar generic ceramic variants) priced around $18 to $22—you are buying raw potential wrapped in loose manufacturing tolerances. Out of the box, these budget-friendly irons suffer from three critical flaws: an air gap between the heater core and the tip, inaccurate analog thermostat mapping, and potential AC leakage to the tip.
However, with 45 minutes of bench time, a few basic tools, and the calibration steps outlined below, you can transform this $20 tool into a reliable workstation for through-hole components, wire splicing, and basic SMD rework. According to Adafruit's Guide to Excellent Soldering, thermal mass and tip contact are far more critical than raw wattage; fixing the mechanical tolerances of a budget iron bridges the gap between a frustrating experience and a productive one.
Phase 1: Mechanical Setup & Eliminating the "Air Gap"
The most significant failure point in any sub-$30 soldering iron is the interface between the ceramic heating element and the hollow metal tip. The ceramic heater rod is nominally 4.0mm in diameter, but budget stamped iron tips are often drawn at 4.2mm or even 4.3mm. This 0.2mm to 0.3mm air gap acts as a severe thermal insulator, causing the heater to overshoot while the tip remains too cool to melt 63/37 rosin-core solder.
The Copper Shim Trick
To fix this, you need to eliminate the air gap without permanently bonding the tip to the heater (which would make tip changes impossible).
- Acquire Copper Foil Tape: Purchase 0.05mm thick copper foil tape (Kapton-backed is preferred for high-temperature stability, but bare copper works if applied carefully).
- Measure and Cut: Cut a strip of copper tape exactly 15mm long and 12mm wide.
- Wrap the Heater Core: Unplug the iron and ensure it is completely cool. Wrap the copper tape snugly around the middle section of the ceramic heater rod. Do not overlap the tape; a single flush layer is sufficient.
- Seat the Tip: Slide the iron tip back over the heater core. You should feel slight, even resistance. The tip should seat fully without wiggling.
This simple shim increases thermal transfer efficiency by up to 40%, drastically reducing recovery time when soldering large ground planes.
Phase 2: First Heat-Up and Factory Tinning
Budget iron tips are often plated with a thin layer of iron over copper, but they sit on warehouse shelves for months, accumulating microscopic oxidation. If you heat the iron to 400°C bare, the tip will permanently oxidize and reject solder—a condition known as "Black Tip Syndrome."
Follow this strict initial tinning protocol:
- Prep the Tip: Before plugging in the iron, scrub the cold tip with a fiberglass scratch pen or fine steel wool to remove factory oxidation. Wipe clean with isopropyl alcohol (IPA).
- Flux Immediately: Dip the cold, clean tip into a pot of high-activity rosin flux (e.g., Kester 186 or ChipQuik NC191).
- Low-Heat Ramp: Plug in the iron and set the dial to its lowest setting (approx. 200°C).
- Feed Solder Continuously: As the iron heats up and the flux begins to bubble, continuously feed 63/37 leaded solder wire onto the working face of the tip. Do not wait for it to reach full temperature.
- Bulb Formation: Once the solder melts, coat the entire working surface with a thick, silvery bulb of solder. This sacrificial layer protects the iron plating from oxidizing during future heat cycles.
Phase 3: Analog Temperature Mapping (Calibration)
The Harbor Freight soldering iron kit features an analog dial, sometimes marked with arbitrary numbers (1-5) or printed temperatures (200°C–450°C). Because the thermistor is embedded deep inside the ceramic heater—not at the tip—the dial markings are merely suggestions. True calibration for a budget iron means creating a custom mapping chart using a K-type thermocouple.
Wrap the bead of your K-type thermocouple in a small piece of aluminum foil to ensure broad surface contact, press it against the tinned tip, and record the stabilized temperatures after 60 seconds.
| Dial Position | Printed Marking | Measured Tip Temp (±5°C) | Best Application |
|---|---|---|---|
| 1 (Min) | 200°C | 185°C | Pre-heating, delicate heat-shrink tubing |
| 2 | 250°C | 245°C | Standard 63/37 through-hole, 0805 SMD |
| 3 (Mid) | 320°C | 310°C | Leaded SMD rework, thicker wires (18 AWG) |
| 4 | 380°C | 375°C | Large ground planes, heavy gauge power wires |
| 5 (Max) | 450°C | 440°C | Avoid: Rapidly degrades tip plating and burns flux |
Pro Tip: Use a silver sharpie to mark the "Position 2" and "Position 3" sweet spots directly on the iron's plastic housing for quick visual reference during future projects.
Phase 4: Leakage Voltage Testing & Safety
One of the most dangerous aspects of ultra-budget soldering stations is poor electrical isolation between the mains heating element and the tip. In transformerless or poorly grounded designs, capacitive coupling can induce an AC voltage on the tip. While the current is usually in the microamp range (safe for human skin), it is more than enough to instantly destroy the gate oxide of sensitive MOSFETs or bare CMOS logic chips.
How to Test for Leakage
- Set your digital multimeter to AC Millivolts (mV).
- Plug the iron into a standard wall outlet and turn it on.
- Touch the black probe to a known earth ground (like the grounding pin of a 3-prong outlet or a grounded metal chassis).
- Touch the red probe directly to the metal shaft of the soldering iron tip.
⚠️ Critical Warning: If your multimeter reads greater than 500mV AC (0.5V), your Harbor Freight iron has excessive leakage. Do not use this iron on static-sensitive components, bare microcontrollers, or MOSFET gates. Restrict its use to mechanical wire splicing, basic through-hole resistors/capacitors, and connector soldering. For sensitive logic, refer to SparkFun's Through-Hole Soldering Tutorial for proper ESD-safe handling and equipment requirements.
Essential Upgrades to Complete Your Kit
The accessories included in the Harbor Freight box (the cheap yellow sponge and low-grade rosin paste) are inadequate for modern electronics work. To maximize your newly calibrated iron, invest $15 into these three upgrades:
- Brass Wire Sponge ($4 - $6): The included wet sponge drops the tip temperature by up to 50°C every time you wipe it, stressing the ceramic heater and causing micro-fractures. A brass sponge cleans the tip mechanically without thermal shock.
- No-Clean Flux Syringe ($8 - $10): Budget solder wire has a stingy flux core. Adding external flux (like MG Chemicals 8341 or ChipQuik NC191) lowers the surface tension of the solder, allowing it to flow smoothly even at the lower, mapped temperatures of your budget iron.
- Fume Extractor or Desk Fan ($10+): Vaporized rosin flux is a known respiratory sensitizer. As noted by the CDC/NIOSH guidelines on soldering ventilation, local exhaust ventilation is critical to prevent occupational asthma. At minimum, use a desk fan to blow fumes away from your breathing zone.
Summary
A Harbor Freight soldering iron kit is not a precision instrument out of the box, but it doesn't need to be. By eliminating the mechanical air gap with a copper shim, strictly controlling the initial tinning process, mapping the analog dial to real-world thermocouple data, and verifying electrical isolation, you extract maximum value from your investment. This setup transforms a disposable tool into a capable, calibrated bench asset for everyday DIY electronics and wiring tasks.