
Why the Hakko FX-951 Soldering Iron is a Beginner's Best Investment
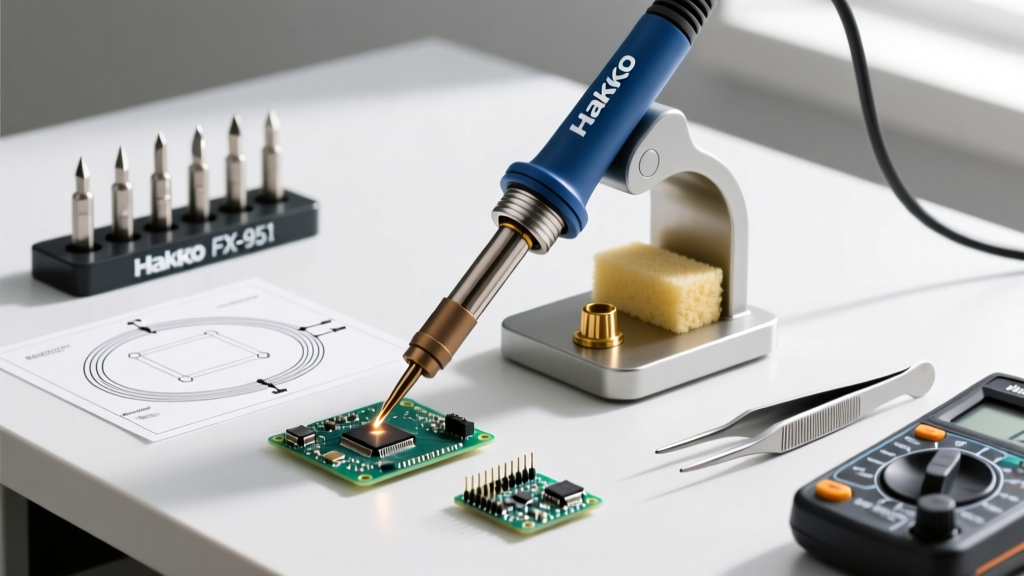
Stepping up from a cheap, unregulated $15 plug-in iron to a professional temperature-controlled station is the single most important upgrade a beginner can make. Among the elite tier of soldering stations, the Hakko FX-951 soldering iron remains a legendary workbench staple. As of 2026, a genuine FX-951-11 (120V) setup retails between $260 and $290 USD. While this is a significant upfront investment compared to entry-level stations, it provides a masterclass in thermal dynamics that will save you from ruined PCB pads and cold solder joints.
The secret to the FX-951's dominance lies in its composite tip technology. Unlike older stations that use a separate ceramic heating element that inserts into a hollow tip, the FX-951 utilizes T12 (or FM-series in North America) tips. In these tips, the heater, the temperature sensor (thermocouple), and the soldering surface are integrated into a single, solid-metal cartridge. This eliminates the air gap found in traditional irons, resulting in near-instantaneous heat transfer and unparalleled thermal recovery. When you touch a cold copper ground plane, the station's 70-watt power supply detects the microsecond temperature drop and surges current directly into the tip's core, recovering your target heat in less than two seconds.
The Counterfeit Trap: How to Verify Authenticity
Before you even plug in your new station, you must address the most notorious edge case in the soldering world: counterfeits. The Hakko FX-951 is heavily cloned. Fake stations and fake T12/FM tips flood online marketplaces, often priced at a suspicious $80 to $120 for the 'full kit.' Using counterfeit tips is not just a performance issue; it is a severe safety and equipment hazard.
Expert Warning: Counterfeit composite tips often use ultra-thin, substandard wire for the internal thermocouple. When these wires inevitably short out or break, they can send rogue voltage back into the FX-951's internal triac, permanently destroying the station's main logic board. Always purchase from authorized industrial distributors like Digi-Key, Mouser, or directly from Hakko USA.
How to spot a genuine Hakko FX-951:
- Holographic Sticker: Genuine boxes feature a specific tamper-evident holographic security sticker that shifts color and reveals micro-text when tilted.
- PCB Inspection: If you open the base unit, genuine Hakko boards feature immaculate, machine-soldered through-hole components with clean flux residue. Fakes often have messy, hand-soldered joints and use generic, unmarked transformers instead of Hakko-branded toroidal or E-core transformers.
- Tip Markings: Authentic FM/T12 tips have deeply laser-etched model numbers and the Hakko logo. Fakes often use shallow, easily rubbed-off ink stamps.
Optimal Temperature Settings for Common Beginner Tasks
Beginners often make the mistake of cranking the temperature to maximum (450°C/842°F) to force solder to melt faster. This is a critical error that rapidly oxidizes the tip and delaminates PCB pads. According to the IPC soldering standards, the goal is to use the lowest temperature that allows you to complete a joint within a 1.5 to 3-second dwell time. Below is a practical cheat sheet for the FM2032 handpiece paired with standard 63/37 (leaded) or SAC305 (lead-free) solder.
| Task / Component | Recommended Tip (FM/T12) | Target Temp (°C / °F) | Max Dwell Time |
|---|---|---|---|
| Standard Through-Hole (Resistors, Caps) | FM2032-08 (3.2mm Chisel) | 320°C / 608°F | 2.0 - 2.5 seconds |
| SMD 0805 / 0603 Pads | FM2032-04 (0.4mm Conical) | 300°C / 572°F | 1.5 seconds |
| Tinning 14-18 AWG Silicone Wire | FM2032-12 (3.8mm Bevel) | 350°C / 662°F | 3.0 seconds |
| Heavy Ground Planes / Large Lugs | FM2032-03 (Knife / Broad Chisel) | 360°C / 680°F | 4.0 seconds (with preheat) |
Step-by-Step: Your First Perfect Solder Joint
Mastering the Hakko FX-951 requires understanding the sequence of heat application. Follow this exact procedure, which aligns with the rigorous criteria outlined in the NASA Workmanship Standard for Class 3 electronics assemblies.
- Prep and Flux: Apply a small amount of high-quality rosin flux (RMA or No-Clean) to the component lead and PCB pad. Flux chemically removes oxidation, allowing the molten solder to flow via capillary action.
- Wet the Tip: Ensure your FM2032-08 chisel tip has a shiny coat of fresh solder. If it's dull, wipe it on a brass sponge and apply fresh 63/37 solder immediately.
- Simultaneous Heating (1.5 seconds): Place the flat side of the chisel tip so it touches both the component lead and the copper PCB pad simultaneously. Do not rest the tip on the pad alone; the lead must be part of the thermal bridge.
- Feed the Solder (1.0 second): Touch your solder wire to the opposite side of the joint, directly where the lead meets the pad. Do not feed solder onto the iron tip and try to 'paint' it onto the joint. The joint itself must be hot enough to melt the wire.
- The Fillet Formation: Watch the solder flash and flow into a smooth, concave volcano shape. This indicates proper wetting and intermetallic compound formation.
- Retract: Remove the solder wire first, then smoothly pull the iron away at a 45-degree angle. Hold the component perfectly still for 3 seconds while the joint solidifies to prevent a 'disturbed joint' fracture.
Maintenance and Edge Case Troubleshooting
Even the best equipment requires proper care. The FX-951 has specific failure modes and maintenance quirks that every beginner must know to protect their investment.
The 'Blinking Red Light' Sensor Error
If the LED on the front of the FX-951 base station begins blinking red and the heater cuts out, the station has detected a thermocouple failure. In 90% of beginner cases, this is caused by a counterfeit tip where the internal sensor wire has snapped. In rare cases with genuine tips, it means the tip's internal heater has reached end-of-life. Turn off the station, swap in a verified genuine Hakko tip, and power it back on. If the error persists, the handpiece cord may have an internal break at the strain relief, requiring a FM2032 handle replacement.
The Cellulose Sponge Thermal Shock Myth
Many cheap kits include a yellow cellulose sponge that you wet with distilled water. Do not use wet sponges with composite tips. Wiping a 350°C tip on a wet sponge causes an instantaneous, violent temperature drop. Over time, this thermal shock causes micro-fissures in the tip's outer iron plating. Once the plating cracks, the molten solder eats directly into the soft copper core, destroying the tip in days. Always use a dry, coiled brass wire sponge. It cleans the oxidation without dropping the tip's core temperature.
Auto-Sleep Mode Malfunctions
The FX-951 features an auto-sleep function that drops the temperature when the FM2032 handpiece is placed in the FM2028 holder, extending tip life exponentially. If your iron fails to wake up when lifted, or stays asleep while in your hand, the magnetic induction ring inside the handpiece grip may be coated in flux residue, or the alignment tab on the holder is bent. Wipe the handle grip with 99% isopropyl alcohol and ensure the holder sits flat on the bench.
Essential Accessories to Complete Your FX-951 Workbench
To fully leverage the precision of the Hakko FX-951, pair it with the right consumables. Referencing maintenance guidelines from Hakko's official resources, keeping your tip tinned and your workspace clean is paramount.
- Hakko 599B Brass Tip Cleaner: The gold standard for safe, dry tip maintenance.
- Amtech NC-559 or MG Chemicals 8341 Flux: A high-quality, no-clean tacky flux in a syringe is mandatory for SMD rework and dragging solder on IC pins.
- Kester 44 or Alpha Metals 63/37 Rosin Core Solder: Stick to premium brands. Cheap Amazon solder often has an inconsistent flux core, leading to dry, brittle joints and excessive spattering.
- Fume Extractor: Even with no-clean flux, rosin fumes are a respiratory irritant. A basic HEPA/Carbon desktop extractor will keep your lungs safe during long prototyping sessions.
By respecting the thermal dynamics of the Hakko FX-951, avoiding the counterfeit market, and strictly following proper wetting and cleaning procedures, you will transition from a frustrated beginner to a confident electronics assembler capable of tackling everything from delicate 0402 micro-components to heavy-duty power supply terminals.