
Why Choose a Soldering Iron for Plastic Welding?
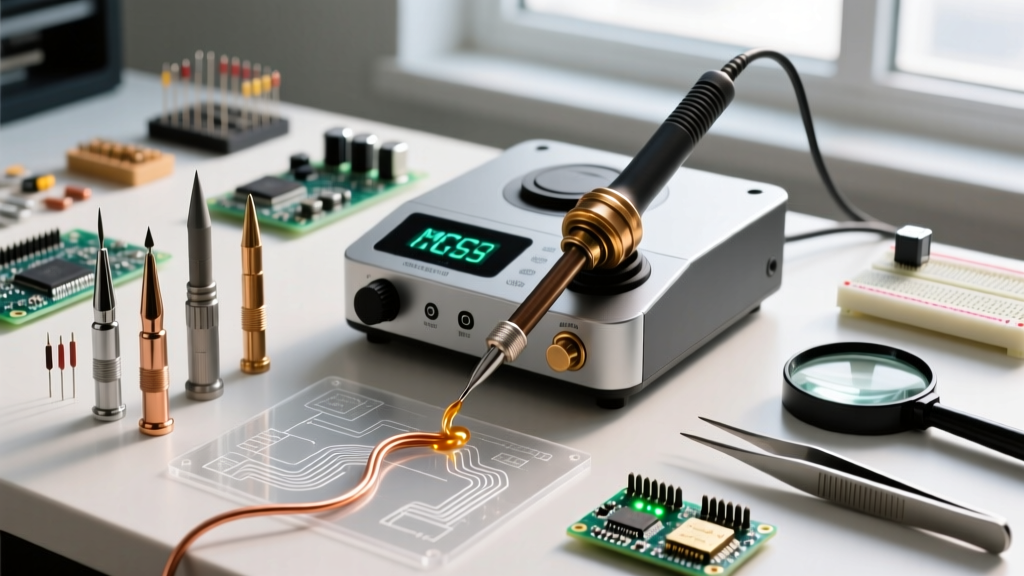
As the right-to-repair movement accelerates in 2026, DIY electronics enthusiasts, automotive hobbyists, and 3D printing communities are increasingly turning to plastic welding to salvage broken enclosures, drone frames, and vehicle trim. While ultrasonic welders and hot-air extrusion guns exist for industrial applications, plastic welding with a soldering iron remains the most accessible, cost-effective technique for precision repairs. A high-quality temperature-controlled soldering station (ranging from $50 to $150 for models like the Hakko FX-888D or Pine64 Pinecil V2) paired with specialized PTFE-coated tips can produce structural joints that achieve up to 85% of the base material's tensile strength when executed correctly.
Unlike chemical adhesives or cyanoacrylates (super glues) which often fail under thermal cycling or UV exposure, a properly welded plastic joint creates a continuous molecular chain across the fracture line. This guide details the exact metallurgical and thermal principles required to master this technique, moving beyond generic advice into actionable, professional-grade workflows.
Material Compatibility: The Golden Rule of Plastic Welding
The most common cause of joint failure in DIY plastic repair is attempting to weld dissimilar polymers. Plastics must be chemically identical to fuse properly. A polypropylene (PP) filler rod will simply bead up and peel off an acrylonitrile butadiene styrene (ABS) base material, much like water on a waxed car. Always check the recycling stamp on the back of your part to identify the base polymer.
| Plastic Type | Recycling Code | Melt Temp Range | Iron Setting | Weldability & Notes |
|---|---|---|---|---|
| ABS | #7 (Other) | 210°C - 240°C | 230°C | Excellent. Ideal for electronics enclosures and automotive interiors. |
| Polypropylene (PP) | #5 | 160°C - 170°C | 180°C | Good. Common in automotive bumpers and battery cases. Prone to warping. |
| Polyethylene (PE/HDPE) | #2 | 130°C - 145°C | 150°C | Fair. Low surface energy requires thorough prep and slow cooling. |
| PETG | #1 | 220°C - 250°C | 240°C | Good. Common in 3D printed parts. Strings easily if too hot. |
| PVC | #3 | N/A (Degrades) | DO NOT WELD | Hazardous. Releases toxic HCl gas. Use solvent cement instead. |
Expert Warning: Never attempt to weld PVC (Polyvinyl Chloride, Recycling Code #3) with a soldering iron. PVC does not melt cleanly; it thermally degrades and releases hydrogen chloride (HCl) gas, which is highly toxic and will rapidly corrode your soldering station, tips, and workspace. According to the CDC NIOSH Chemical Safety protocols, thermal degradation of halogenated plastics poses severe respiratory hazards.
Tooling Up: Tips, Temperatures, and Filler Rods
The Critical Need for PTFE-Coated Tips
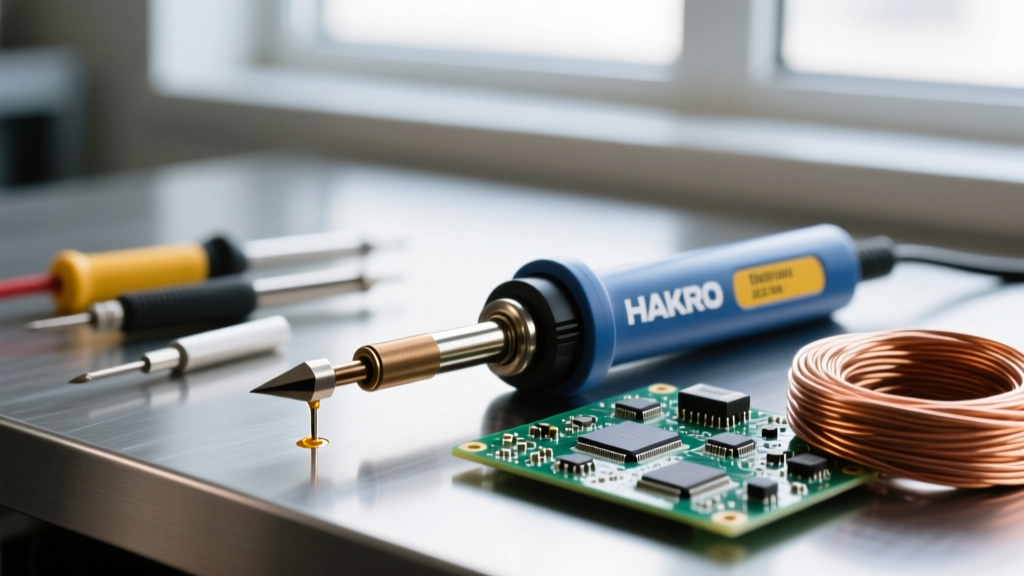
Standard soldering iron tips are plated with iron and chrome to resist solder corrosion and promote wetting. If you use a standard tip for plastic welding, the molten polymer will adhere to the metal, carbonize, and create a burnt, crusty residue that ruins the tip and introduces impurities into your weld pool. You must use tips coated with PTFE (Teflon) or specialized non-stick ceramic coatings. Look for flat chisel profiles (like the Hakko T18-D24 or generic T12 flat shoe tips) which provide a broad surface area to melt both the base material and the filler rod simultaneously. In 2026, dedicated plastic welding shoe tips with integrated filler rod channels are widely available for under $15 and drastically improve bead consistency.
Selecting the Right Filler Material
Your filler rod must match the base material exactly. For general soldering iron welding, 3mm diameter rods are optimal. Thicker rods (4mm+) require more thermal mass than a standard 65W iron can deliver, leading to cold welds, while thinner rods (2mm) melt too quickly and offer poor structural volume. If you do not have commercial filler rods, you can cut strips from scrap plastic of the exact same type, though commercial rods offer superior diameter consistency and purity.
Step-by-Step Execution: The V-Groove Butt Weld
The butt joint is the most common repair scenario (e.g., a cracked drone frame or split enclosure). To achieve maximum penetration, you must prepare the joint correctly.
- Joint Preparation (The V-Groove): Do not simply press two flat edges together. Use a rotary tool with a burr bit or a coarse file to carve a 60-degree V-groove along the entire crack. This creates a channel for the filler material to penetrate deep into the joint, rather than just sitting on the surface. Leave a 1mm root gap at the very bottom of the V.
- Cleaning and Tack Welding: Clean the V-groove with 99% isopropyl alcohol to remove mold release agents and skin oils. Align the two pieces and use the tip of your PTFE-coated iron to melt small "tack" welds every 20mm. This locks the geometry in place and prevents thermal warping during the main pass.
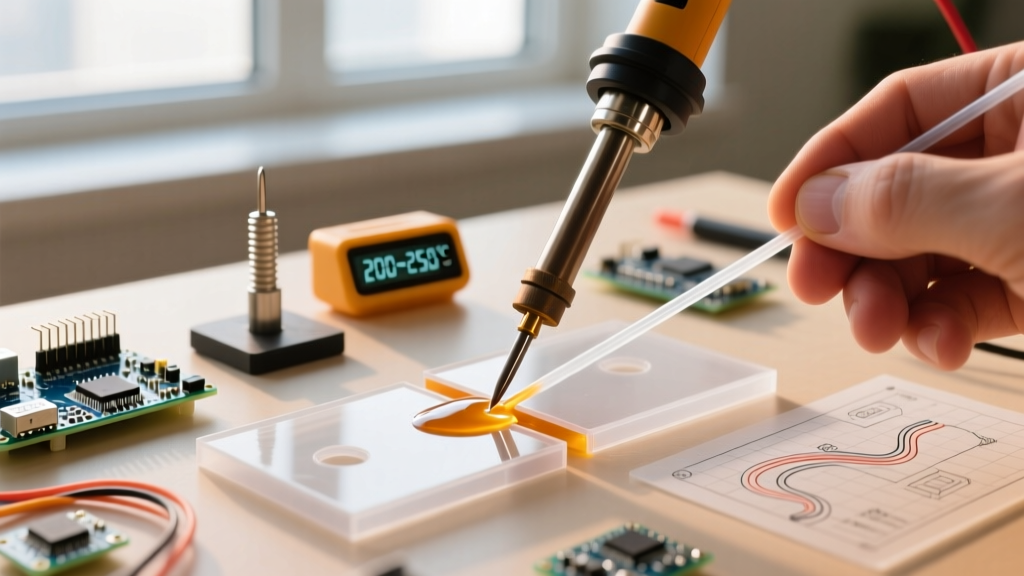
- The Welding Pass (Pendulum Technique): Set your station to the appropriate temperature (e.g., 230°C for ABS). Hold the iron in your dominant hand and the 3mm filler rod in your other. Place the flat of the iron tip at the start of the V-groove. Feed the rod into the leading edge of the tip, not directly into the plastic. As the rod melts, move the iron in a tight, slow pendulum motion (side-to-side) at a travel speed of roughly 10mm to 15mm per second. This ensures both sidewalls of the V-groove and the filler rod reach the same thermal state simultaneously.
- Deposition and Smoothing: The goal is to slightly overfill the V-groove, creating a convex bead that sits 1-2mm proud of the surface. Once the pass is complete, do not touch the weld. Plastics have a low thermal conductivity; the surface may appear solid while the core is still molten.
- Finishing: Allow the part to cool to room temperature naturally. Do not use compressed air or water to quench the plastic, as rapid cooling induces internal crystallization stresses that will cause the weld to snap under load. Once cool, sand the proud bead flush with 220-grit, then 400-grit sandpaper.
Troubleshooting Common Failure Modes
Even experienced technicians encounter defects when adjusting to different polymer blends. Here is how to diagnose and correct the most frequent issues:
- Cold Weld (Delamination): The filler rod sits on top of the base material but peels off easily. Cause: Iron temperature too low, or travel speed too fast. The base material did not reach its melting point. Fix: Increase station temp by 15°C and slow your travel speed.
- Thermal Degradation (Burn Marks): The plastic turns brown or black, emits acrid smoke, and the resulting joint is brittle. Cause: Excessive temperature or dwelling in one spot too long. ABS degrades rapidly above 260°C. Fix: Drop temperature by 20°C and keep the iron moving continuously.
- Porosity (Air Pockets): The cooled weld bead has small craters or bubbles. Cause: Moisture in the filler rod or trapping air by pushing the rod too aggressively into the melt pool. Fix: Store filler rods in a sealed dry-box with silica gel. Feed the rod gently, allowing surface tension to pull it into the groove.
- Warping and Shrinkage: The repaired part pulls out of alignment as it cools. Cause: Uneven heat distribution or lack of tacking. Fix: Increase the frequency of your initial tack welds and use aluminum heat-sink clamps on either side of the weld zone to draw away excess thermal mass.
Fume Extraction and Safety Protocols
Heating polymers releases Volatile Organic Compounds (VOCs) and ultrafine particulate matter. While plastic welding with a soldering iron operates at lower temperatures than injection molding, the localized off-gassing is still significant. The EPA guidelines on indoor VOCs emphasize that prolonged exposure to these compounds can cause severe respiratory and neurological irritation.
Never weld plastics in an unventilated room. At a minimum, use a dedicated benchtop fume extractor equipped with a HEPA filter and an activated carbon matrix (such as the Hakko FA-400 or equivalent 2026 models featuring multi-stage filtration). Position the extraction hood no more than 5 inches from the weld pool to capture the thermal plume before it disperses into your breathing zone. Additionally, always wear ANSI-rated safety glasses; molten plastic can spit or string unexpectedly, and a hot droplet on the cornea is a severe medical emergency.
Final Thoughts on Sustainable Repair
Mastering plastic welding with a soldering iron bridges the gap between disposable consumer culture and sustainable engineering. By understanding the precise thermal thresholds of polymers, utilizing PTFE-coated tooling, and executing proper V-groove joint preparations, you can salvage components that would otherwise end up in a landfill. As noted in recent Plastics Europe circularity data, extending the lifecycle of engineered plastic components through localized repair is one of the most effective ways to reduce microplastic waste and carbon emissions associated with manufacturing replacement parts. Invest in a quality temperature-controlled station, stock up on matching 3mm filler rods, and practice your pendulum technique on scrap pieces before tackling critical structural repairs.