
The Heavy-Duty Legacy: Understanding Your Old Weller Soldering Gun
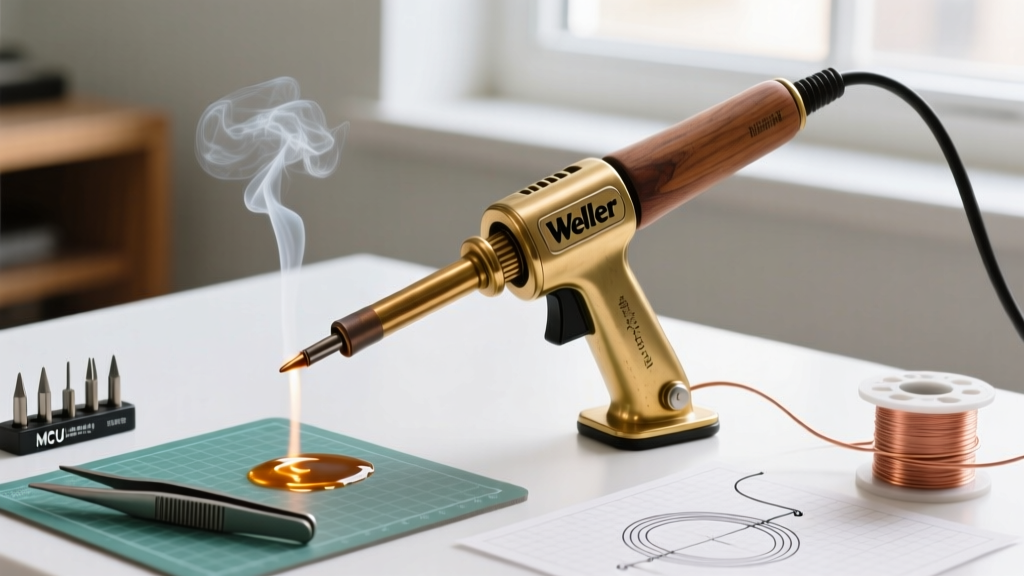
If you have inherited, thrifted, or unearthed an old Weller soldering gun from a garage sale or a relative's workbench, you are holding a piece of American industrial history. Unlike modern ceramic-core soldering stations designed for delicate microelectronics, classic Weller guns are transformer-based behemoths built for high-thermal-mass applications. They are the undisputed champions of soldering heavy-gauge automotive wiring, thick copper grounding lugs, and even small plumbing joints.
However, handing a 140-watt transformer gun to a beginner without proper context is a recipe for destroyed printed circuit boards (PCBs) and burnt fingertips. This guide will teach you exactly how to identify, maintain, and safely operate a vintage or classic Weller soldering gun in 2026, ensuring you use the right tool for the right job.
Identify Your Classic Weller Model
Before pulling the trigger, you need to know what you are holding. Weller has produced several iconic gun models over the decades. While the external housings may look similar, the internal transformers and wattage outputs vary significantly.
| Model | Era of Origin | Wattage (Low/High) | Primary Use Case |
|---|---|---|---|
| D55 | 1950s - 1980s | 120W / 200W | Heavy lugs, stained glass, plumbing |
| 8200 | 1970s - Present | 100W / 140W | 10-14 AWG wire, automotive, RC |
| 9200 | 1990s - Present | 100W / 140W | General heavy electrical, hobbyist |
| 8100 | 1980s - 2000s | 75W / 100W | Medium wire, thicker coaxial cables |
The Golden Rule: What NOT to Solder
The most common mistake beginners make with an old Weller soldering gun is attempting to use it on modern electronics. As noted in SparkFun's comprehensive soldering tutorials, precision electronics require precise thermal control. A Weller gun provides the exact opposite.
CRITICAL WARNING: Never use a transformer-based soldering gun on printed circuit boards (PCBs), Arduino microcontrollers, surface-mount devices (SMDs), or delicate sensor wiring.
Why Guns Destroy PCBs
- Thermal Shock & Pad Lifting: The copper loop tip reaches 800°F–900°F almost instantly. Applying this massive thermal mass to a 1.6mm FR4 fiberglass board will melt the adhesive bonding the copper trace to the board, causing the pad to lift off entirely.
- Magnetic Induction: The tip is literally the secondary winding of a step-down transformer. When you pull the trigger, hundreds of amps flow through the loop, generating a localized alternating magnetic field. This can induce unwanted voltages in nearby coils or sensitive traces, potentially destroying MOSFETs or microchips via electrostatic discharge (ESD).
- Physical Size: The thick copper loop simply cannot fit into the tight pitches of modern 0.1-inch header pins or IC legs without bridging multiple contacts with molten solder.
Step-by-Step: Soldering Heavy-Gauge Wire
Where the old Weller soldering gun truly shines is joining 10 AWG to 14 AWG copper wire, such as repairing an automotive harness or building high-current battery packs. Here is the professional methodology for achieving a flawless, low-resistance mechanical and electrical bond.
1. Preparation and Stripping
Strip exactly 3/8-inch of insulation from both wires. Twist the stranded copper tightly to prevent fraying. Slide a piece of heat-shrink tubing (sized appropriately) onto one of the wires before you begin soldering.
2. The 'Cold-Start' Tinning Technique
Copper loop tips oxidize rapidly when hot. If you pull the trigger and wait for the gun to heat up before applying solder, the tip will turn black and refuse to transfer heat.
- Rest the tip of your rosin-core solder (Kester 44, 0.062" diameter is ideal) directly against the cold copper loop.
- Squeeze the trigger to the high position.
- The exact second the tip reaches melting temperature, the solder will flash-flow, coating the tip in a protective, shiny layer of tin.
- Release the trigger slightly to the low position to maintain heat without overheating the tip.
3. Heating the Workpiece, Not the Solder
Press the tinned loop against the twisted copper wires. The goal is to use the gun to heat the wire itself until the wire is hot enough to melt the solder. If you melt the solder on the gun tip and try to 'paint' it onto cold wire, you will create a cold solder joint—a brittle, high-resistance connection that will fail under electrical load.
4. Feed and Cool
Once the wire is hot (usually 3 to 5 seconds for 12 AWG), touch your solder wire to the junction of the copper wire and the gun tip. Capillary action will draw the molten solder deep into the strands. Release the trigger and hold the wires perfectly still for 4 seconds until the solder solidifies into a dull, smooth fillet.
Metallurgy and Maintenance: Caring for the Loop Tip
The replaceable copper loop tip (commonly part number CT-100 or CT-200 depending on your model) is a consumable item. According to Electronics Notes, the extreme thermal cycling of soldering guns causes the copper to slowly pit and dissolve into the tin-lead alloy over time.
The Galvanic Corrosion Hazard
Never use plumbing paste flux (acid flux) with your Weller gun on electrical connections. Acid fluxes contain zinc chloride or hydrochloric acid. When combined with the high heat and electrical current of the gun, this creates a violent galvanic reaction that will eat through your copper tip in a matter of hours and leave corrosive salts inside your wire strands that will cause green verdigris and eventual wire failure.
The Thermal Expansion Snap
When replacing a pitted tip, you must loosen the two brass nuts on the front of the gun barrel. Insert the new copper loop and tighten the nuts only finger-tight plus a quarter turn with a wrench.
Why? Copper expands significantly when heated. If you over-torque the brass nuts, the copper loop has no room to expand when the gun reaches 900°F. The resulting mechanical stress will cause the thick copper wire to snap cleanly in half the first time you pull the trigger.
Troubleshooting Common Vintage Weller Issues
Because these tools are essentially just a transformer, a switch, and a copper wire, they are incredibly easy to diagnose when they fail.
- Symptom: The gun hums loudly, but the tip does not heat up.
Diagnosis: The circuit is broken at the tip. Either the copper loop has snapped, or the brass nuts are loose and carbon buildup is preventing electrical contact. Turn off and unplug the gun, remove the nuts, clean the contact surfaces with fine sandpaper, and reseat the tip. - Symptom: The trigger feels sticky or requires immense pressure to engage the 'high' setting.
Diagnosis: The internal microswitch or the mechanical linkage has accumulated carbon dust or oxidized grease. Open the housing (usually 3-4 Phillips screws), locate the switch actuator, and apply a single drop of synthetic dielectric grease. Do not use WD-40, as it attracts dust and will gum up the mechanism over time. - Symptom: Solder balls up and rolls off the tip.
Diagnosis: The tip is oxidized. Never file a soldering gun tip with a metal file or sandpaper to clean it; you will remove the protective iron plating (if present on newer tips) or simply thin the copper until it dissolves rapidly. Use a damp brass sponge or a wet cellulose sponge while the gun is on the 'low' trigger setting to wipe away oxidation, then immediately re-tin with fresh rosin-core solder.
Lead-Free vs. Leaded Solder in Vintage Guns
In 2026, environmental regulations and personal safety awareness have pushed many hobbyists toward lead-free solders like SAC305 (Tin/Silver/Copper). However, using lead-free solder with an old Weller soldering gun presents unique challenges. Lead-free solder requires a melting point of roughly 430°F (220°C), compared to 361°F (183°C) for classic 63/37 tin/lead eutectic solder.
While the Weller gun can easily exceed these temperatures, the wetting action of lead-free solder on heavy copper lugs is notoriously poor. The flux core in lead-free wire often burns off before the thick copper wire reaches thermal equilibrium. If you must use lead-free solder for automotive or outdoor applications, you will need to pre-heat the wire with a heat gun and use an external no-clean tacky flux to ensure a proper metallurgical bond.
Safety and Ergonomics
Finally, respect the tool. A classic Weller 8200 weighs nearly 3 pounds. Prolonged use can lead to wrist fatigue. Always use a wire jig or a 'third hand' tool to hold the workpiece so you can operate the heavy gun with your dominant hand while feeding solder with the other.
Furthermore, if you are using vintage 60/40 or 63/37 leaded solder, be hyper-aware of lead exposure. The Occupational Safety and Health Administration (OSHA) strictly outlines the dangers of lead dust and fumes. Always solder in a well-ventilated area, use a fume extractor, and wash your hands thoroughly with cold water and heavy-duty soap immediately after finishing your project to prevent lead ingestion.
Conclusion
An old Weller soldering gun is not a relic to be discarded; it is a specialized, high-torque instrument for heavy electrical work. By respecting its thermal mass, avoiding delicate PCBs, and maintaining the copper loop tip with proper tinning techniques, you can keep this classic tool running reliably for decades. Keep it in your toolbox for automotive repairs, heavy-duty connectors, and thick-gauge wiring, and leave the microelectronics to your temperature-controlled soldering station.