
The Physics of the Joint: Why Jump Rings Challenge Electronics Irons
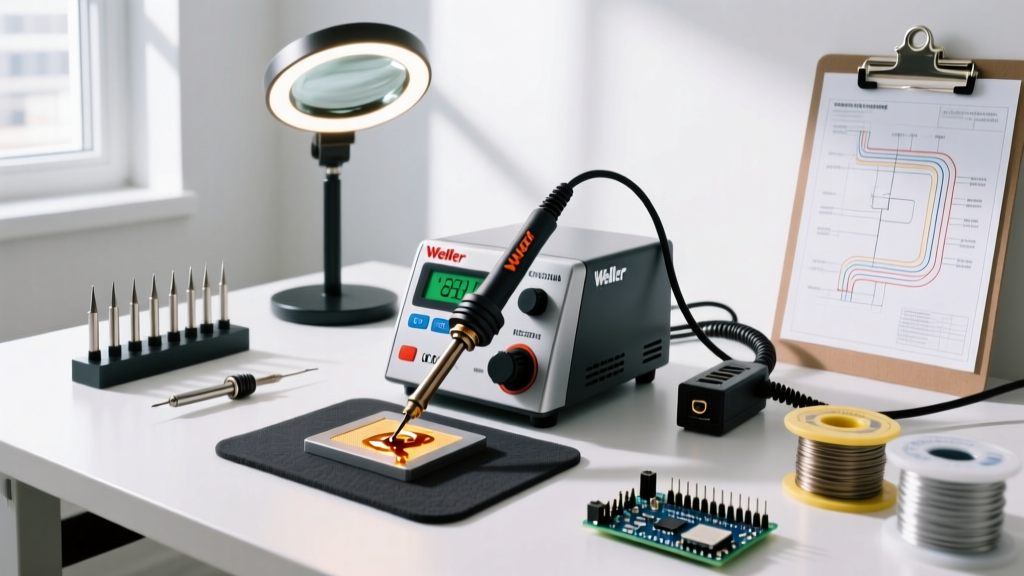
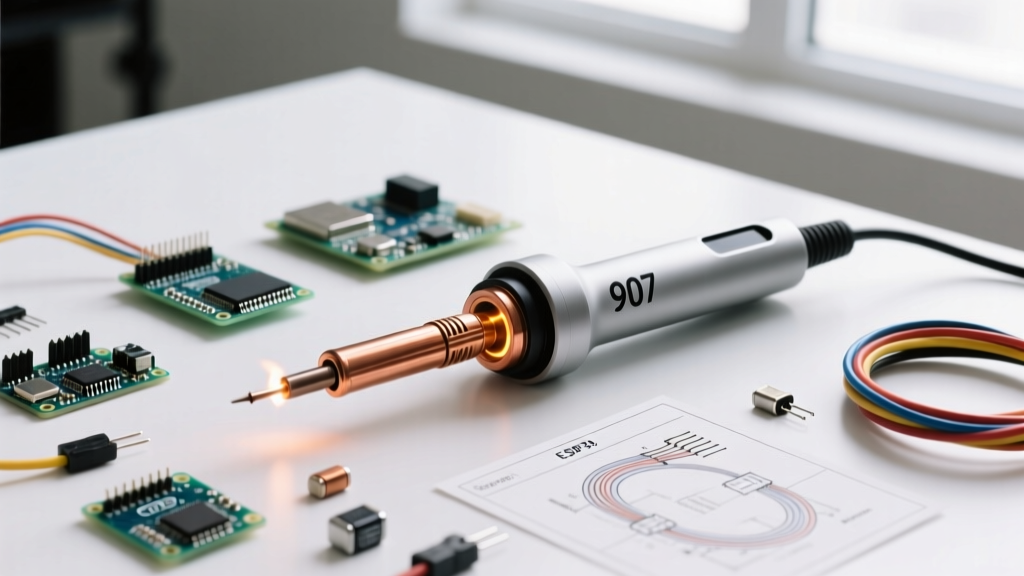
Soldering jump rings with a soldering iron bridges two distinct disciplines: electronics assembly and jewelry fabrication. While a standard micro-torch is the traditional tool for silversmiths, chainmaille weavers and hobbyists increasingly turn to temperature-controlled electronics irons. The primary advantage? Localized heat application. A torch heats the entire ring, risking the annealing (softening) of work-hardened sterling silver or brass. A soldering iron applies heat strictly to the joint interface, preserving the spring-hard temper of the ring.
However, the fundamental obstacle is thermal mass. A 14-gauge (1.63mm) copper or silver jump ring acts as a massive heat sink. When a standard 40W iron tip touches the metal, the ring rapidly conducts heat away from the tip. If the tip’s thermal recovery is too slow, the temperature drops below the solder’s liquidus point, resulting in a fractured, crystalline cold joint. Mastering this process requires a precise understanding of tip geometry, thermal recovery rates, and metallurgical flux chemistry.
Iron and Tip Configuration Matrix
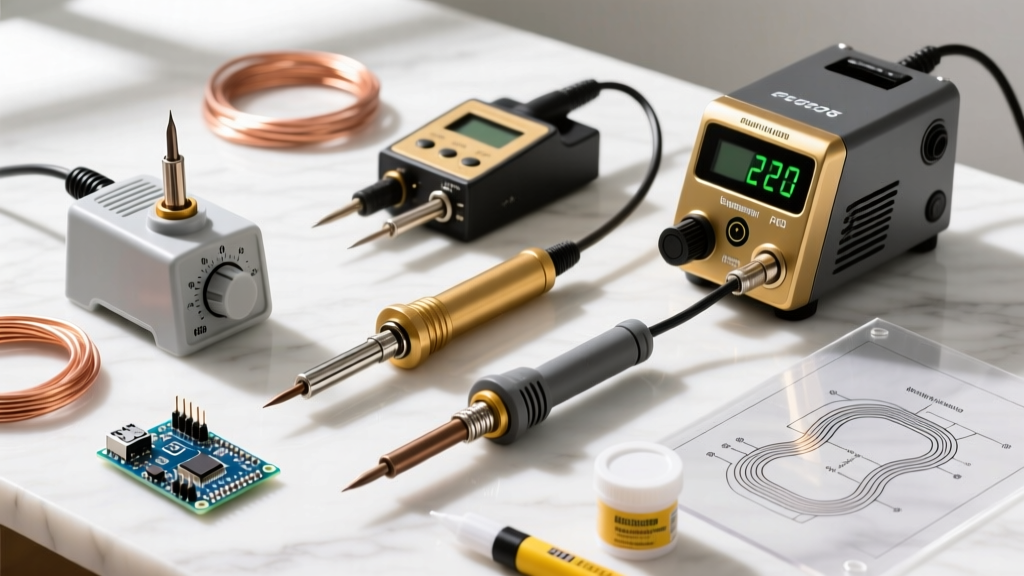
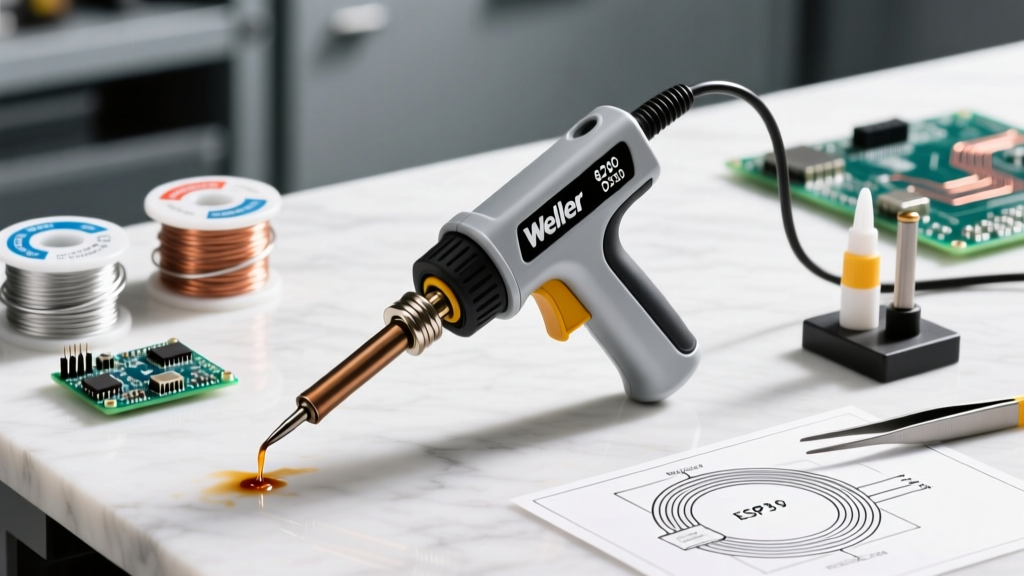
Not all soldering stations are equipped to handle the thermal drain of heavy-gauge wire. According to soldering standards outlined by organizations like IPC (Association Connecting Electronics Industries), thermal recovery and tip wetting are critical for high-mass joints. Below is an expert comparison of three top-tier irons for this specific application, evaluated on their ability to maintain a stable 380°C (716°F) under load.
| Iron Model | Max Wattage | Thermal Recovery | Recommended Tip Geometry | Approx. Price (2026) |
|---|---|---|---|---|
| Hakko FX-601 | 67W (Peak) | Excellent (Ceramic) | D24 (Screwdriver/Chisel) | $65 - $75 |
| Pinecil V2 (PD 65W) | 65W (via USB-C PD) | Very Good (RISC-V PID) | D24 or C4 (Wide Chisel) | $26 - $30 |
| Weller WES51 | 50W (Analog) | Moderate (Slow Ramp) | ETA (Flat Blade) | $110 - $125 |
The Tip Geometry Trap: Why Conical Fails
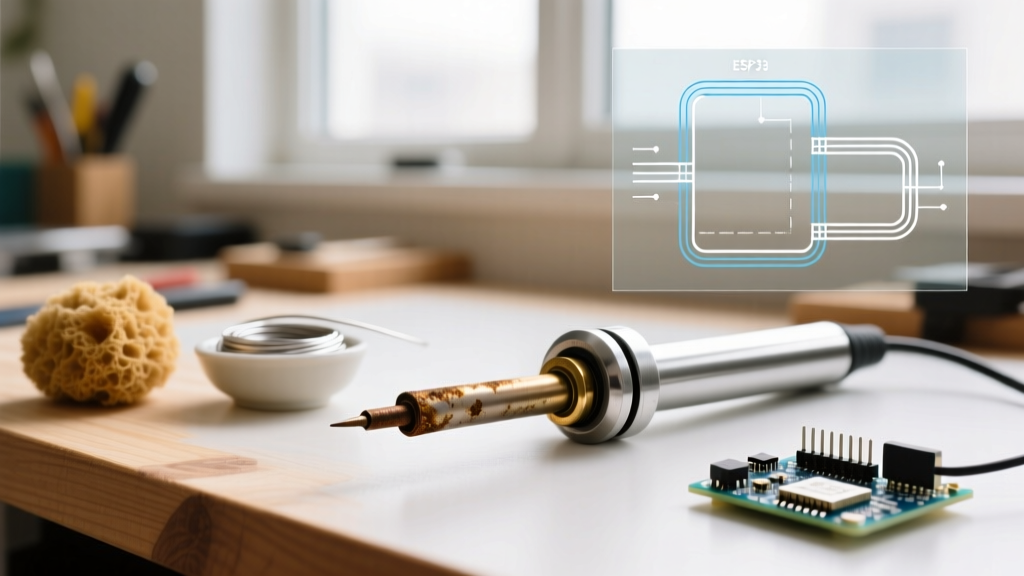
The most common mistake beginners make when soldering jump rings with a soldering iron is using a pointed conical tip (such as a Hakko B2 or standard needle tip). A conical tip provides point contact, which creates massive thermal resistance at the interface. The heat cannot transfer into the jump ring fast enough. Expert Rule: Always use a wide chisel, screwdriver, or bevel tip (like the D24). The flat surface area maximizes thermal transfer, bridging the gap between the iron’s heater and the ring’s thermal mass.
Metallurgy: Selecting the Right Solder and Flux
You cannot use standard 63/37 Sn/Pb rosin-core electronics solder for structural jewelry joints. Rosin flux is designed to clean mild oxidation on copper PCB pads, not the heavy fire-scale and oxidation present on sterling silver or brass wire. Furthermore, standard tin-lead solder lacks the tensile strength required for jewelry that experiences mechanical stress.
Expert Insight: For jump rings, you need a low-temperature silver-bearing solder and an aggressive zinc-chloride-based liquid flux. This combination yields a joint with a tensile strength exceeding 14,000 PSI while keeping the melting point low enough for an electronics iron to handle.
- The Solder: Use a 95% Tin / 5% Silver alloy (commonly sold as Stay-Brite or similar silver-bearing plumbing/jewelry solders). It melts at approximately 221°C (430°F) and flows beautifully on silver and copper.
- The Flux: Use a liquid zinc-chloride flux (like Stay-Clean). Unlike paste fluxes that can insulate the joint if applied too thickly, liquid flux wicks directly into the microscopic seam of the jump ring via capillary action.
Preparing the Jump Ring Interface
The physical preparation of the ring dictates the success of the solder joint. There are two primary ways jump rings are manufactured, and they require different soldering approaches:
- Saw-Cut Rings: These have a microscopic kerf (gap) left by the jeweler's saw. You must use a solder paste (solder powder suspended in flux) injected into the gap, as solid wire solder will not bridge a wide kerf without a pre-tinning step.
- Flush-Cut Rings: Cut with high-leverage side cutters, these rings have a zero-gap interface but often feature one flat edge and one beveled edge. Pro Tip: Use a fine flat file to true both ends perfectly flat before soldering. A zero-gap, flat-to-flat interface allows capillary action to pull the liquid solder entirely through the joint.
Step-by-Step Execution Protocol
Follow this precise sequence to achieve a clean, structurally sound joint without melting the ring or burning the flux.
1. Mechanical Prep and Alignment
Close the jump ring using two pairs of flat-nose pliers. Twist the ends past each other and back to center, ensuring the seam is perfectly flush. If you can see light through the seam, file it again.
2. Flux Application
Apply a micro-drop of liquid zinc-chloride flux directly to the seam using a fine-tipped brush. Do not flood the ring; excess flux will boil and spatter when heated.
3. Iron Staging
Set your temperature-controlled iron to 380°C (716°F). This is roughly 150°C above the liquidus point of the Sn95/Ag5 solder. This delta is necessary to compensate for the immediate thermal drop when the tip contacts the heavy metal ring.
4. The Heat Bridge and Solder Feed
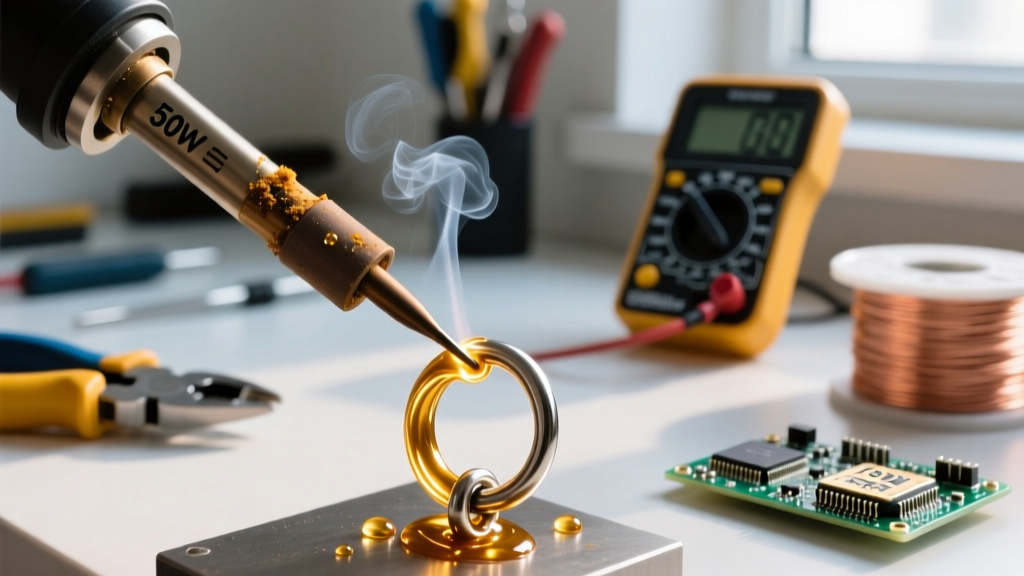
Wet your chisel tip with a tiny amount of solder to create a thermal bridge. Place the flat of the chisel tip directly over the seam, spanning both sides of the cut. Hold for exactly 1.5 to 2.5 seconds. Touch the Sn95/Ag5 solder wire to the opposite side of the seam (not the iron tip). If the ring is hot enough, capillary action will instantly draw the solder through the joint.
5. Quench and Clean
Remove the iron and let the ring air cool for 3 seconds, then drop it into a bowl of water with a pinch of baking soda to neutralize the acidic zinc-chloride flux. Wire brush the joint to reveal a bright, silver-colored seam.
Troubleshooting Edge Cases and Failure Modes
Even with premium equipment like those documented by jewelry authorities such as Rio Grande, things can go wrong. Here is how to diagnose and fix common failure modes when soldering jump rings with a soldering iron.
- Failure Mode: Solder Balls Up and Refuses to Flow
Diagnosis: The flux has burned off (turned into a black, glassy crust) before the ring reached 221°C. The iron's thermal recovery was too slow, or the tip was oxidized.
Solution: Quench the ring, re-file the joint to bare metal, apply fresh flux, and ensure your chisel tip is freshly tinned before making contact. - Failure Mode: The Joint Cracks When Bent
Diagnosis: A classic cold joint. The solder cooled before it fully alloyed with the base metal, often caused by moving the ring while the solder was in its plastic (semi-solid) state.
Solution: Use a third-hand tool or a ceramic soldering block to hold the ring absolutely rigid during the 3-second cooling phase. - Failure Mode: The Ring Turns Black and Pitted
Diagnosis: Severe oxidation from holding the iron on the metal for too long (exceeding 5 seconds). Zinc-chloride flux becomes highly corrosive and eats into the copper/silver if overheated.
Solution: Limit iron contact to 3 seconds max. If more heat is needed, the thermal mass of your ring is too high for your current iron wattage; upgrade to a 65W+ station or switch to a butane micro-torch.
When to Abandon the Iron
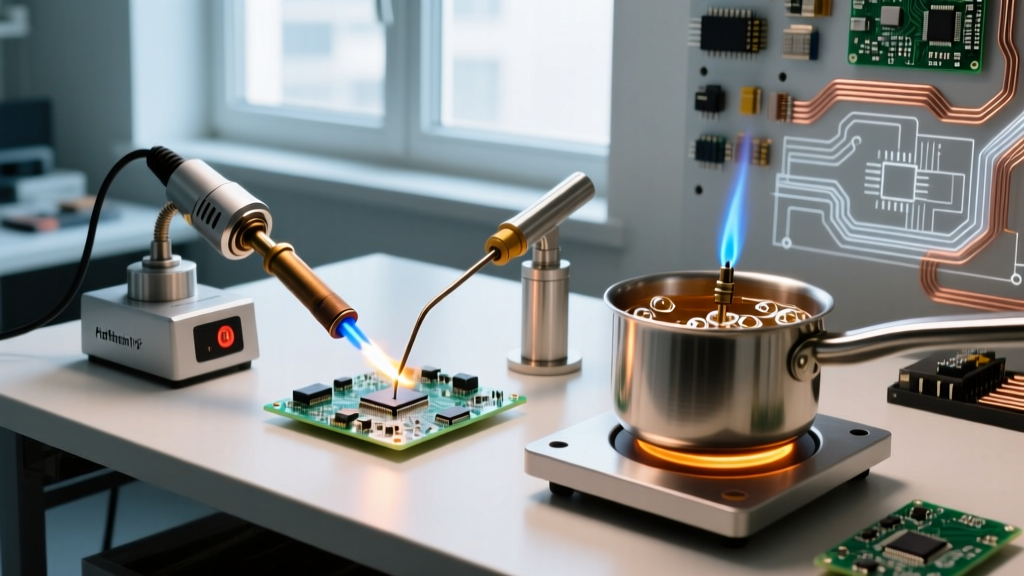
While soldering jump rings with a soldering iron is highly effective for 20-gauge to 14-gauge copper, brass, and sterling silver, it has limits. If you are working with Niobium or Titanium jump rings, an electronics iron is useless; these reactive metals require laser welding or TIG soldering in an argon atmosphere. Similarly, if you are soldering heavy 10-gauge (2.5mm) structural clasps, the thermal mass will defeat even a 67W Hakko FX-601. In those scenarios, a water-torch or butane micro-torch remains the undisputed king of the jeweler's bench. However, for delicate chainmaille weaves and standard jewelry findings, a properly configured electronics iron offers unparalleled precision, preserving the work-hardened integrity of your metalwork.