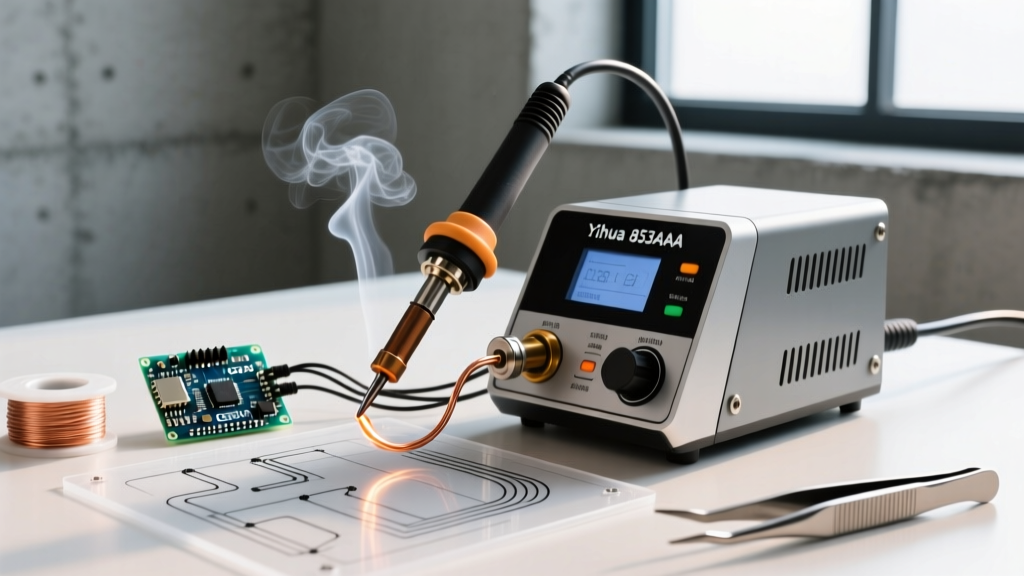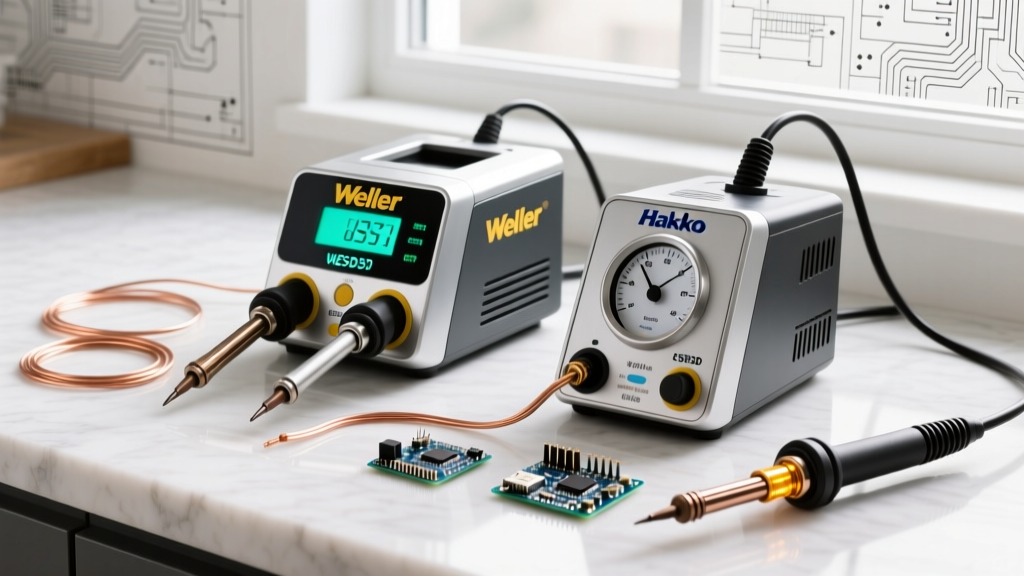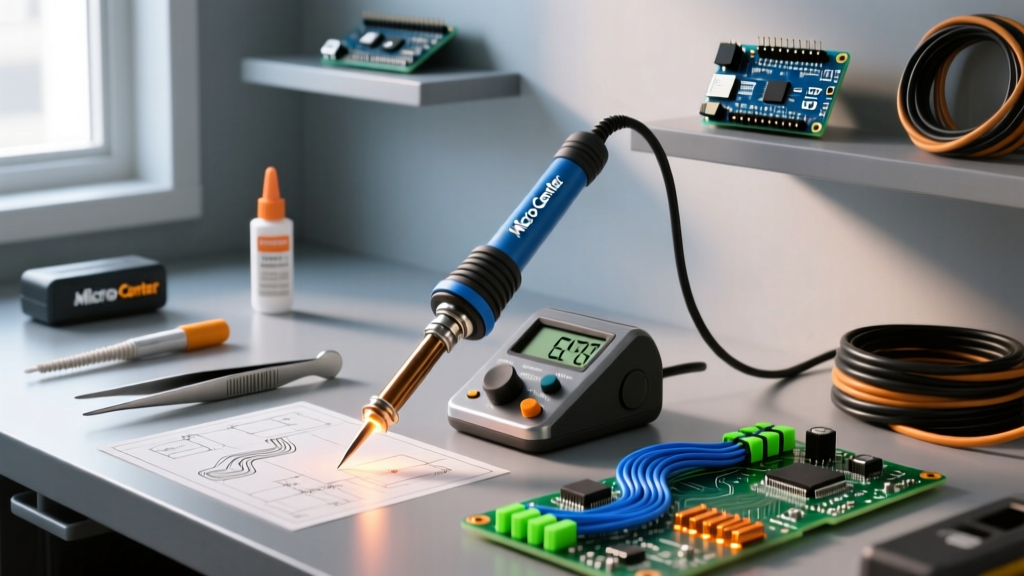

Unboxing the Micro Center Haul: What You Actually Bought
Walking into a Micro Center in 2026 remains a rite of passage for electronics hobbyists and professionals alike. Whether you picked up the legendary Hakko FX-888D (currently retailing around $115), the budget-friendly X-Tronic 3020-XTS PID station ($85), or Micro Center's in-house Inland ZD-917 desoldering station ($55), you have acquired capable hardware. However, unboxing and plugging in your new gear is only the first step. Factory calibration on these units is typically performed at sea level in controlled environments, meaning your station's digital display may be offset by ±10°C to ±15°C from the actual tip temperature. In precision PCB rework, a 15°C discrepancy is the difference between a flawless SAC305 solder joint and a cold, fractured connection.
This comprehensive setup and calibration tutorial will guide you through the exact metrology, thermal profiling, and PID tuning required to bring your Micro Center soldering iron up to professional laboratory standards.
The Thermal Reality: Why Factory Calibration Fails
Soldering stations do not measure the temperature of the tip directly. Instead, they measure the thermal electromotive force (EMF) of a thermocouple embedded inside or adjacent to the ceramic heating element. The station's microcontroller then uses a lookup table to estimate the tip temperature. Variables such as ambient room temperature, tip oxidation, and the specific thermal mass of the inserted tip geometry all introduce variance.
According to the IPC J-STD-001 standard for soldered electrical assemblies, thermal excursions must be tightly controlled to prevent delamination of FR-4 substrates and degradation of component internal die-attach materials. Relying on an uncalibrated display violates these core workmanship principles.
Required Metrology Tools
Before attempting calibration, you must acquire the correct measurement equipment. Guessing the offset will only compound the error.
- Dual-Input Digital Thermometer: A NIST-traceable unit like the Fluke 52 II or an Amprobe TMD-56. (NIST Calibration Guidelines dictate the baseline for these instruments).
- K-Type Thermocouple (Welded Bead): This is critical. Do not use a crimped or twisted-wire K-type probe. The air gap in a crimped bead acts as a thermal insulator, resulting in a 5°C to 8°C under-reading. You need a high-temperature Kapton-taped, welded-bead K-type probe designed specifically for surface contact.
- SAC305 Leaded/Lead-Free Test Solder: Used to verify the wetting threshold during recovery testing.
- Brass Wire Sponge: For tip cleaning without inducing thermal shock (unlike wet cellulose sponges).
Step-by-Step Calibration: Hakko FX-888D
The Hakko FX-888D is a staple on Micro Center shelves. It uses a T18 composite tip (copper core, iron plating, chromium barrier) and a 70W ceramic heater. Here is the exact procedure to calibrate its internal offset registers.
- Preparation: Ensure the station is powered off and the T18 tip is clean and heavily tinned with fresh SAC305 solder. A dry tip will yield false low readings.
- Enter Calibration Mode: Press and hold the [UP] arrow button on the front panel while turning the power switch ON. The display will flash and then settle on
350°C. - Thermal Soak: Allow the station to stabilize for exactly 3 minutes. The PID controller needs time to reach equilibrium.
- Measure: Press the welded-bead K-type thermocouple firmly against the tinned working surface of the tip. Record the temperature from your Fluke meter.
- Input Offset (350°C): If your meter reads 342°C, you have an 8-degree deficit. Use the [UP] and [DOWN] arrows to enter
+8on the Hakko display. Press [ENTER]. - Second Tier Calibration (400°C): The display will automatically advance to
400°C. Wait 3 minutes for stabilization. Measure again with the thermocouple. - Input Offset (400°C): Enter the new offset value based on your meter's reading and press [ENTER]. The station will save the dual-point calibration curve to its EEPROM and reboot to normal operation mode.
PID Auto-Tuning: X-Tronic 3020-XTS Digital Station
Unlike the Hakko, which relies on static offset tables, the X-Tronic 3020-XTS (another Micro Center favorite) utilizes a dynamic PID (Proportional-Integral-Derivative) controller. When you swap from a fine-point T18-B tip to a massive chisel T18-D32 tip, the thermal mass changes drastically, causing the PID loop to overshoot or oscillate.
To calibrate the X-Tronic to a new tip geometry:
- Insert the new tip and power on the station.
- Set the target temperature to your standard working profile (e.g., 350°C).
- Press and hold the
SETbutton for 5 seconds until the display readsAT(Auto-Tune). - The station will intentionally oscillate the heater power, driving the temperature slightly above and below the set point. This allows the microcontroller to calculate the exact integral and derivative gains required for that specific tip's thermal mass.
- The process takes approximately 4 to 6 minutes. Once complete, the
ATindicator will disappear, and the station will hold the temperature within ±1.5°C.
Tip Geometry and Thermal Recovery Matrix
Calibration ensures your temperature reading is accurate, but it does not change the physics of thermal recovery. When you apply a 350°C tip to a heavy ground plane on a multilayer PCB, the tip temperature drops. The station's wattage dictates how fast it recovers. Below is a thermal recovery matrix tested on a 2oz copper ground plane using a calibrated Hakko FX-888D (70W).
| Tip Model | Geometry | Thermal Mass | Temp Drop (5s Dwell) | Recovery Time to 350°C |
|---|---|---|---|---|
| T18-B | Conical (0.5mm) | Low | -45°C | 8.2 seconds |
| T18-D24 | Screwdriver (2.4mm) | Medium | -22°C | 3.5 seconds |
| T18-K | Knife (45° angle) | High | -14°C | 2.1 seconds |
| T18-D52 | Heavy Chisel (5.2mm) | Very High | -8°C | 1.2 seconds |
Note: For heavy ground planes, never increase the station temperature to 400°C+ to compensate for a small tip. This violates NASA-STD-8739.3 workmanship requirements by risking pad lifting and flux burnout. Instead, switch to a higher thermal mass tip like the T18-K or T18-D52.
Expert Insight: Many hobbyists buying solder wire at Micro Center opt for cheap, high-flux rosin cores. When calibrating, always use a high-quality, low-residue no-clean flux (like MG Chemicals 8341 or Kester 186) to prevent carbon buildup on the thermocouple probe, which will insulate the bead and ruin your calibration data.
Troubleshooting Sensor Drift and Edge Cases
The "H01" or "Sensor Error" Fault
If your Hakko or Inland station displays an error code (like H01 or a flashing ---), the internal thermocouple has failed or the heater cartridge wiring has fractured. This is common if the station is frequently moved by the cord rather than the handle.
Fix: Unplug the station, open the handle using a JIS #0 screwdriver (do not use a Phillips, as it will cam-out and strip the Japanese Industrial Standard screws), and inspect the ceramic heater pins for micro-fractures. Replacement T15/T18 heater elements cost roughly $15 at Micro Center or online.
Oscillation and Clicking Relays
If your X-Tronic station is rapidly clicking and the temperature display is bouncing ±10°C, the PID loop is unstable. This usually happens when a user inserts a tip without fully seating it into the ceramic heater sleeve. The air gap acts as an insulator, confusing the PID algorithm. Always ensure the tip retaining nut is tightened securely with the provided wrench, and that the tip is pushed flush against the heater core before locking it down.
FAQ: Maintaining Your Calibration
Q: How often should I recalibrate my Micro Center soldering station?
A: For hobbyist use, an annual calibration is sufficient. For professional daily use, recalibrate every 3 months, or immediately whenever you drop the handpiece, as mechanical shock can alter the physical positioning of the internal thermocouple junction.
Q: Can I use a cheap $20 multimeter with a temperature probe for calibration?
A: No. Budget multimeters use cold-junction compensation algorithms that are often inaccurate by ±5°C at room temperature. Furthermore, the included probes are almost always crimped, not welded. Invest in a dedicated thermocouple thermometer for bench metrology.
Q: Does the type of solder I use affect the perceived calibration?
A: Yes. Leaded Sn63/Pb37 eutectic solder melts at 183°C and wets beautifully at a calibrated 320°C. Lead-free SAC305 melts at 217°C and requires a calibrated tip temperature of 350°C to 360°C to achieve proper intermetallic compound (IMC) formation. Always calibrate to the specific alloy profile you use most frequently.