
The Thermodynamics of the 60W Soldering Iron for Electronics
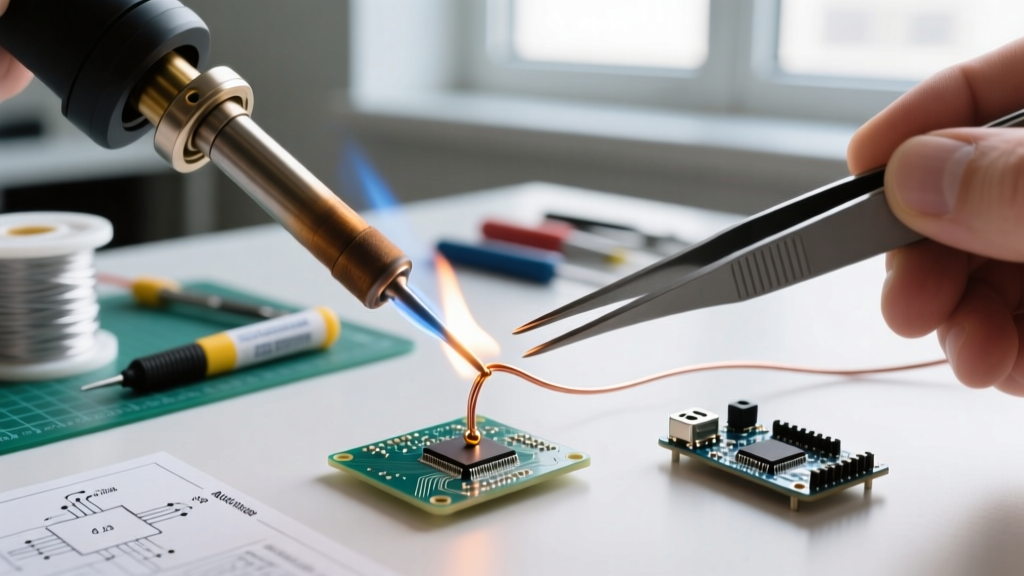
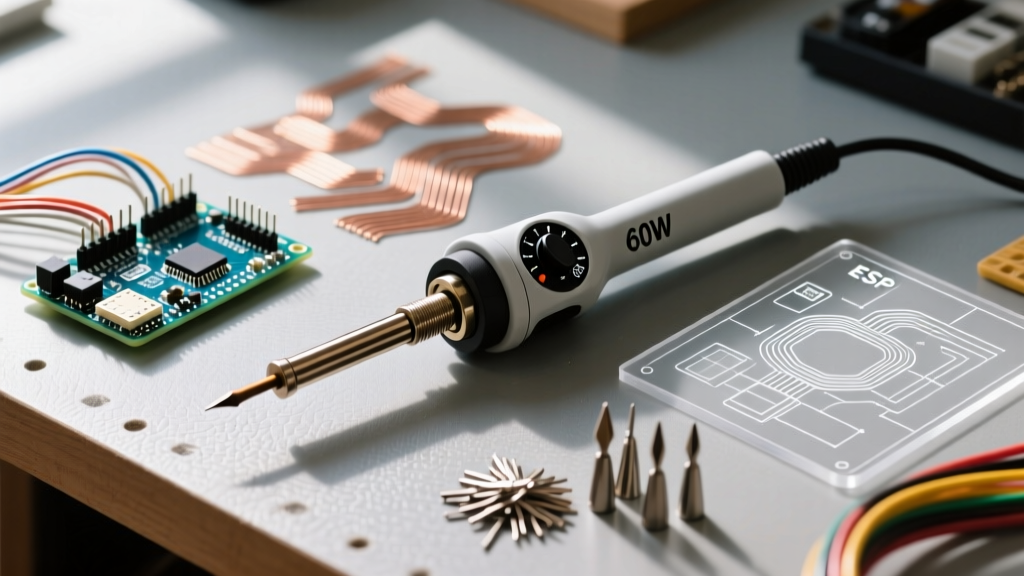
When transitioning from basic DIY repairs to serious printed circuit board (PCB) assembly, the 60W soldering iron for electronics emerges as the undisputed workhorse. While 30W irons struggle with thermal recovery on ground planes, and 100W+ stations risk lifting pads on delicate FR-4 fiberglass, a high-quality 60W iron sits precisely in the thermal sweet spot. It provides enough thermal mass to solder 14 AWG wires and multi-layer through-hole vias, yet remains agile enough for 0805 surface-mount device (SMD) work.
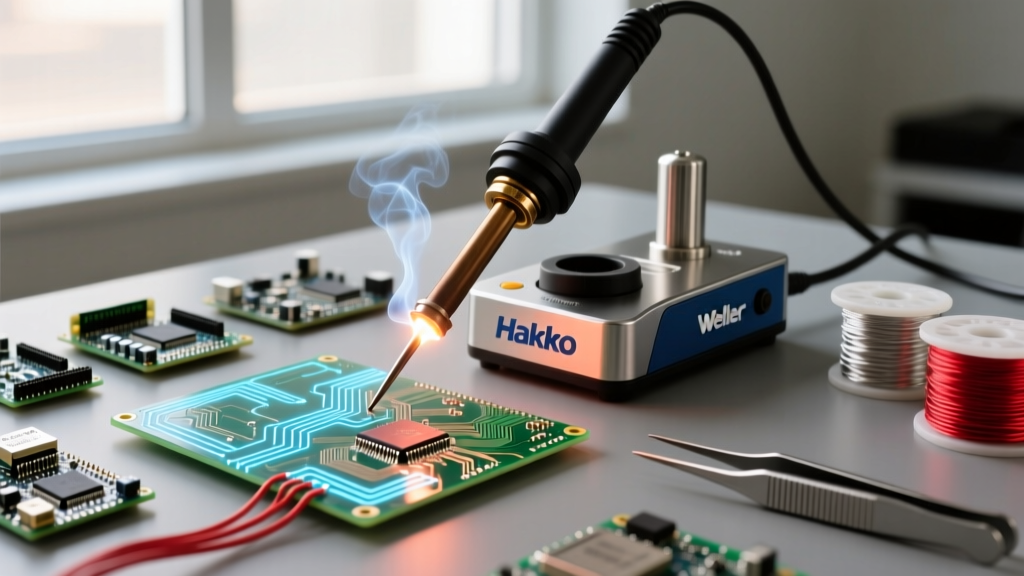
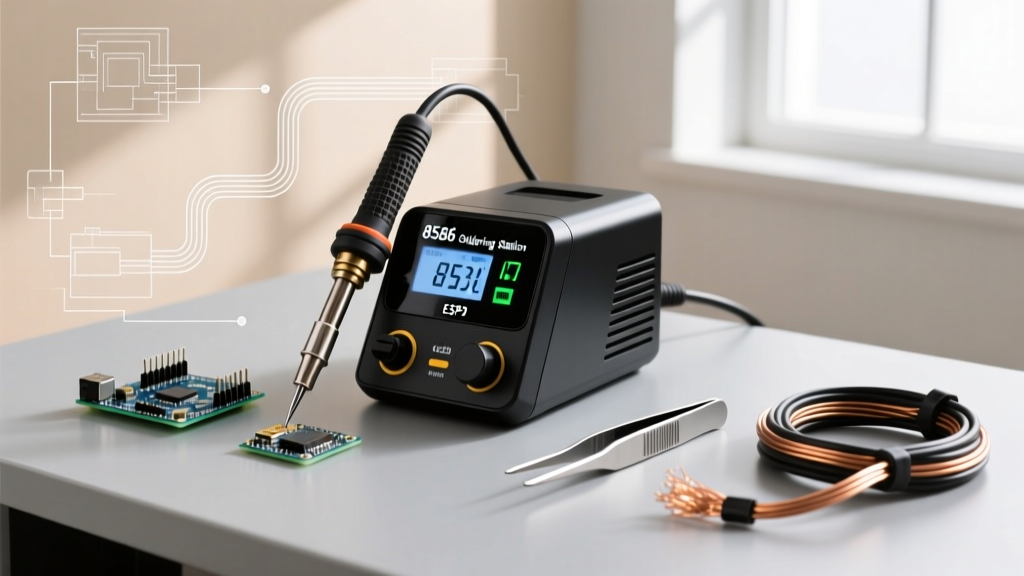
In 2026, the market has shifted heavily toward smart, microcontroller-driven 60W irons. Models like the Pine64 Pinecil V2 (which peaks at 65W via USB-C PD) and the classic Hakko FX-601 (a dedicated 67W adjustable ceramic heater) dominate workbenches. However, wattage alone does not guarantee a perfect joint. Mastering this tool requires a deep understanding of thermal transfer, tip geometry, and alloy metallurgy.
Temperature Profiling: Matching Heat to the Component
The most common mistake novices make with a 60W iron is cranking the dial to 400°C (752°F) to "make the solder melt faster." This is a catastrophic error. High temperatures rapidly oxidize the iron plating on the tip, destroying it within hours, and degrade the flux core before it can clean the joint. According to the IPC J-STD-001 standard for soldered electrical assemblies, the goal is to reach the alloy's liquidus temperature as efficiently as possible without exceeding the thermal limits of the component or the PCB's glass transition temperature (Tg).
Optimal Temperature & Dwell Time Matrix
| Component / Joint Type | Recommended Alloy | Target Tip Temp | Max Dwell Time | Expert Notes |
|---|---|---|---|---|
| Standard Through-Hole (ICs, Resistors) | Sn63/Pb37 (Leaded) | 315°C - 330°C | < 3 seconds | Apply heat to pad and lead simultaneously. |
| Lead-Free SMD (0805, SOIC) | SAC305 (Lead-Free) | 340°C - 360°C | < 2 seconds | Use a micro-chisel tip; tack one pad first. |
| Heavy Ground Planes / Power Lugs | Sn60/Pb40 or Sn96.5 | 360°C - 380°C | < 5 seconds | Pre-heat the board to 100°C if possible. |
| Heat-Sensitive (RF modules, Connectors) | Sn42/Bi58 (Low Temp) | 220°C - 240°C | < 4 seconds | Bismuth alloys are brittle; avoid mechanical stress. |
Tip Geometry: Why the Conical Tip is a Trap
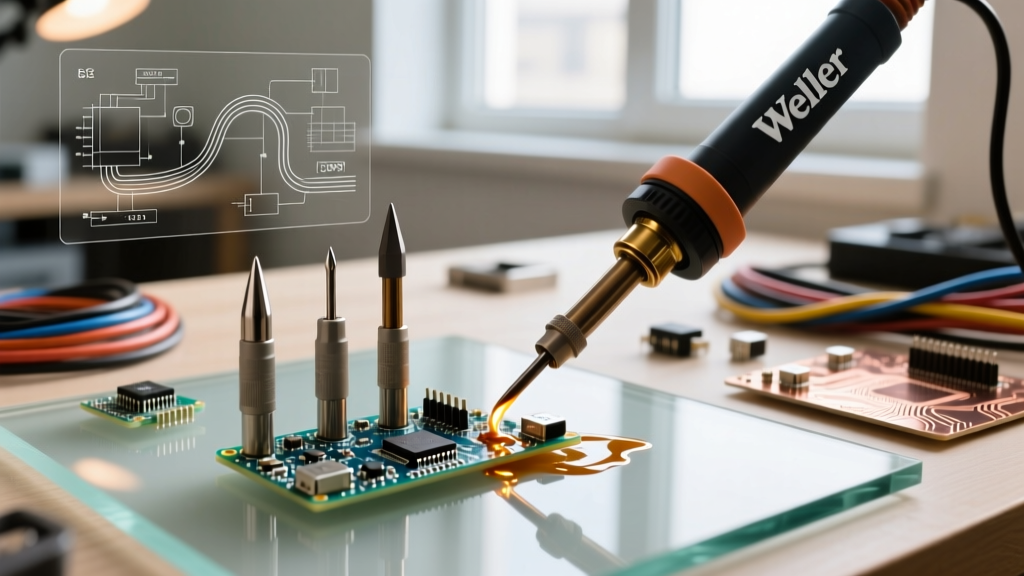
Almost every entry-level 60W soldering iron ships with a needle-like conical tip. Discard it immediately for PCB work. A conical tip has a microscopic surface area at its point, meaning it transfers heat incredibly slowly. By the time the joint reaches melting temperature, the heat has traveled up the component lead, potentially frying the silicon die inside an IC.
For professional electronics work, you must maximize the surface area contact between the tip and the joint. Here is the expert tip selection framework:
- Micro-Chisel (e.g., Hakko T18-D08 or Pinecil C0.8): The absolute best all-rounder. The flat edge allows you to drag-solder SMD pins and provides excellent thermal transfer for 0.1" header pins.
- Bevel / Hoof (e.g., 2.4C or 3.2C): Essential for drag-soldering multi-pin ICs like TQFP-48 or QFN packages. The concave scoop holds a small wave of molten solder, preventing bridging via surface tension.
- Wide Chisel (e.g., 5.0D or 6.0D): Reserved strictly for heavy-duty tasks like soldering XT60 battery connectors, thick gauge wires, or large grounding tabs. Never use this on SMDs.
Expert Insight: The "sweet spot" of a chisel tip is not the very edge, but the flat face just behind the edge. Pressing the flat face against the pad and the component lead simultaneously reduces thermal resistance by up to 70% compared to using the tip's point.
Advanced Flux and Solder Alloy Pairings
A 60W iron is only as effective as the chemistry it melts. In 2026, the industry standard for professional lead-free electronics is SAC305 (96.5% Tin, 3.0% Silver, 0.5% Copper). However, SAC305 has a high melting point (217°C) and poor wetting characteristics compared to traditional leaded solder.
If you are not legally bound to RoHS lead-free compliance (e.g., you are building prototypes, repairing vintage gear, or doing aerospace hobbyist work), Sn63/Pb37 remains the superior choice. It is a eutectic alloy, meaning it transitions from solid to liquid instantly at 183°C (361°F) without a "plastic" or pasty phase. This eliminates the risk of cold joints caused by micro-vibrations during cooling.
The Flux Protocol
The flux core inside your solder wire (usually 2% to 3% by weight) is designed to clean the initial joint. It is entirely insufficient for rework, drag soldering, or fixing bridges. You must use an external tacky flux.
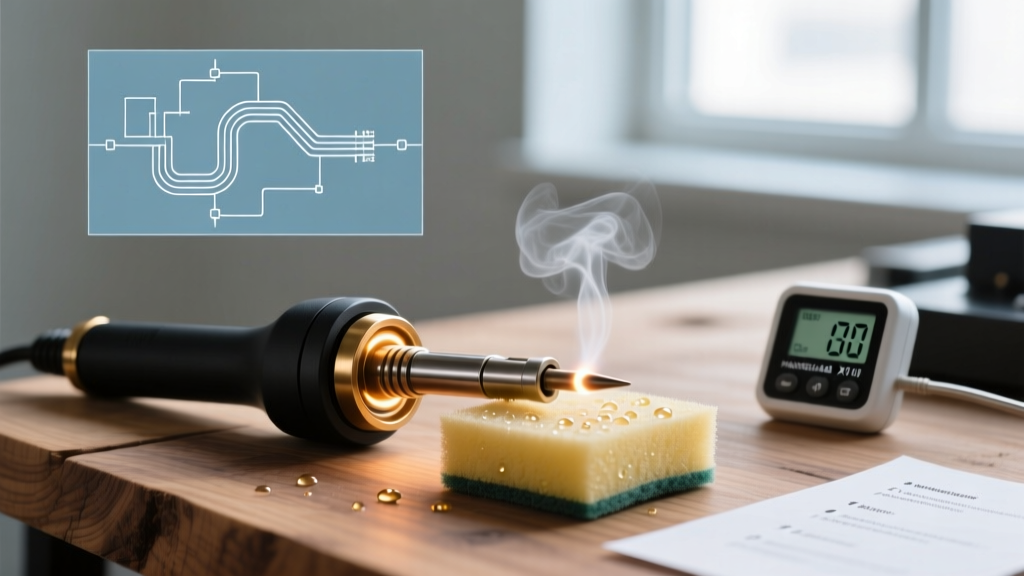
- Clean: Wipe the tip on a damp cellulose sponge or brass wool.
- Apply External Flux: Use a syringe of no-clean tacky flux (e.g., Amtech NC-559-V2 or Chip Quik SMD291AX) directly onto the PCB pads before heating.
- Feed Solder: Let the 60W iron activate the flux (you will see it bubble and flow), then feed the wire into the joint, not directly onto the iron tip.
Smart Irons vs. Traditional Ceramic Heaters in 2026
The landscape of 60W irons has bifurcated into two distinct camps. Understanding which camp your tool belongs to will dictate how you use it.
1. Traditional Ceramic Heaters (e.g., Hakko FX-601, Weller SP60NK)
These use a simple resistive heating element and a basic thermostat. When the tip drops below the set temperature, the heater turns on at 100% capacity until the target is reached. Limitation: They suffer from "thermal overshoot." If set to 350°C, the tip might momentarily spike to 380°C before the sensor catches up. Always set traditional irons 15°C lower than your actual target to compensate for overshoot.
2. Smart PID-Controlled Irons (e.g., Pinecil V2, Miniware TS101)
These irons use a RISC-V or ARM microcontroller running a PID (Proportional-Integral-Derivative) algorithm. They sample the tip temperature up to 10 times per second and pulse the 60W heater with precise duty cycles. Advantage: Zero overshoot and lightning-fast thermal recovery. When you touch a cold ground plane, the iron detects the voltage drop across the thermocouple instantly and dumps maximum wattage into the heater for milliseconds, stabilizing the tip without scorching the board.
Troubleshooting Common 60W Failures
Even with a premium 60W soldering iron for electronics, poor technique will yield defective joints. Here is how to diagnose and fix the most common issues based on industry-standard soldering tutorials and IPC inspection criteria.
- The "Grape" or Balling Joint: The solder balls up on the lead and refuses to flow onto the copper pad. Cause: The pad is oxidized or lacks sufficient heat. Fix: Remove the iron, apply generous external tacky flux, and re-apply the iron, ensuring the tip touches both the pad and the lead simultaneously.
- Lifted Pads: The copper trace rips away from the FR-4 substrate. Cause: Excessive dwell time (holding the iron for >5 seconds) or using a 60W iron at 400°C+ on a standard Tg130 PCB. Fix: Lower the temperature to 330°C, use a wider chisel tip to increase thermal transfer speed, and apply flux to lower the surface tension.
- Blackened, Pitted Tips: The tip refuses to accept solder. Cause: Leaving the 60W iron at operating temperature while not in use. At 350°C, the iron plating oxidizes rapidly in ambient air. Fix: Never use sandpaper or a file to clean a modern iron tip; you will destroy the iron plating. Use a brass wire sponge and "tin" the tip heavily with solder before turning it off to create a sacrificial oxidation layer.
Final Verdict: Maximizing Your 60W Investment
A 60W soldering iron for electronics is not a magical wand; it is a precision thermal transfer instrument. By abandoning the conical tip, respecting the eutectic properties of your chosen alloy, and leveraging external flux, you transform a standard 60W tool into a professional-grade assembly station. Whether you are assembling a custom mechanical keyboard matrix or repairing a drone flight controller, the physics of heat transfer remain constant. Respect the thermodynamics, and your joints will pass IPC Class 2 and 3 inspection standards every single time.