
The Semantic Trap: Hard Solder vs. Silver-Bearing Soft Solder
When makers, audiophiles, and technicians search for guidance on soldering silver with a soldering iron, they frequently encounter a massive semantic trap. In the jewelry and plumbing trades, "silver solder" refers to hard brazing alloys that melt between 600°C and 800°C—temperatures that require an oxy-acetylene or butane torch. A standard electronics soldering iron will never reach these thresholds.
However, in electronics and high-fidelity audio wiring, the phrase refers to joining solid silver wires, silver-plated lugs, or silver-palladium contacts using silver-bearing soft solders. These alloys melt between 179°C and 236°C, well within the capabilities of modern, high-thermal-capacity soldering stations. This deep dive explores the exact thermodynamics, metallurgical challenges, and equipment requirements to successfully solder silver with an iron in 2026.
The Thermodynamics of Silver: Why Standard Irons Fail
Silver is the most thermally conductive element on the periodic table, measuring approximately 429 W/(m·K) at room temperature. By comparison, copper sits at 398 W/(m·K). When you apply a soldering iron tip to a thick 14 AWG solid silver wire or a heavy silver-plated chassis lug, the silver wicks heat away from the joint 7% faster than copper would.
If you attempt this with a standard 40W ceramic pencil iron, the silver mass will act as an infinite heat sink. The tip temperature will plummet below the alloy's liquidus point, resulting in a classic "cold joint"—a grainy, dull, and mechanically fragile connection. To overcome this, you need a station with high wattage and, more importantly, rapid thermal recovery.
2026 Station Comparison Matrix for High-Mass Silver Joints
| Station Model | Wattage | Recommended Tip Geometry | Thermal Recovery | Est. Price (2026) |
|---|---|---|---|---|
| Hakko FX-951 | 70W | T15-D52 (5.2mm Heavy Chisel) | Excellent (Cartridge Heater) | $115 |
| Weller WE1010NA | 70W | ETA DL (Heavy Screwdriver) | Very Good | $110 |
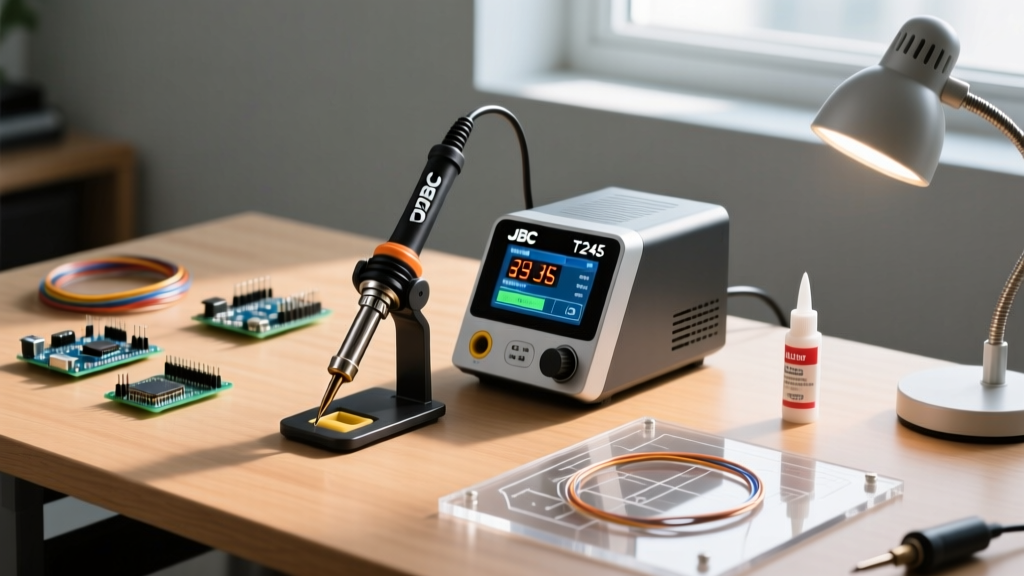
| JBC CD-2BE | 130W | C245-903 (Wide Bevel) | Unmatched (2 Seconds) | $345 |
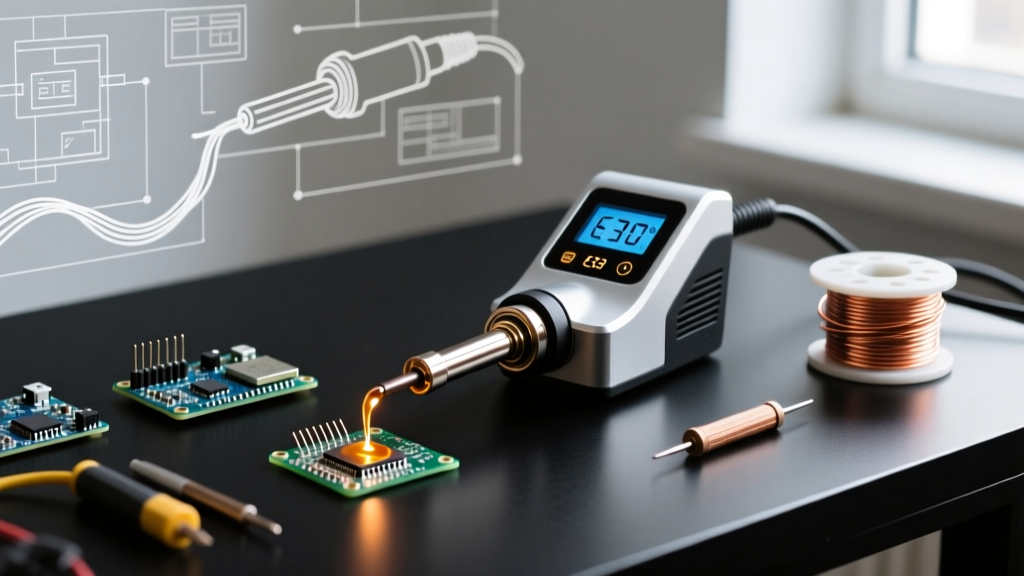
For professional audio wiring or aerospace applications, the Hakko FX-951 technical specifications reveal why it remains a benchmark: its integrated tip-and-heater cartridge eliminates the thermal bottleneck of traditional screw-in tips. For extreme thermal mass (like 10 AWG silver battery cables), the JBC CD-2BE's 130W output is virtually mandatory.
The Metallurgical Challenge: Silver Leaching
The most critical concept to understand when soldering silver with a soldering iron is silver leaching (also known as silver dissolution). When molten tin contacts silver, the tin aggressively dissolves the silver into the solder pool. If you use standard 60/40 Tin/Lead solder on a silver-plated component, the solder will literally eat away the silver plating, leaving a barren copper or nickel underlayer and creating a high-resistance, brittle joint.
Expert Rule: Never use standard Sn60/Pb40 or Sn99.3/Cu0.7 on silver surfaces. You must use an alloy pre-saturated with silver to halt the dissolution gradient.
Selecting the Correct Silver-Bearing Alloy
- SAC305 (Sn96.5/Ag3.0/Cu0.5): The industry standard lead-free alloy. Melts at 217°C–220°C. The 3% silver content saturates the melt, protecting silver wires and pads from leaching. Requires higher iron temperatures (340°C–360°C).
- Sn62/Pb36/Ag2 (Indalloy 182): A eutectic leaded alloy melting sharply at 179°C. The 2% silver content prevents leaching while the lower melting point protects heat-sensitive vintage audio components and delicate silver-palladium contacts.
- Sn96.5/Ag3.5: Excellent for high-vibration environments (e.g., automotive or aerospace silver wiring) due to superior fatigue resistance, though it requires excellent flux activity.
Flux Chemistry for Silver Surfaces
Silver tarnishes by forming silver sulfide (Ag2S) when exposed to atmospheric sulfur. While silver oxide is relatively easy to reduce with standard rosin flux, silver sulfide is stubborn. According to the IPC J-STD-001 standard for electronic assemblies, mildly activated rosin (RMA) fluxes are generally sufficient for fresh silver. However, if the silver wire has visible yellow/brown tarnish, you must use a No-Clean flux with higher activator content, or a mild Organic Acid (OA) flux, followed by rigorous cleaning with isopropyl alcohol to prevent long-term corrosion.
Step-by-Step Execution Guide
Follow this precise methodology to ensure a flawless metallurgical bond when joining silver components.
- Mechanical Preparation: Never rely on flux to clean heavy tarnish. Use a fiberglass scratch pen or 3M Scotch-Brite pad to expose bright silver on the wire and lug. Wipe immediately with 99% isopropyl alcohol.
- Flux Application: Apply a generous amount of tacky flux (e.g., Kester 186 or Chip Quik NC-559) to both the wire and the terminal. The flux must cover an area slightly larger than the intended joint.
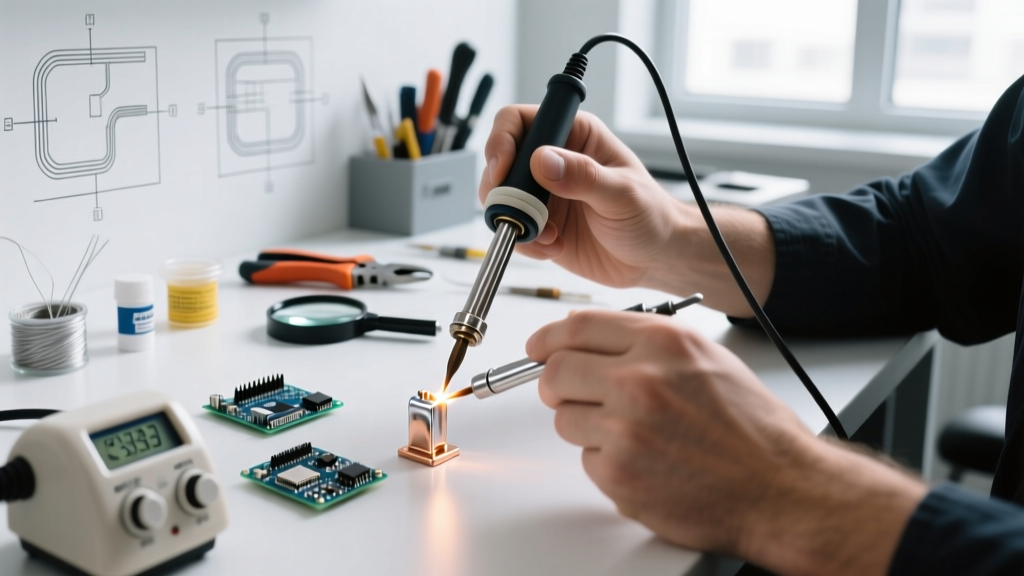
- Tip Selection and Tinning: Select the widest chisel or bevel tip that fits the joint. Pre-tin the iron's tip with a small bridge of your silver-bearing solder. This "solder bridge" acts as a liquid thermal coupler, transferring heat 10x faster than dry tip-to-metal contact.
- The Thermal Soak (3-Second Rule): Apply the tinned tip to the heaviest part of the silver mass (usually the lug or terminal). Hold for 2 to 3 seconds to allow the silver to reach the liquidus temperature. Do not touch the solder wire to the iron tip yet.
- Feed and Flow: Touch the silver-bearing solder wire to the silver component, not the iron tip. If the silver has reached the correct thermal mass, the solder will instantly flash and wick into the joint via capillary action. Remove the solder, then remove the iron.
- Inspection: A proper SAC305 or Sn62/Ag2 joint on silver will appear slightly duller than a pure tin joint but should be smooth, concave, and exhibit excellent wetting at the edges. Refer to a Weller soldering tip selection guide if you notice inconsistent wetting, as tip degradation may be the culprit.
Troubleshooting Common Failure Modes
Dewetting and the "Ball-Up" Effect
If the solder balls up and refuses to stick to the silver wire, you are experiencing dewetting. This is almost always caused by insufficient thermal mass at the joint. The silver is pulling heat away faster than the iron can replenish it. Solution: Switch to a heavier chisel tip, increase the station temperature by 15°C, or apply a secondary heat source (like a hot air gun set to 150°C) to pre-warm the surrounding silver mass.
Tip Pitting and Cratering
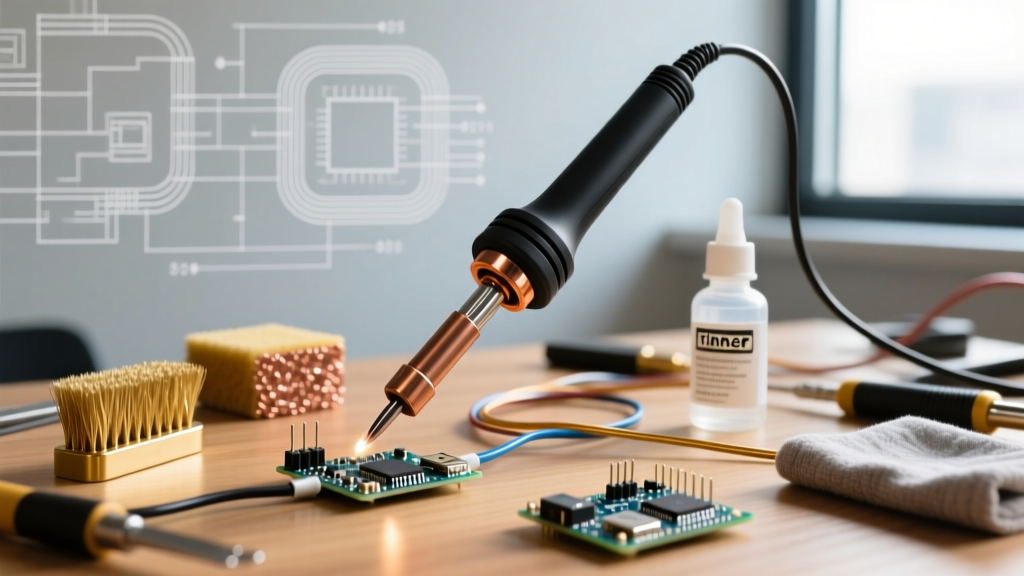
Even with silver-bearing alloys, prolonged exposure to molten silver pools can degrade the iron plating on your soldering tip. If you notice microscopic craters on your tip's working surface, the iron layer has been breached, and the copper core will rapidly dissolve. Solution: Never leave the iron resting in the silver solder pool. Wipe the tip on brass wool immediately after the joint is complete, and re-tin with a standard Sn60/Pb40 sacrificial coating to protect the plating during storage.
Final Verdict
Soldering silver with a soldering iron is entirely viable, provided you respect the metal's extreme thermal conductivity and metallurgical quirks. By abandoning low-wattage irons in favor of high-recovery cartridge stations, utilizing silver-saturated alloys like SAC305 or Sn62/Ag2, and employing aggressive thermal soaking techniques, you can achieve joints that rival torch-brazed connections in both electrical conductivity and mechanical shear strength.