
Most beginner guides on how to use a soldering iron treat the tool as a monolith, offering a one-size-fits-all approach to melting solder. However, as any seasoned electronics technician will tell you, the physical technique you use must adapt to the thermal dynamics of your specific equipment. The workflow for a basic 40W pencil iron differs drastically from that of a closed-loop digital soldering station.
In this comprehensive comparison, we break down exactly how to use a soldering iron across two primary tool categories: unregulated pencil irons and temperature-controlled digital stations. We will examine real-world thermal recovery rates, specific tip geometries, and the precise timing required to achieve IPC-A-610 compliant solder joints without damaging sensitive components.
The Universal Physics of Soldering
Before comparing tools, we must establish the baseline physics of a proper solder joint. Soldering is not about melting solder onto a pad; it is about using the soldering iron to heat the pad and the component lead simultaneously, allowing capillary action to draw the molten alloy into the metallurgical bond.
'The iron should be used as a heat source, not a solder delivery vehicle. Applying solder directly to the tip and transferring it to the joint results in oxidized flux and cold, unreliable connections.' — SparkFun Through-Hole Soldering Guide
Regardless of your tool, the universal sequence remains:
- Clean: Wipe the tip on a damp cellulose sponge or brass wire pad.
- Tin: Apply a microscopic layer of fresh solder to the tip to maximize thermal transfer.
- Heat: Touch the iron to both the PCB pad and the component lead.
- Feed: Apply solder wire to the joint, not the iron tip.
- Withdraw: Remove the solder wire, then remove the iron at a 45-degree angle.
Tool Comparison Matrix: Pencil vs. Digital Station
The way you execute the universal sequence changes based on your tool's thermal mass and sensor feedback. Below is a 2026 market comparison of the two dominant categories.
| Feature | 40W Pencil Iron (e.g., Weller SP40NKUS) | Digital Station (e.g., Hakko FX-888D) | Advanced Active Station (e.g., JBC CD-2BQE) |
|---|---|---|---|
| Average Price (2026) | $35 - $45 | $115 - $135 | $450 - $500 |
| Temperature Control | None (Fixed wattage output) | Digital PID Sensor | Active Cartridge Sensor |
| Heat-Up Time | 45 - 60 seconds | 20 - 30 seconds | < 2 seconds |
| Thermal Recovery | Poor (Requires manual pacing) | Good (Recovers in 3-5 seconds) | Instantaneous |
| Best Use Case | Thick wires, basic through-hole | PCB rework, mixed SMD/TH | Heavy ground planes, micro-BGA |
How to Use a Soldering Iron: The Pencil Iron Technique
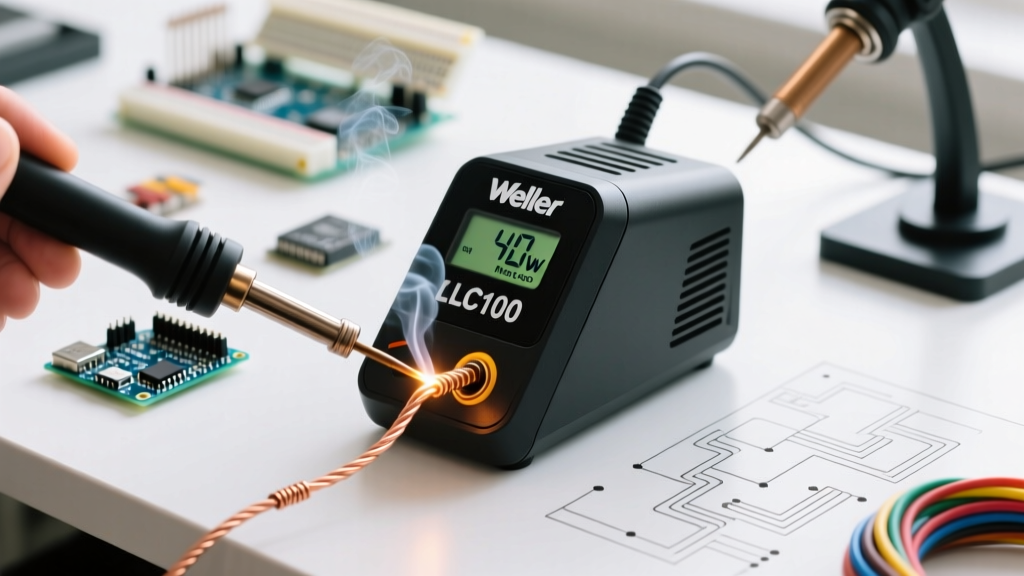
Pencil irons like the Weller SP40NKUS or generic 60W Amazon variants lack active temperature regulation. They output continuous wattage. If left in the stand, the tip temperature will climb to over 400°C (750°F), rapidly oxidizing the iron plating and burning off flux. Conversely, when placed on a large copper ground plane, the temperature plummets because the 40W heater cannot replenish the lost thermal energy fast enough.
The 'Touch-and-Go' Workflow
When learning how to use a soldering iron of this type, you must manage thermal depletion manually.
- Pre-heat the pad: Because recovery is slow, apply the iron to the joint for a full 2 seconds before introducing solder.
- Use larger tip geometries: Avoid micro-pencil tips. A 1/8-inch chisel tip provides the necessary thermal mass to bridge the gap between the heater and the joint.
- Pace your work: Do not attempt continuous drag soldering. Solder one joint, lift the iron, wait 3 seconds for the internal ceramic heater to rebuild thermal mass, and move to the next.
- Stick to Leaded Solder: Pencil irons struggle with the higher melting points of lead-free SAC305 alloys. Use Sn63/Pb37 (63/37) eutectic rosin-core solder (0.8mm diameter), which melts at a manageable 183°C (361°F).
How to Use a Soldering Iron: The Digital Station Technique
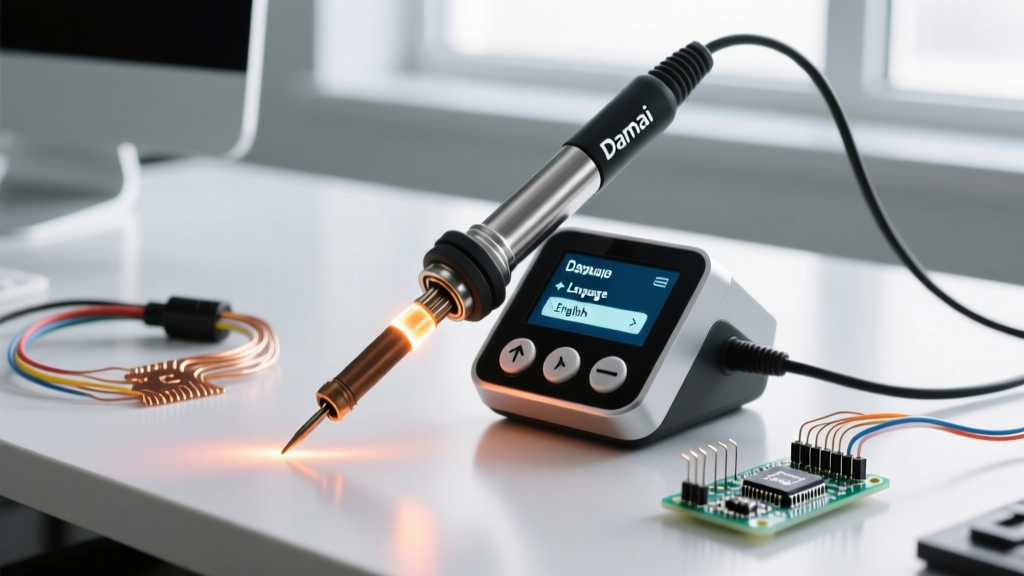
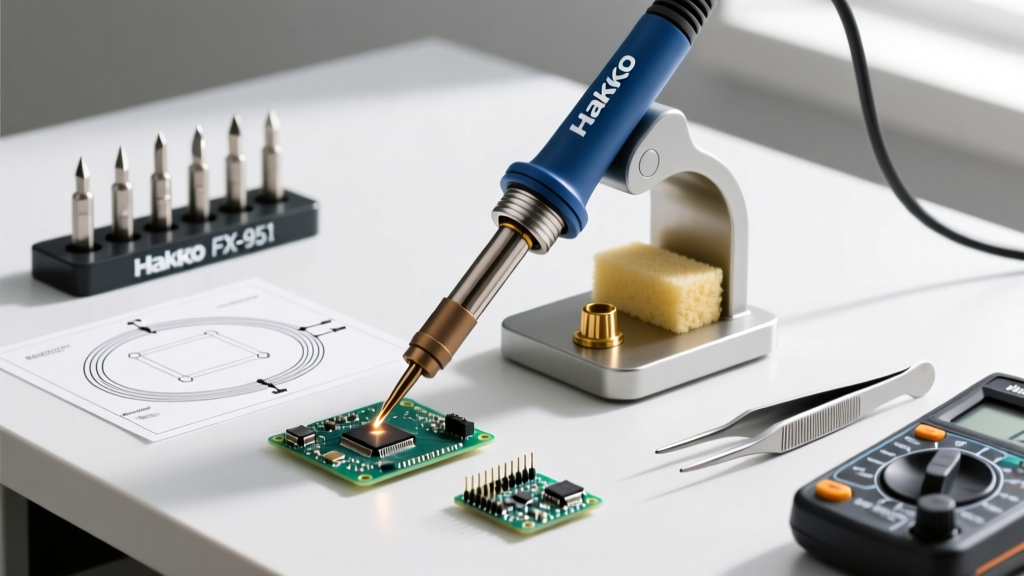
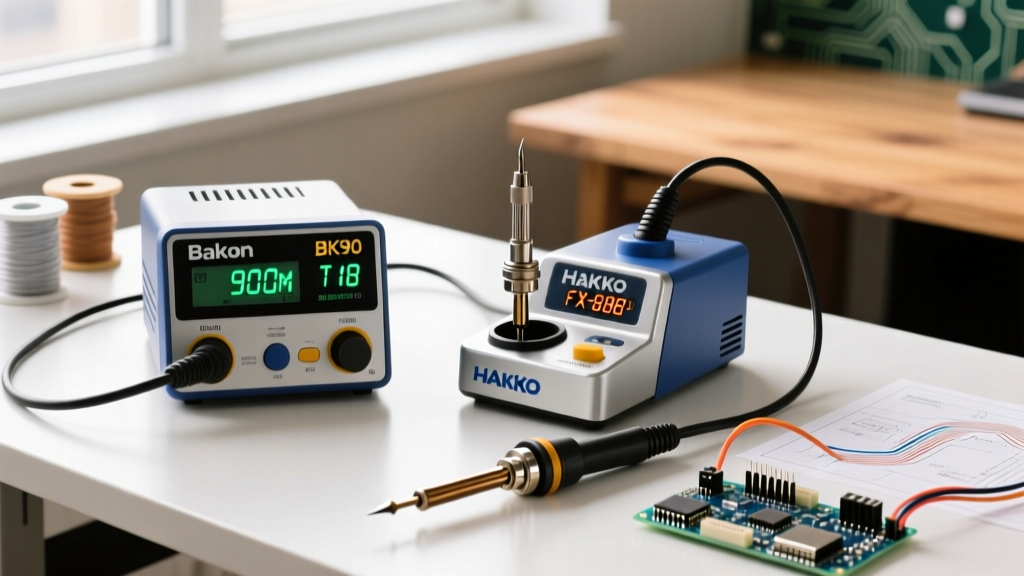
Digital stations, such as the industry-standard Hakko FX-888D or the Weller WE1010NA, utilize a thermocouple embedded near the tip and a PID (Proportional-Integral-Derivative) controller. When the sensor detects a temperature drop upon touching a cold PCB, it dumps maximum current into the heater element to compensate.
The 'Fluid Motion' Workflow
Because the station actively fights thermal depletion, your technique becomes more fluid and precise.
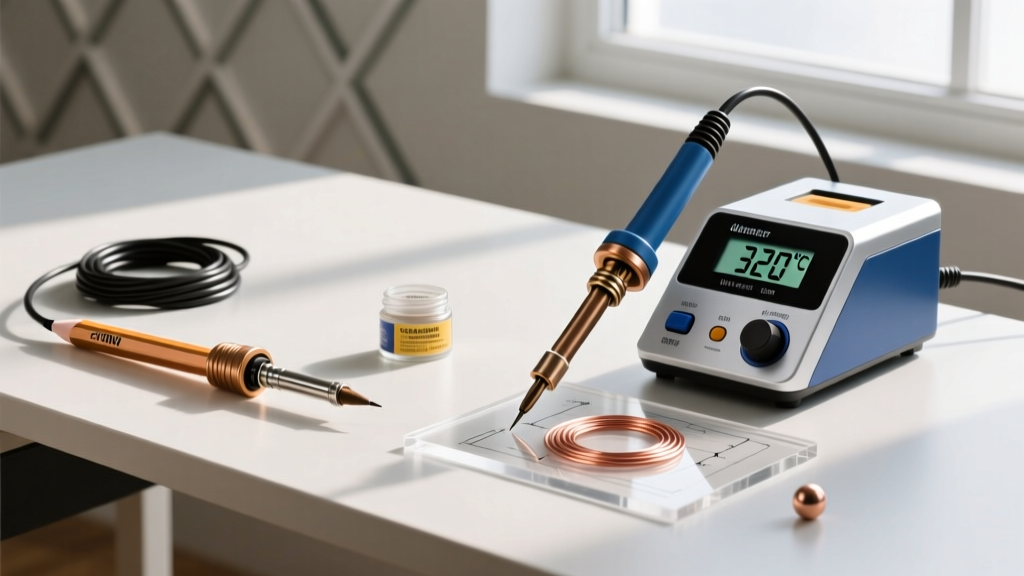
- Dial in the exact profile: Set the station to 315°C (600°F) for standard leaded solder, or 350°C (662°F) for lead-free assemblies. According to Adafruit's Guide to Excellent Soldering, running a station hotter than necessary does not make soldering faster; it merely accelerates tip oxidation and degrades the PCB's FR4 substrate.
- Leverage micro-tips: With active recovery, you can use fine conical or micro-chisel tips (like the Hakko T18-B or Weller RT3) for 0603 SMD components without the tip freezing to the pad.
- Continuous Rework: You can move from a delicate signal trace to a heavy power connector in rapid succession. The station's microprocessor will adjust the power delivery dynamically.
Temperature Profiling and Safety Considerations
Understanding how to use a soldering iron also requires understanding the byproducts of the process. The flux core inside your solder wire (typically ROL0 or ROL1 classification) vaporizes when heated, creating particulate smoke and volatile organic compounds (VOCs).
The CDC and NIOSH explicitly warn that prolonged exposure to rosin-based solder fumes can lead to occupational asthma and contact dermatitis. Therefore, proper technique dictates that you never lean directly over the workpiece. Always utilize a localized fume extractor with an activated carbon and HEPA filtration system positioned within 6 inches of the solder joint.
Troubleshooting Edge Cases and Failure Modes
Even with the right tool, technique errors lead to specific failure modes. Here is how to diagnose and correct them based on your equipment.
1. The 'Cold' or 'Disturbed' Joint
Symptom: The solder looks dull, grainy, or forms a bulbous shape rather than a smooth, concave fillet.
Cause: The joint was moved before the solder fully solidified, or the iron lacked the thermal mass to heat the component lead.
Fix (Pencil Iron): Your tip is likely too small, or you are working on a ground plane that is sinking the heat. Switch to a larger bevel tip or apply a small 'solder bridge' to the tip to increase surface area contact before heating the joint.
Fix (Digital Station): Increase the temperature by 15°C and ensure you are heating the lead, not just the pad.
2. Oxidized and 'Non-Stick' Tips
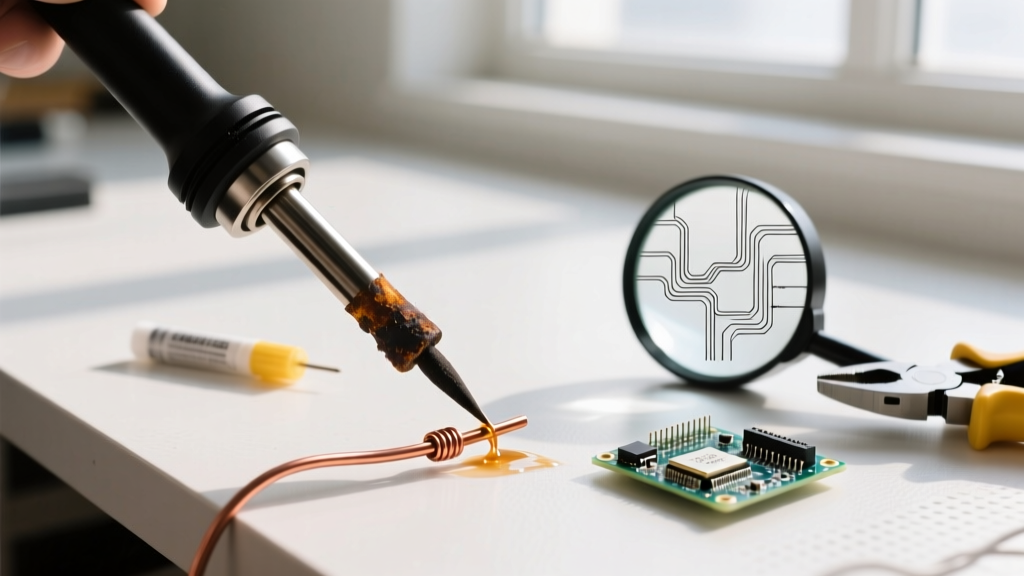
Symptom: Solder balls up and rolls off the tip; the tip appears black or blue.
Cause: Leaving the iron in the stand at high temperatures without a protective layer of solder, or using abrasive sandpaper to clean the tip.
Fix: Never file or sand a modern soldering tip; you will destroy the iron plating. Turn off the station, let it cool slightly, and use a specialized tip tinner (like Hakko 599B brass wool with embedded flux) to chemically reduce the oxidation.
3. Lifted PCB Pads
Symptom: The copper pad detaches from the fiberglass substrate.
Cause: Applying the iron for longer than 4-5 seconds, or using excessive downward pressure.
Fix: The adhesive bonding the copper to the FR4 board degrades rapidly above 260°C. If a joint isn't flowing within 3 seconds, remove the heat, let the board cool for 30 seconds, apply fresh liquid flux (e.g., Chip Quik NC191), and try again.
Final Verdict: Which Tool Dictates Your Technique?
Learning how to use a soldering iron is ultimately an exercise in thermal management. If you are splicing 14 AWG silicone wires or assembling basic through-hole blinky kits, a $40 pencil iron is sufficient, provided you respect its slow thermal recovery and stick to larger chisel tips and leaded solder.
However, if your workflow involves modern PCB rework, surface-mount devices (SMD), or lead-free compliance, a digital station like the Hakko FX-888D is non-negotiable. The active PID control allows you to focus on the metallurgy of the joint rather than babysitting the temperature gauge, resulting in faster, cleaner, and IPC-compliant connections.