
The Great Misconception: Electronics Irons vs. Plumbing Copper
When DIYers search for techniques on soldering copper pipe with soldering iron equipment, they are usually met with harsh warnings from professional plumbers. This skepticism is entirely justified for standard residential plumbing. Copper has a thermal conductivity of approximately 400 W/(m·K), meaning a standard 1/2-inch or 3/4-inch Type L or Type M plumbing pipe acts as a massive heat sink. If you attempt to heat a 1/2-inch copper fitting with a 60W electronics soldering station, the pipe will dissipate the heat faster than the iron can transfer it, resulting in a 'cold joint' that will inevitably leak under standard 40-80 PSI municipal water pressure.
For standard residential plumbing, you must use a high-BTU propane or MAPP gas torch, such as the Bernzomatic TS8000, to achieve the necessary thermal saturation. For a comprehensive baseline on standard torch-soldering for household plumbing, refer to Family Handyman's plumbing soldering baseline.
Critical Warning: Never use a standard electronics soldering iron or gun on pressurized residential water supply lines (1/2-inch OD and larger). The techniques in this guide are strictly for small-diameter, low-pressure, or specialized instrumentation tubing.
When to Use a Soldering Iron on Copper Pipe (The Sweet Spot)
So, when is soldering copper pipe with a soldering iron actually the correct technique? The answer lies in small-diameter copper tubing (1/8-inch to 3/8-inch OD). In 2026, custom PC liquid cooling loops, DIY refrigeration capillary tubes, espresso machine boiler repairs, and pneumatic instrumentation rely heavily on small soft copper tubing. In these applications, an open-flame torch is dangerous, risks melting adjacent plastic or silicone components, and can easily collapse the thin walls of a 1/8-inch tube due to excessive heat.
A high-wattage, temperature-controlled soldering station provides precise, localized thermal transfer, allowing you to achieve perfect capillary action without scorching the surrounding assembly.
Tool & Alloy Selection for Small-Diameter Tubing
Success in this niche relies on overcoming thermal starvation. You need a station that can recover heat instantly and a tip with enough physical mass to bridge the gap between the heating element and the copper fitting.
Recommended Soldering Stations (2026 Market)
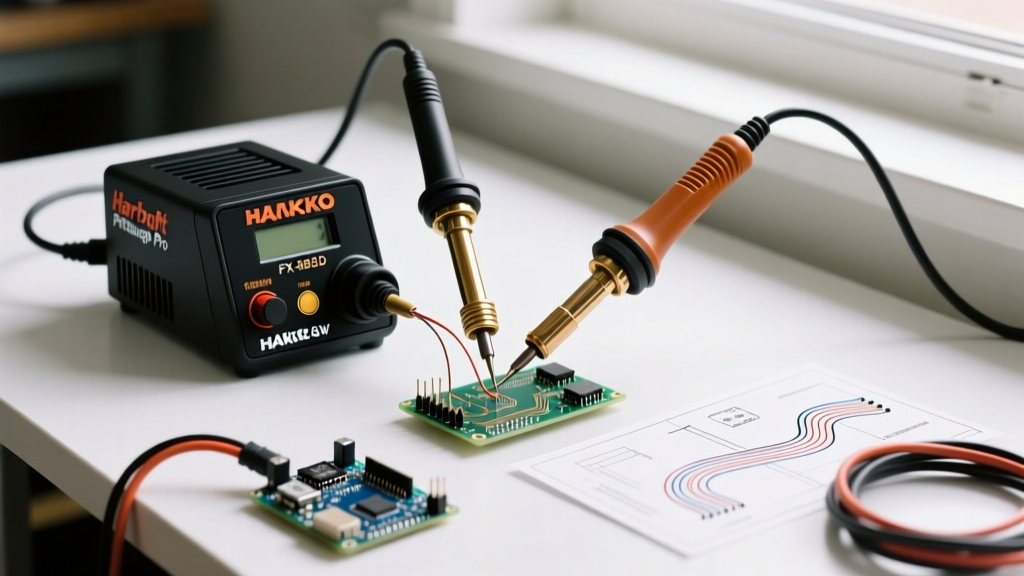
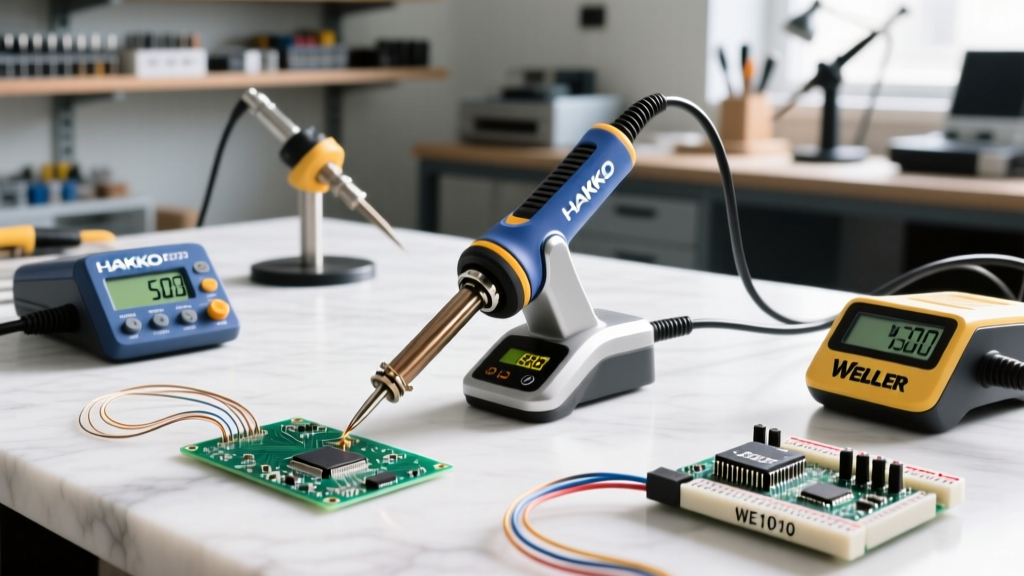
- Hakko FX-951 (~$299): The gold standard for high thermal recovery. Pair it with a T15-D52 or T15-D65 heavy chisel tip. The 5.2mm to 6.5mm tip width provides the necessary thermal mass to heat a 3/8-inch brass-to-copper compression fitting. Refer to Hakko's official tip selection guidelines for exact thermal transfer metrics.
- Weller WSP80 (~$150): A robust 80W pencil station. Use the LT 7 heavy chisel tip. Excellent for 1/4-inch OD tubing.
- Weller 8200PK 100W Soldering Gun (~$125): Not a station, but a transformer-based gun. The massive copper tip holds incredible thermal energy, making it ideal for quick joints on 3/8-inch OD tubing where a pencil iron might struggle.
Solder Alloys and Flux Chemistry
Do not use standard 60/40 or 63/37 rosin-core electronics solder for fluid-carrying copper pipes. Rosin flux is non-corrosive but lacks the chemical aggression required to clean oxidized copper at high temperatures, and the alloy lacks the structural shear strength for pressurized fluid loops.
- Alloy: Use 95/5 Tin-Antimony or 96.5/3/0.5 SAC305 (Tin/Silver/Copper). These lead-free alloys melt at higher temperatures (approx. 422°F / 217°C for SAC305) and provide superior vibration resistance and tensile strength for fluid lines.
- Flux: Use a dedicated plumbing tinning flux, such as Oatey No. 95 Tinning Flux. This paste contains a mild zinc chloride base and actual solder powder, which aids in capillary draw and ensures a watertight seal. Review Oatey's soldering and flux technical catalog for specific safety and application data sheets.
Thermal Mass Matrix: Tube OD vs. Required Tool Profile
| Copper Tube OD | Wall Thickness | Min. Station Wattage | Recommended Tip Profile | Target Temp (SAC305) |
|---|---|---|---|---|
| 1/8" (3.17mm) | 0.028" | 40W - 60W | Standard Chisel (2.4mm - 3.2mm) | 660°F (350°C) |
| 1/4" (6.35mm) | 0.030" | 70W - 80W | Heavy Chisel (4.0mm - 5.0mm) | 680°F (360°C) |
| 3/8" (9.52mm) | 0.032" | 80W - 100W | Massive Chisel (6.0mm+) or Gun | 715°F (380°C) |
Step-by-Step Technique: Soldering 1/4-inch OD Copper Tubing
This procedure assumes you are joining a 1/4-inch soft copper tube to a brass compression or slip fitting using an 80W station and SAC305 solder.
Step 1: Mechanical Prep and Fluxing
- Cut and Deburr: Use a mini tube cutter for a perfectly square cut. Follow up with a deburring tool (like the Reed MS-2000) to remove internal and external lips. A lip inside the tube disrupts laminar fluid flow; a lip outside prevents the tube from seating fully in the fitting.
- Abrasion: Polish the outside of the tube end and the inside of the fitting with 120-grit aluminum oxide sandpaper until shiny. Do not use a wire brush, as embedded steel bristles can cause galvanic corrosion inside the copper tube.
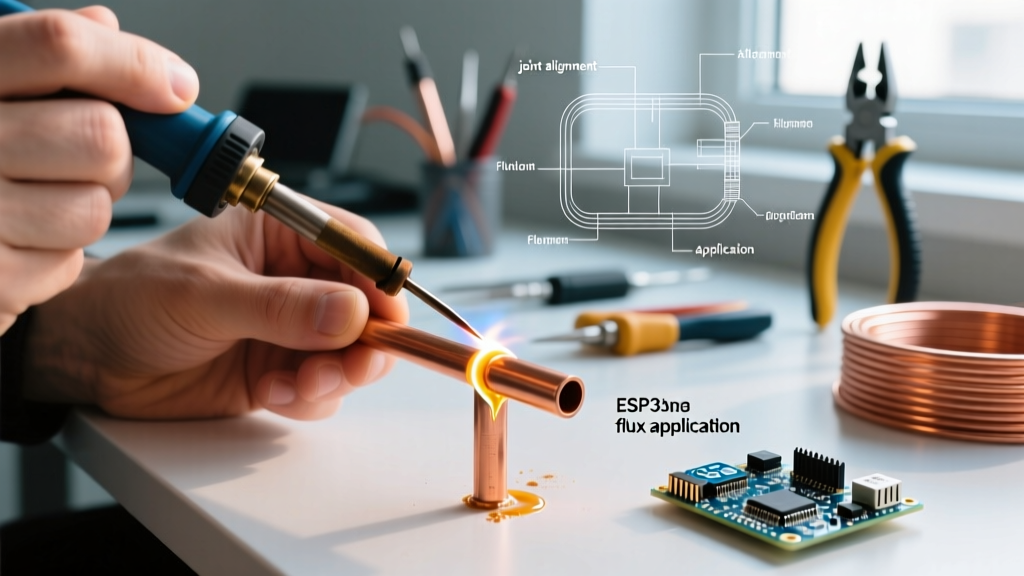
- Flux Application: Apply a paper-thin layer of Oatey No. 95 tinning flux to both mating surfaces. Too much flux will boil violently and create voids in the joint.
Step 2: Thermal Bridging and Tip Placement
The optimal gap for capillary action in copper solder joints is between 0.003 and 0.005 inches. To draw the solder through this gap, the fitting must be hotter than the tube.
- Seat the tube fully into the fitting.
- Pre-tin your heavy chisel tip with a small amount of solder to create a 'thermal bridge' (liquid metal transfers heat significantly faster than air).
- Press the flat face of the chisel tip directly against the brass fitting, not the copper tube. The brass has higher thermal mass and requires more energy to reach the solder's liquidus point.
- Hold for 4 to 7 seconds. You are waiting for the flux to stop bubbling and settle into a quiet, glassy state, indicating the joint has reached approximately 400°F.
Step 3: Capillary Action and Solder Feeding
- Remove the soldering iron and immediately touch the SAC305 solder wire to the opposite side of the joint from where the iron was applied.
- If the joint is at temperature, capillary action will instantly wick the solder into the gap, drawing it toward the residual heat of the fitting.
- Feed exactly 1/4-inch to 1/2-inch of solder wire (depending on joint depth). A common beginner mistake is overfeeding, which results in ugly external solder blobs that do not contribute to internal joint strength.
- Wipe the joint with a damp rag while the flux is still molten to prevent post-soldering corrosion.
Troubleshooting Cold Joints and Thermal Starvation
Even with the right tools, small-tubing soldering presents unique failure modes:
- Solder Balls Up and Refuses to Wick: This is a classic sign of oxidation or thermal starvation. The copper tube is acting as a heat sink, drawing heat away from the fitting. Fix: Increase station temperature by 20°F, switch to a wider chisel tip, or apply the iron to the fitting for 3 additional seconds.
- Solder Wicks Halfway and Freezes: The joint was hot enough to melt the solder, but the internal mass of the fitting wasn't fully saturated. The solder cools before completing the capillary draw. Fix: Desolder the joint using copper braid, re-flux, and apply heat longer before feeding solder.
- Pinhole Leaks Under Pressure: Caused by 'flux inclusions' (boiling flux trapped inside the joint) or movement during the cooling phase. Fix: Use less flux, and ensure the assembly is clamped rigidly in a helping-hands fixture until the solder fully solidifies (approx. 8 seconds for SAC305).
Frequently Asked Questions
Can I use a butane micro-torch instead of a soldering iron?
Yes, a micro-torch (like the Dremel VersaTip) is excellent for 1/4-inch and 3/8-inch tubing and offers faster thermal saturation than an 80W iron. However, in tight spaces like PC water cooling reservoirs or espresso machine boiler housings, a micro-torch risks melting adjacent PTFE (Teflon) seals or silicone O-rings. A soldering iron provides localized, flameless heat that is much safer for mixed-material assemblies.
Why did my copper tube collapse when I tried to solder it?
Soft copper tubing (Annealed) has very thin walls. If you apply a high-BTU torch or leave a 100W soldering gun on a 1/8-inch tube for too long, the copper reaches its annealing recrystallization temperature and loses structural rigidity, collapsing under its own weight or the pressure of the tip. Always use the minimum wattage and shortest dwell time required to melt the alloy.