
The Fundamentals: How to Use a Soldering Iron Properly
Mastering the art of electronics assembly requires understanding thermal dynamics, not just melting metal. Whether you are building a DIY microcontroller project or repairing a printed circuit board (PCB), knowing how to use a soldering iron correctly ensures reliable electrical connections and prevents catastrophic component damage. According to the NASA Workmanship Standards, a proper solder joint must exhibit a smooth, concave fillet with complete wetting of the surfaces. In 2026, the market for soldering tools has shifted dramatically, with USB-C smart irons challenging traditional benchtop stations. This guide breaks down the exact technique required for perfect joints and compares the best irons to get you started.
Step 1: Tinning the Tip and Prepping the Joint
Before applying heat to your components, your iron's tip must be prepped. An oxidized tip acts as a thermal insulator, severely hindering heat transfer.
- Prep the Station: Set your temperature based on your solder alloy. For standard 63/37 (Tin/Lead) rosin-core solder, which melts at 183°C, set the iron to 300°C–320°C. For lead-free SAC305 solder (melting point ~217°C), increase the temperature to 340°C–360°C.
- Tin the Tip: Once heated, immediately apply a small amount of solder to the tip. This 'tinning' layer protects the iron plating from oxidation.
- Clean Properly: Wipe the tip on a dry brass wire sponge. Never use a wet cellulose sponge, as the rapid thermal shock will micro-fracture the iron's plating over time, leading to premature tip death.
Step 2: Applying Heat and Solder (The 3-Second Rule)
The most common mistake beginners make is melting solder directly onto the iron tip and attempting to 'paint' it onto the joint. Solder flux needs direct heat to activate and clean the metal surfaces. Instead, follow the Adafruit Guide to Excellent Soldering methodology:
- Heat the Joint: Place the iron tip so it simultaneously touches the component lead and the PCB copper pad. Hold for 1 to 2 seconds to bring the mass of the joint up to temperature.
- Feed the Solder: Touch the solder wire to the joint itself, not the iron tip. If the joint is hot enough, the solder will instantly melt and flow smoothly into the connection via capillary action.
- Remove in Order: Pull the solder wire away first, then remove the iron. The entire process should take no more than 3 to 4 seconds. Exceeding this dwell time risks delaminating the copper pad from the fiberglass substrate.
Step 3: Inspection and Cooling
Allow the joint to cool naturally for 2–3 seconds. Do not blow on it or move the component while the solder is in its plastic (semi-solid) state, as this will cause a 'cold joint' with internal crystalline fractures. A perfect leaded solder joint will look shiny and form a smooth volcano-like concave shape.
Best-Of Comparison: Top Soldering Irons for Beginners
Choosing the right tool is half the battle. Below is a comparison matrix of the top three soldering irons for beginners and hobbyists in 2026, balancing price, thermal recovery, and ease of use.
| Model | Power Output | Temp Range | Avg. Price | Best Use Case |
|---|---|---|---|---|
| Pine64 Pinecil V2 | 65W (USB-C PD) | 100°C - 450°C | $26 | Portability & Budget |
| Hakko FX-888D | 70W (AC) | 120°C - 480°C | $110 | Benchtop Reliability |
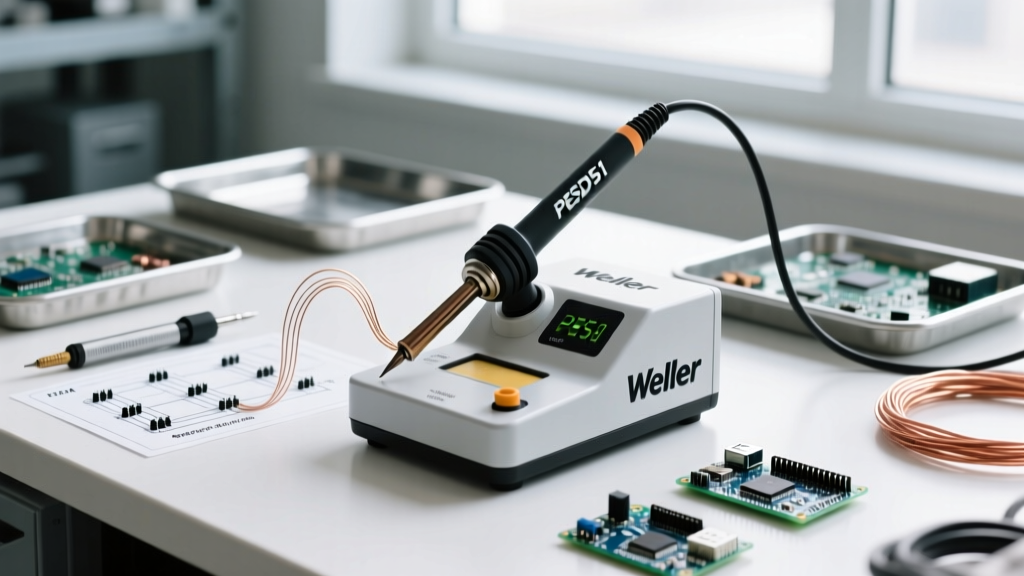
| Weller WE1010NA | 70W (AC) | 150°C - 450°C | $105 | Fast Thermal Recovery |
Deep Dive: Model-by-Model Breakdown
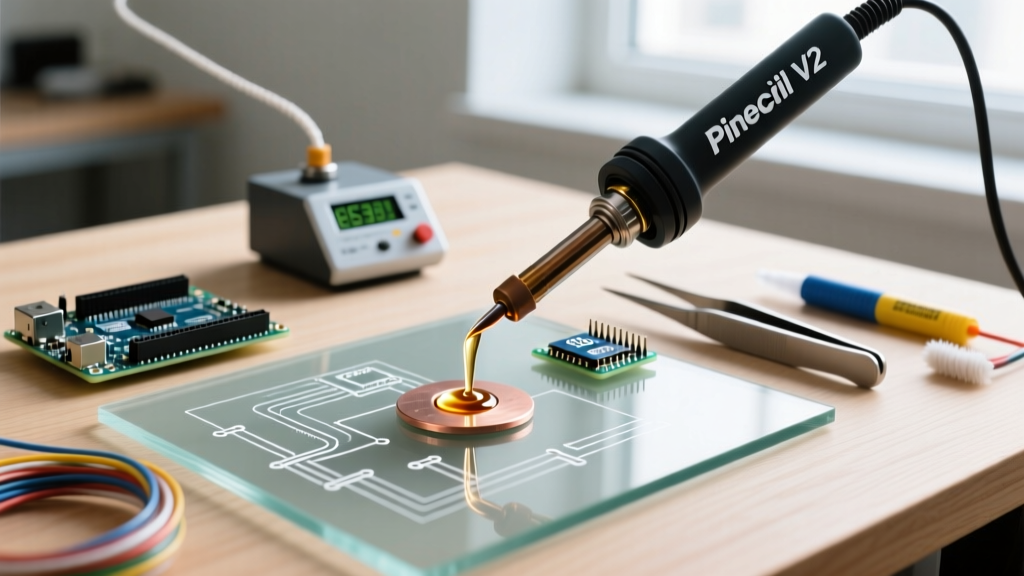
1. Pine64 Pinecil V2 (Best Portable & Budget)
The Pinecil V2 has completely disrupted the entry-level market. Powered by a RISC-V BL706 microcontroller, this smart iron supports USB-C Power Delivery (PD 3.0) and Qualcomm Quick Charge 3.0. When paired with a standard 65W laptop charger, it delivers massive thermal mass recovery that rivals benchtop stations costing four times as much. It features a bright OLED screen, customizable PID curves via the open-source IronOS firmware, and a rapid 1.5-second heat-up time. Drawback: It requires a separate USB-C power brick and cable capable of negotiating 20V/3.25A, which can add $15 to the total cost if you do not already own one.
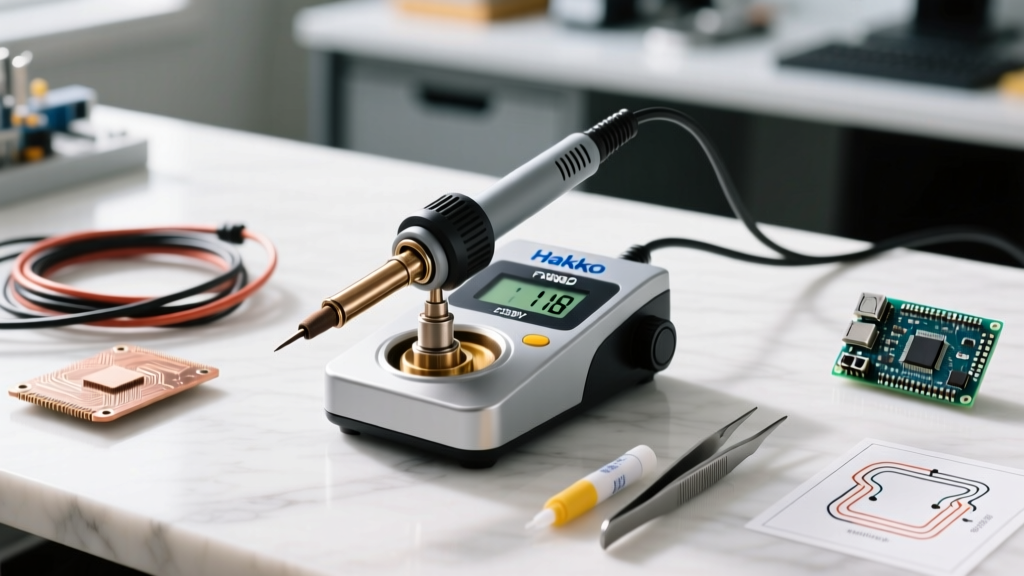
2. Hakko FX-888D (Best Benchtop Workhorse)
The Hakko FX-888D remains a staple in makerspaces and university labs. It utilizes a highly reliable ceramic heating element and the ubiquitous T18 tip series, which are cheap and widely available. The station provides excellent thermal stability for heavy ground-plane soldering. Drawback: Hakko's user interface is notoriously archaic. Adjusting the temperature requires navigating a confusing single-button digital menu, and the station lacks a sleep mode or auto-shutoff feature out of the box, making it less safe for forgetful beginners.
3. Weller WE1010NA (Best Thermal Recovery)
Weller's WE1010NA is a premium 70W digital station that excels in thermal recovery. It uses the ETA tip series, which features a threaded locking nut that secures the tip to the heater, ensuring maximum thermal transfer with zero air gaps. The LCD interface is intuitive, and it includes an auto-standby feature that drops the temperature when the iron is holstered, drastically extending tip life. Drawback: The initial investment is steep for a pure beginner, and replacement ETA tips are slightly more expensive than Hakko's T18 equivalents.
Troubleshooting Common Soldering Failures
Even with the best equipment, poor technique will yield defective circuits. Here is how to identify and fix the most common failure modes:
- Cold Solder Joints: These appear dull, grainy, and bulbous rather than smooth and concave. They occur when the joint was not heated sufficiently before applying solder, or the component was moved during the cooling phase. Fix: Apply a small drop of liquid flux to the joint and reheat it with a clean, tinned iron until the solder reflows smoothly.
- Solder Bridging: A short circuit caused by solder flowing between two adjacent pins (common on ICs and microcontrollers). Fix: Coat the area with high-quality rosin flux, then use a copper solder wick (braid) and your iron to absorb the excess solder. Clean the area with 99% isopropyl alcohol afterward.
- Severely Oxidized Tips: If solder balls up and rolls off the tip like water on a hot skillet, the tip is oxidized. Fix: Never use sandpaper or a file, as this will strip the protective iron plating and ruin the tip permanently. Instead, use a chemical Tip Tinner (like Hakko 599B) which aggressively cleans and re-tins the surface simultaneously.
Expert Pro-Tip: Always leave a large blob of solder on your iron tip before turning the station off. This sacrificial layer will oxidize while the iron cools down, protecting the actual working surface of the tip for your next session. Simply wipe it off on your brass sponge when you power up again.
Final Thoughts on Solder Selection
Knowing how to use a soldering iron is only half the equation; the consumable you choose matters immensely. For beginners, we strongly recommend using 63/37 (Tin/Lead) solder with a rosin core. It is eutectic, meaning it transitions from solid to liquid instantly without a plastic phase, virtually eliminating cold joints caused by movement. While lead-free solder is required for commercial manufacturing due to RoHS environmental regulations, its higher melting point and poor wetting characteristics make it unnecessarily frustrating for hobbyists and DIYers. Ensure your workspace is well-ventilated or use a desktop fume extractor, as vaporized rosin flux can be a respiratory irritant over prolonged exposure.