
The Brute-Force Approach: Why Choose a Soldering Gun?
When working with 10 AWG automotive wiring, XT90 RC battery connectors, or heavy copper plumbing lugs, a standard 60W ceramic-core soldering iron will simply fail. The massive thermal mass of thick copper acts as a heatsink, pulling heat away faster than a pencil iron can supply it, resulting in brittle, high-resistance cold joints. This is where the transformer-based soldering gun becomes mandatory. By passing hundreds of amps directly through a low-resistance copper loop tip via I²R (Joule) heating, soldering guns deliver instantaneous, overwhelming thermal energy.
In this guide, we break down exactly how to use a soldering gun effectively, compare the best heavy-duty models on the market for 2026, and detail the critical edge cases that ruin beginner attempts.
Best Soldering Guns Compared: 2026 Market Matrix
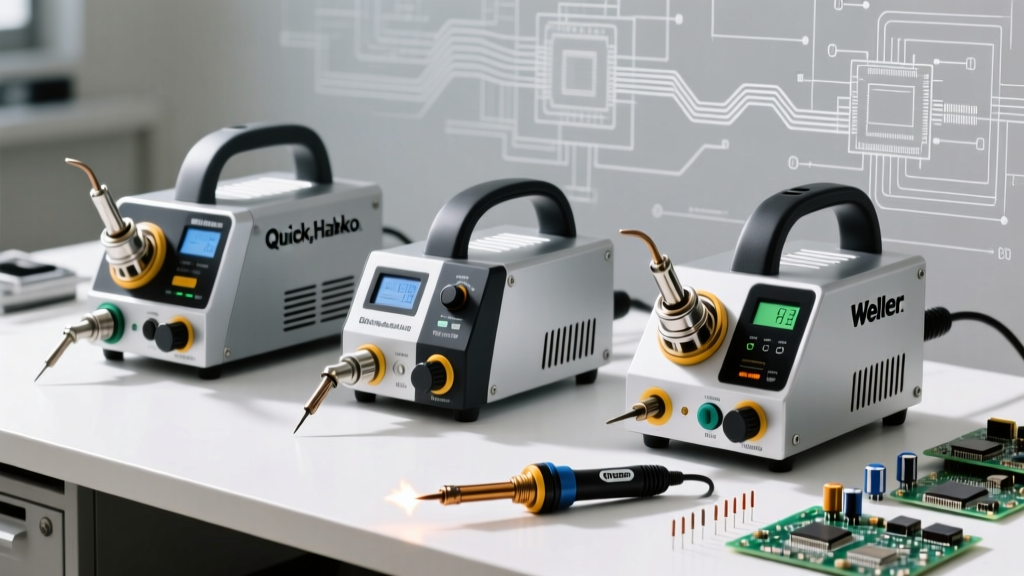
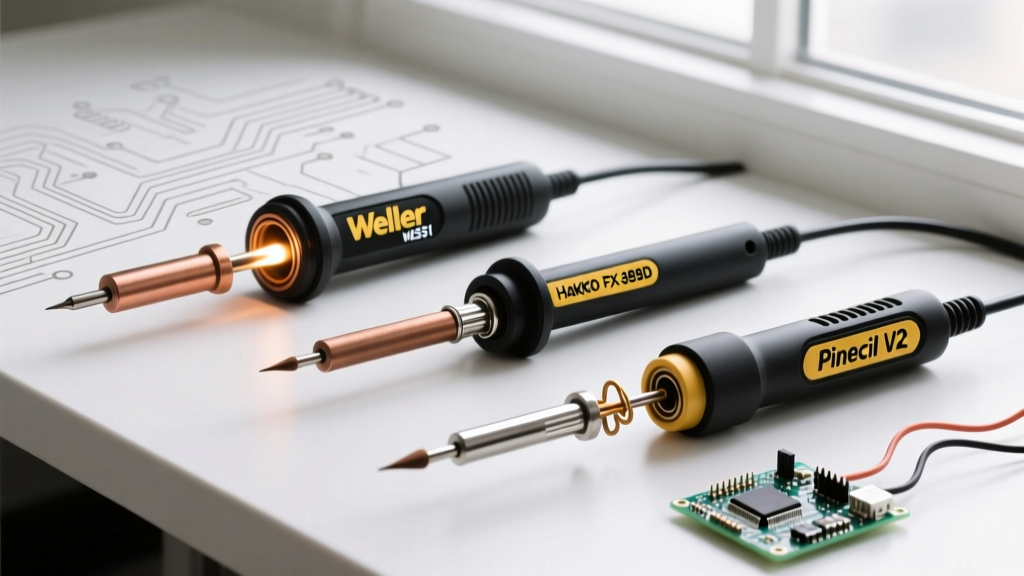
Not all transformer guns are created equal. The market is dominated by Weller's legacy designs, which remain the industry standard due to their robust secondary windings and cheap replacement tips. Below is a comparison of the top three models for electrical and heavy-duty DIY work.
| Model | Wattage Output | Heat-Up Time | Ideal Use Case | Avg. Price (USD) |
|---|---|---|---|---|
| Weller 8200PK | 120W / 180W | ~6 Seconds | 12-14 AWG wire, RC connectors, automotive tabs | $55 - $65 |
| Weller D550PK | 200W / 260W | ~6 Seconds | 8-10 AWG wire, heavy ground lugs, stained glass | $75 - $85 |
| Stalwart 60W Gun | 60W / 100W | ~9 Seconds | 16-18 AWG hobby wire, light sheet metal tinning | $25 - $35 |
Deep Dive: Weller 8200PK vs. D550PK
The Weller 8200PK is the undisputed sweet spot for most advanced DIYers. Its dual-trigger design allows you to pulse at 120W for preheating and squeeze fully for 180W to melt the solder. The D550PK, pushing 260W, is overkill for standard electronics but is a necessity if you are soldering 4 AWG battery cables to thick copper bus bars. The Stalwart 60W is a budget-friendly entry point but lacks the thermal inertia required for anything thicker than 16 AWG wire.
Step-by-Step: How to Use a Soldering Gun Properly
Using a soldering gun requires a completely different physical technique than using a temperature-controlled station like a Hakko FX-888D. Follow this precise workflow to ensure structural integrity and electrical conductivity.
Step 1: Dressing the Copper Loop Tip
Unlike iron-plated pencil tips, the copper loop tip of a soldering gun is the heating element. It oxidizes rapidly. Before every session, use a brass wire sponge to scrub the loop. Never use a wet sponge; the thermal shock will warp the copper and degrade the internal threading. Apply a tiny amount of 63/37 rosin-core solder directly to the loop to 'pre-tin' it, which aids in thermal transfer to the joint.
Step 2: The 'Trigger-Pulse' Heating Technique
The most common failure mode for beginners is holding the trigger down continuously. This overheats the tip, burns the flux instantly, and risks melting the internal transformer secondary winding.
- Position the tip: Press the bare copper loop flat against the wire and terminal to maximize surface area contact.
- Pulse the heat: Squeeze the trigger for 2 to 3 seconds. You will hear the transformer hum pitch-change as the copper expands and resistance shifts.
- Release and wait: Let the heat conduct through the wire's thermal mass for 1 second.
Step 3: Feeding the Solder and Capillary Wetting
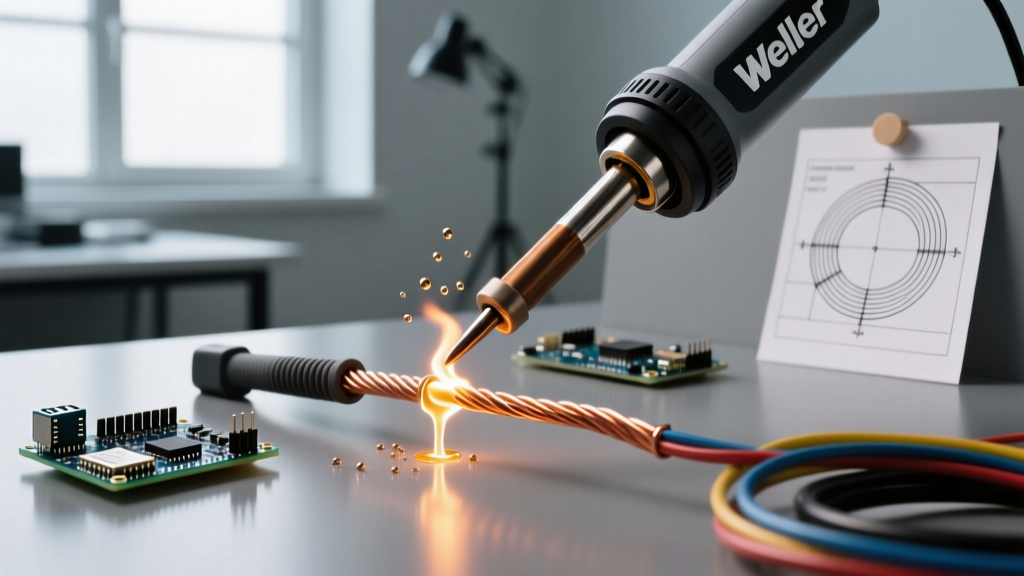
Do not melt the solder onto the gun tip and carry it to the joint like a pencil iron. The solder will oxidize and turn into a useless gray sludge. Instead, apply the heat to the workpiece, and touch your 60/40 or 63/37 rosin-core solder wire directly to the copper wire or terminal. When the workpiece reaches ~183°C (360°F), capillary action will violently wick the molten solder into the stranded wire.
Expert Insight: If the solder forms a ball and rolls off the wire, your joint is not hot enough. Stop, clean the tip with brass wool, and apply heat for 2 seconds longer. A properly wetted joint will look shiny and concave, not dull and convex.
Critical Failure Modes and Edge Cases
Transformer soldering guns introduce unique physical phenomena that can damage sensitive components or ruin your workpiece if ignored.
- Magnetic Interference (The 60Hz Field): The heavy AC transformer inside the gun generates a localized, alternating magnetic field. Never use a soldering gun near unshielded Hall-effect sensors, MEMS microphones, or magnetic stripe cards. The field can permanently magnetize your precision screwdrivers or induce voltage spikes in nearby high-impedance audio circuits.
- Tip Burnout: Leaving the trigger depressed for more than 30 seconds without the heat dissipating into a workpiece will cause the copper loop to glow cherry red. At this temperature, the copper oxidizes from the inside out and will snap at the threading. Always release the trigger once the solder flows.
- Galvanic Corrosion on Aluminum: Standard rosin-core solder will not wet aluminum. If you are attempting to solder aluminum wire (rare but present in older mobile homes), you must use a specialized zinc-based flux and a dedicated aluminum solder alloy. A standard gun and 60/40 solder will result in a joint that fails mechanically within weeks.
Safety Protocols: Managing Flux and Heat
Soldering guns operate at much higher localized temperatures than standard irons, vaporizing flux aggressively. According to the Canadian Centre for Occupational Health and Safety (CCOHS), inhaling colophony (rosin) flux fumes can lead to occupational asthma and severe respiratory sensitization. Always use an active HEPA/carbon fume extractor positioned within 6 inches of the joint.
Furthermore, because the loop tip is exposed and carries high amperage at low voltage, dropping a powered-on gun across a metal workbench can short the tip, causing sparks and localized pitting on your metal surface. Always utilize the integrated kickstand or a dedicated silicone holster between joints.
Frequently Asked Questions
Can I use a soldering gun for delicate PCB through-hole components?
Generally, no. The 180W+ output and massive thermal inertia of the copper loop make it incredibly easy to lift copper pads off FR4 fiberglass boards. For PCBs, stick to a temperature-controlled station. As noted in SparkFun's comprehensive soldering tutorial, precision thermal management is critical for PCB longevity.
Why is my soldering gun tip turning black and refusing to melt solder?
This is severe copper oxidation caused by excessive heat. Remove the tip nuts, take out the loop, and gently file the black oxidation off with a fine-grit sanding block until bare copper is exposed. Reinstall and immediately tin the loop with fresh flux-core solder to create a protective barrier.
Is the Weller D550PK worth the $20 premium over the 8200PK?
Only if you regularly work with wire gauges thicker than 10 AWG or heavy copper plumbing foil. For 90% of automotive, RC, and household electrical repairs, the 8200PK provides more than enough thermal mass and offers better control via its dual-stage trigger.