
The Beginner's Guide to Soldering Iron Triage and Repair
A reliable soldering iron is the centerpiece of any electronics workbench. However, daily thermal cycling, mechanical stress, and chemical flux exposure inevitably lead to wear and tear. Before you throw a seemingly dead iron into the e-waste bin, understand that many common failures are easily fixable with a basic multimeter and a few inexpensive replacement parts. As of 2026, OEM replacement components for industry-standard stations remain highly accessible and affordable, making DIY repair a cost-effective skill for beginners.
CRITICAL SAFETY WARNING: This guide focuses on repairing the handpiece, low-voltage cord, and tip. Never open the main power base station of a soldering iron unless you are a qualified technician. Internal mains voltage (120V/240V AC) and high-voltage capacitors can deliver lethal shocks even when unplugged. Always follow OSHA Electrical Safety Standards when working with bench equipment.
The Diagnostic Matrix: Identify Your Failure Mode
Before ordering parts, you must accurately diagnose the fault. Use this matrix to match your symptom to the correct repair pathway.
| Symptom | Probable Cause | Diagnostic Tool Needed | Estimated Repair Cost (2026) |
|---|---|---|---|
| Station powers on, but iron stays cold | Blown heating element or broken internal wire | Digital Multimeter (Ohms) | $12 - $25 |
| Temperature display flashes or reads 'Error' | Failed thermocouple sensor inside the element | Digital Multimeter (Ohms) | $15 - $30 |
| Iron heats up but loses heat rapidly on large pads | Severe tip oxidation or microscopic air gap | Visual Inspection / Tip Tinner | $8 - $12 |
| Intermittent heating when wiggling the cord | Frayed copper strands at the strain relief | Continuity Tester / Visual | $10 - $18 |
Fix 1: Testing and Replacing the Heating Element
The heating element is the most common point of failure in soldering irons. Over time, the internal resistive wire degrades, or the ceramic housing cracks due to thermal shock (e.g., dropping the iron or quenching a hot tip in wet brass wool).
Step-by-Step Element Testing (Hakko A1322 Example)
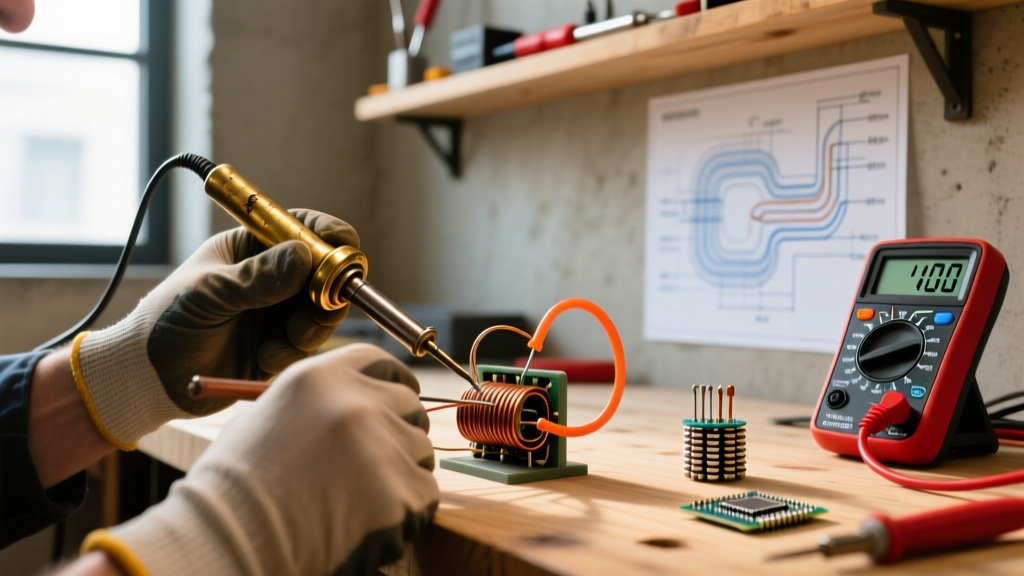
The Hakko FX-888D and its clones use the ubiquitous A1322 ceramic heating element. According to Hakko Official Technical Documentation, this 4-pin element contains both the heater and the thermocouple. Here is how to test it:
- Disconnect Power: Unplug the handpiece from the station.
- Access the Pins: Unscrew the collet and slide off the metal sleeve to expose the 4-pin connector at the base of the ceramic element.
- Test the Heater (Pins 1 and 4): Set your multimeter to the 200Ω range. Place probes on pins 1 and 4. A healthy A1322 element should read between 2.5Ω and 3.5Ω. If it reads 'OL' (Open Line), the heater is dead.
- Test the Sensor (Pins 2 and 3): Place probes on pins 2 and 3. You should see a reading between 1.0Ω and 2.0Ω. If this is open, your station will throw an error code because it cannot read the tip temperature.
The Fix: If either reading is open, pull the element straight out of the handle. Note the color coding of the wires (typically red/white for heater, blue/yellow for sensor) and push the new element in. Never use pliers to grip the ceramic element; it will shatter instantly.
Fix 2: Replacing a Frayed Low-Voltage Cord
The strain relief where the cord enters the handpiece handle is a notorious failure point. Repeated bending breaks the 18 AWG power wires, leading to intermittent heating. While beginners might be tempted to wrap it in electrical tape, this is a fire hazard and violates basic IPC J-STD-001 Soldering Requirements for bench safety.
The Proper Cord Replacement Procedure
- Source the Right Cable: Purchase a 4-core or 5-core silicone-insulated flexible cable. Silicone is mandatory; PVC will melt against the hot metal sleeve. Ensure the power cores are at least 18 AWG to handle the 2.5A to 3A current draw of a 60W-70W iron.
- Disassemble the Handle: Remove the rear cord grip. Desolder the 4 wires from the internal PCB or connector block. Take a macro photo with your phone before desoldering to ensure correct reassembly.
- Install Adhesive Heat Shrink: Slide a piece of 3/16-inch adhesive-lined (dual-wall) heat shrink tubing over the new cord before soldering. Once soldered, slide the tubing over the internal connection point and apply heat. The melted adhesive creates a permanent, flexible strain relief that outlasts the factory setup.
Fix 3: Rescuing a Blackened, Non-Stick Tip
If your iron gets hot but solder balls up and rolls off the tip, the iron isn't broken—your tip is oxidized. Iron oxide acts as a thermal insulator, drastically reducing heat transfer to your PCB pads. Never use sandpaper or a file to clean a modern iron tip. Modern tips feature a thin iron plating over a copper core; filing it away will expose the copper, which dissolves rapidly into molten solder, destroying the tip in minutes.
The Chemical Reduction Method
To rescue a severely oxidized tip, you need a chemical tip tinner (such as MG Chemicals 4901 or equivalent). These compounds contain powdered solder alloy (Sn63/Pb37 or SAC305) suspended in an aggressive rosin-based activator flux.
- Heat the iron to 300°C (572°F).
- Dip the blackened tip directly into the tip tinner paste for 3-5 seconds.
- The flux will chemically reduce the iron oxide, while the powdered solder immediately wets the freshly exposed iron plating.
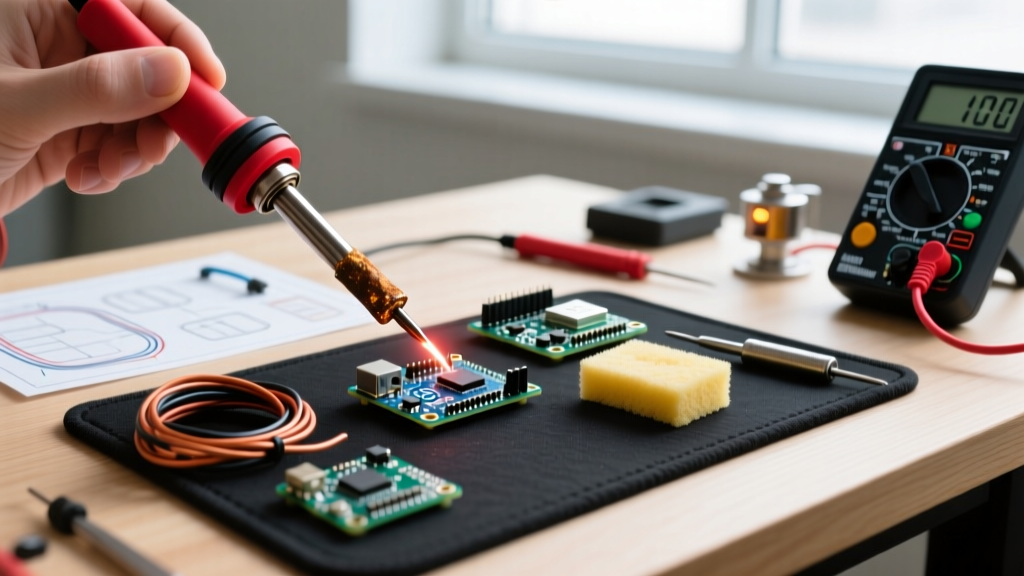
- Wipe the tip on a damp cellulose sponge or dry brass wool to remove the carbonized flux residue.
- Immediately apply a thick coat of fresh, high-quality rosin-core solder to protect the tip from re-oxidizing.
The Repair vs. Replace Calculator
Not every iron is worth saving. Use this framework to decide whether to repair or upgrade your gear in 2026.
| Equipment Tier | Example Models | New Cost (Approx.) | Repair Viability |
|---|---|---|---|
| Budget / Generic | Generic 60W Adjustable ($15-$25) | $20 | Replace. Replacement elements often cost more than a new unit. Mains-voltage repairs are unsafe for beginners. |
| Mid-Range Station | Hakko FX-888D, Weller WES51 | $110 - $130 | Repair. Elements ($16) and cords ($12) are cheap, standardized, and safe to swap on the 24V low-voltage side. |
| Advanced / Smart Irons | Pinecil V2, Miniware TS101 | $25 - $45 | Mixed. Tips are cheap ($4), but replacing a burnt-out MOSFET or USB-C PD controller on the micro-PCB requires advanced SMD rework skills. |
| Professional / High-End | JBC CD-2BQE, Metcal PS-900 | $450 - $600+ | Repair. JBC uses self-contained cartridges ($60 each). Simply pull and replace. Inductive Metcal tips are also drop-in replacements. |
Frequently Asked Questions (FAQ)
Why does my soldering iron melt the plastic handle?
This usually indicates a failed triac or relay inside the base station, causing the iron to receive continuous, unregulated power. The iron heats up indefinitely until the element burns out or the handle melts. Stop using it immediately. The base station requires professional repair or replacement.
Can I use a standard PVC power cord for a replacement?
No. Standard PVC insulation begins to soften and degrade at around 80°C to 105°C. The ambient heat radiating from the soldering iron's metal sleeve will eventually melt the PVC, exposing live wires and creating a severe shock and fire hazard. Always use high-temperature silicone or fiberglass-braided cables.
My multimeter reads 0.0 ohms on the heating element. Is it broken?
A reading of exactly 0.0 ohms (a dead short) is just as bad as an open line (OL). It means the internal resistive wire has melted and fused onto itself or the casing. The element must be replaced, and you should check your station's internal fuse, as a shorted element may have blown the station's internal protection circuitry.