
The Thermodynamics of Tip Cleaning and Calibration
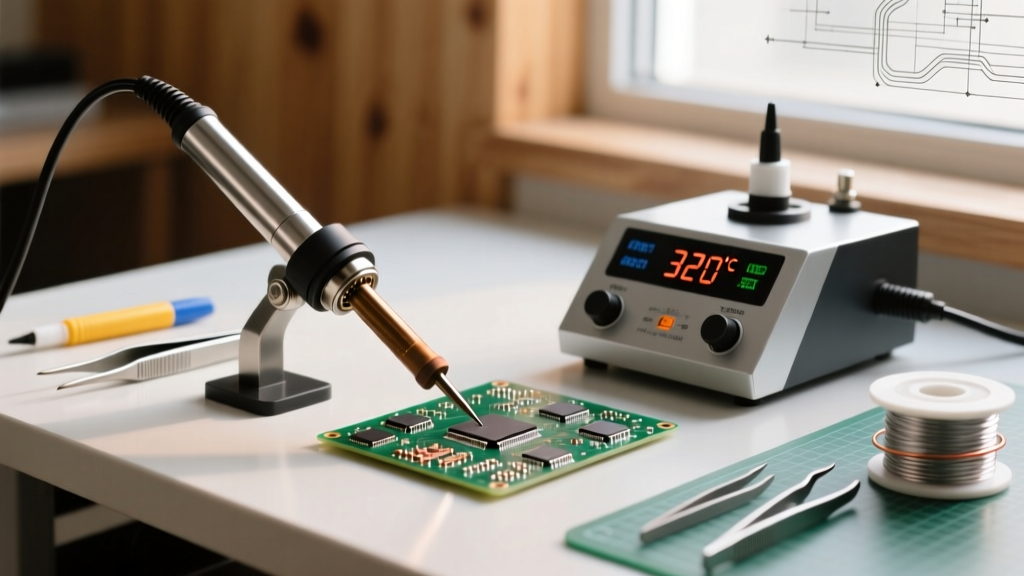
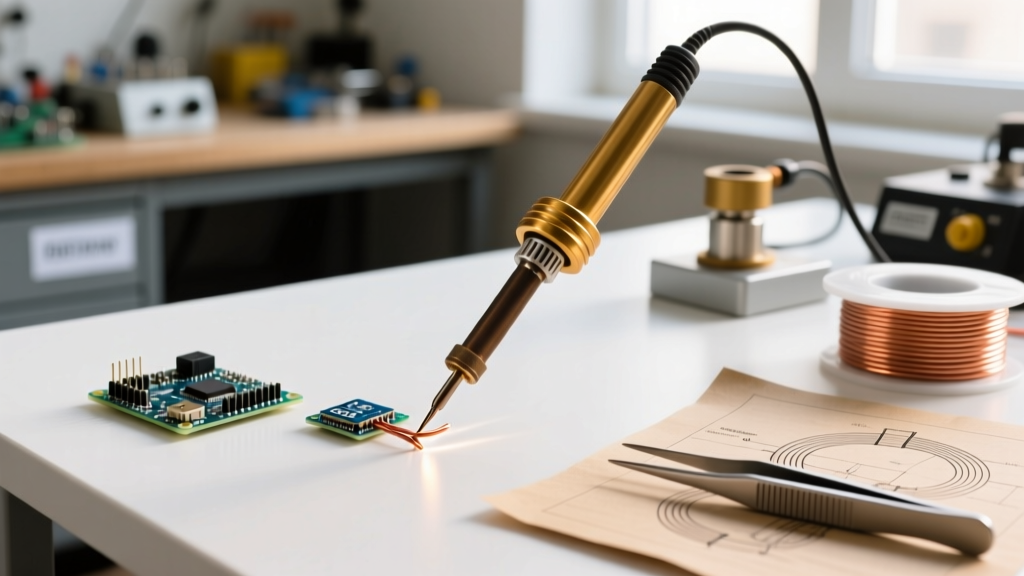
When unboxing a modern soldering station like the Hakko FX-951 or the JBC CD-2BQE, most technicians immediately plug in the handpiece and begin melting solder. However, understanding how to clean a soldering iron is fundamentally a calibration exercise, not just a cosmetic one. The PID (Proportional-Integral-Derivative) temperature controllers inside modern stations rely on rapid thermal feedback loops. If your tip is improperly cleaned or allowed to oxidize during the initial setup phase, a microscopic layer of iron oxide forms. This oxide layer acts as a thermal insulator, causing the station's internal sensor to misread the surface temperature, leading to aggressive overshooting and premature tip degradation.
According to the IPC J-STD-001 Requirements for Soldered Electrical and Electronic Assemblies, proper wetting and thermal transfer are critical for reliable intermetallic compound (IMC) formation. A dirty tip disrupts this transfer, resulting in cold solder joints that fail visual and X-ray inspection criteria. This tutorial bridges the gap between basic tip maintenance and precise thermal calibration during your station's setup.
Step-by-Step: Initial Setup and Tinning
The first five minutes of a new tip's life dictate its operational lifespan. The goal is to establish a protective barrier of molten alloy before oxygen can react with the heated iron plating.
Step 1: The Cold-Start Flux Application
Before turning on the station, apply a high-activity, no-clean or rosin-based flux paste (such as Amtech NC-559) directly to the cold tip. This creates an oxygen-displacing environment as the tip begins to heat. For lead-free SAC305 (Tin-Silver-Copper) alloys, which require higher operating temperatures (340°C - 380°C), this cold-start step is non-negotiable to prevent instant micro-pitting.
Step 2: Heating to Eutectic Thresholds
Power on the station and set the dial to 183°C (361°F) if using Sn63/Pb37, or 217°C (420°F) for SAC305. Do not set the station to your final working temperature yet. Allow the PID controller to stabilize at the exact melting point of your chosen solder wire.
Step 3: The First Tinning Cycle
Once the station indicates it has reached the target temperature, immediately feed 63/37 rosin-core solder wire onto the flux-coated tip. Rotate the handpiece to ensure the molten solder encapsulates the entire working surface, including the concave cavities of chisel tips and the full circumference of bevel tips.
Choosing Your Cleaning Medium: Brass vs. Cellulose
A critical part of learning how to clean a soldering iron correctly is selecting the right medium. The choice between brass wool and cellulose sponges directly impacts the thermal shock your tip endures, which in turn affects the calibration accuracy of the station's heating element.
| Cleaning Medium | Thermal Shock Risk | Abrasiveness | Best Use Case | Impact on Calibration |
|---|---|---|---|---|
| Brass Wire Wool (e.g., Hakko 599B) | Low | Low (Non-scratching) | Lead-free soldering, high-temp setups, JBC active tips | Minimal; preserves tip plating and sensor accuracy |
| Cellulose Sponge (Sulfur-free) | High (Rapid quenching) | Medium | Leaded soldering, high-volume through-hole work | Moderate; causes micro-fractures in iron plating over time |
| Fiberglass Scratch Pen | None | Extreme (Destructive) | Emergency salvage of heavily oxidized tips only | Severe; strips iron plating, ruins thermal transfer |
⚠️ Thermal Shock Warning: If you choose to use a damp cellulose sponge, you must use distilled or deionized water. Tap water contains minerals and sulfur that will chemically etch the iron plating at 350°C. Furthermore, squeezing the sponge so it is merely 'damp' rather than 'wet' reduces the thermal delta, preventing the tip temperature from plummeting 150°C in a fraction of a second, which forces the PID controller into an aggressive, calibration-damaging overdrive.
The Calibration Verification Routine
Cleaning is not just about removing carbon buildup; it is about verifying that your station's displayed temperature matches the actual surface temperature of the tip. To properly calibrate your setup, integrate cleaning into your testing routine.
- Clean the Tip: Perform a single, smooth wipe through your brass wool to remove surface oxidation without dropping the core temperature drastically.
- Apply Fresh Solder: Immediately re-tin the tip with a generous blob of fresh solder. This liquid metal bridge is required for accurate thermal measurement.
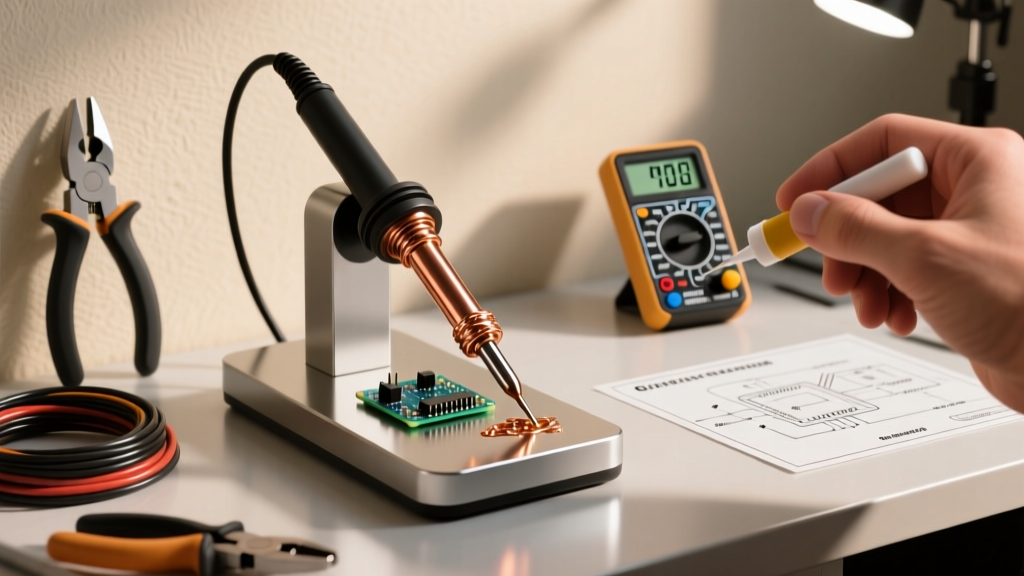
- Measure with a Tip Thermometer: Use a dedicated tip thermometer (such as the Hakko FG-100B or Weller WSD-80) equipped with a K-type thermocouple sensor. Press the sensor pad directly into the molten solder blob on the tip.
- Compare and Adjust: If your station reads 350°C but the tip thermometer reads 335°C, the 15°C discrepancy is often caused by a microscopic oxide barrier acting as an insulator between the tip core and the thermocouple. Clean the tip again using a tip tinner, re-tin, and re-measure before adjusting the station's internal calibration offset.
Troubleshooting Severe Oxidation (Edge Cases)
Sometimes, standard wiping fails. If you inherit a poorly maintained station or notice that your solder is balling up and refusing to wet the tip (a phenomenon known as 'dewetting'), your tip has suffered severe oxidation. The NASA Electronic Parts and Packaging (NEPP) Program guidelines on soldering workmanship strictly prohibit the use of mechanical abrasives like sandpaper or files on plated tips, as this exposes the underlying copper core, leading to rapid dissolution and total tip failure.
The Chemical Rehabilitation Method
Instead of mechanical force, use a chemical tip tinner (such as Weller WDC2 or Hakko 599B Tip Tinner, typically costing between $8 and $15). These compounds contain a mixture of phosphoric acid and rosin flux.
- Step 1: Set the station to a low temperature (250°C / 482°F). High heat will cause the acidic activators in the tinner to boil off instantly.
- Step 2: Plunge the hot, oxidized tip directly into the tinner compound for 2-3 seconds. You will see immediate off-gassing as the phosphoric acid reduces the iron oxide back into raw iron.
- Step 3: Withdraw the tip and immediately wipe it firmly on a dry paper towel or brass wool to remove the black, carbonized residue.
- Step 4: Apply fresh 63/37 solder immediately to cap the newly exposed, highly reactive iron surface.
Maintaining Calibration Through Daily Habits
Understanding how to clean a soldering iron is an ongoing discipline. Modern cartridge-style tips (like the JBC T245 or Hakko T12 series) integrate the heating element and sensor directly into the tip's rear. Because the thermal mass is so low, these tips recover heat in under two seconds. However, this rapid recovery makes them highly susceptible to carbon buildup from burned flux residues.
To maintain peak calibration accuracy, adopt the 'Wipe-and-Tin' protocol: every time you place the iron back into its holder, wipe it clean and apply a fresh coat of solder. This sacrificial layer of solder will oxidize instead of the iron plating. When you pick the iron up for the next joint, wipe away the oxidized sacrificial solder, revealing a perfectly clean, thermally conductive surface ready for precision work. By treating your cleaning routine as an extension of your station's thermal calibration, you will consistently produce IPC-compliant solder joints and extend the lifespan of your tips by up to 300%.