
The Core Heat Source: Smart Iron vs. Benchtop Station
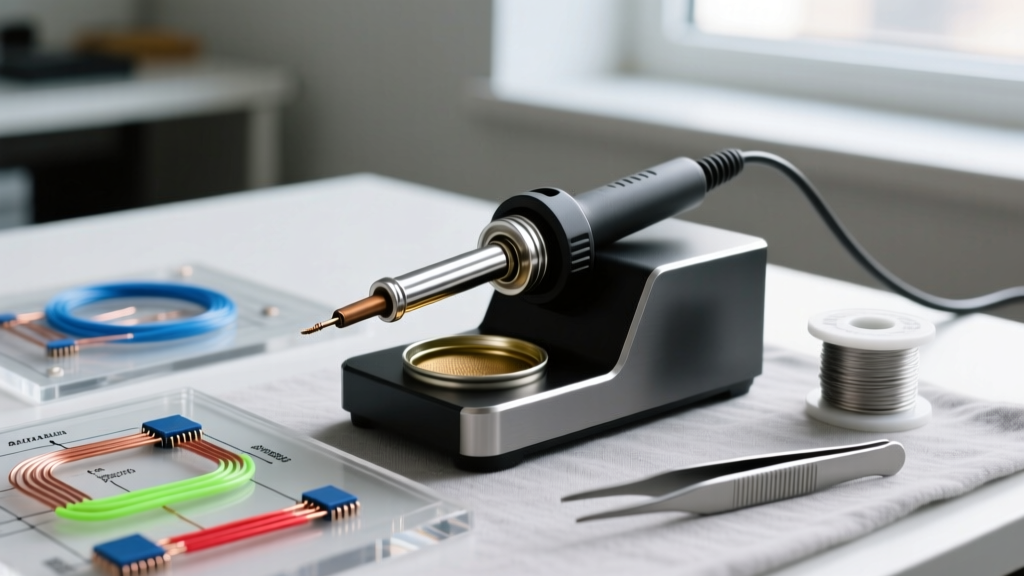
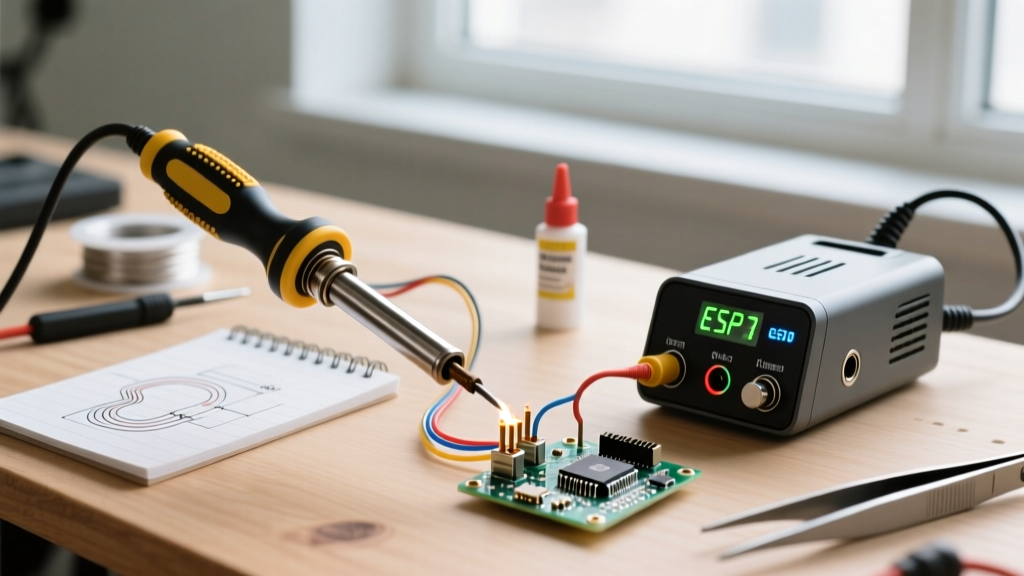
When assembling your first workbench, the sheer volume of available soldering iron tools can be paralyzing. A bare iron is essentially useless without its supporting ecosystem, but overspending on industrial gear is a common beginner trap. The foundation of your kit relies on a temperature-controlled heat source. In 2026, the market is strictly divided into two camps: smart portable irons and traditional benchtop stations.
The Smart Iron: Pine64 Pinecil V2
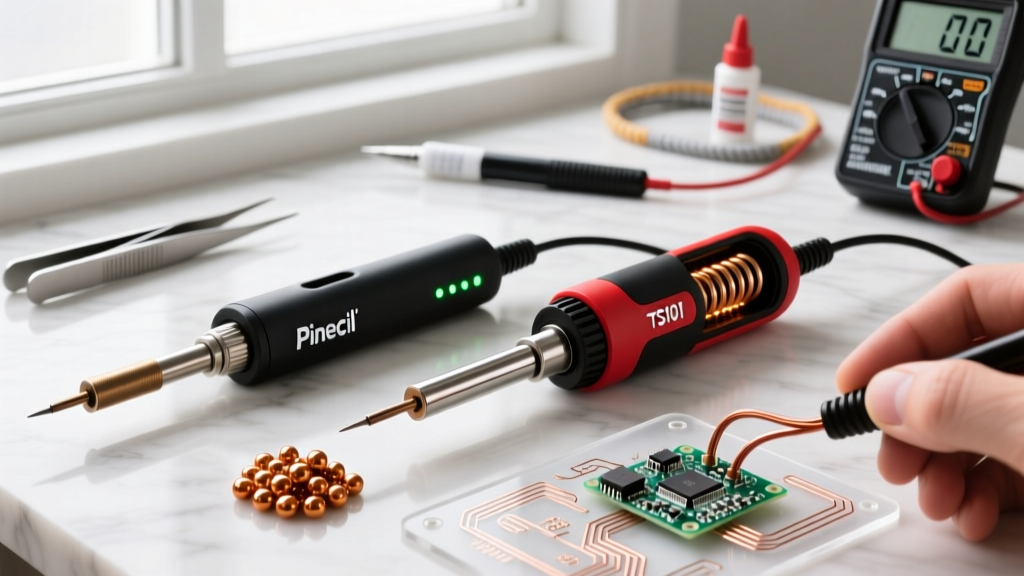
For beginners focusing on PCB repair, drones, or Arduino projects, the Pinecil V2 (approximately $26) is the undisputed champion. Powered via USB-C Power Delivery (PD) at 65W, it utilizes a RISC-V processor to maintain tip temperature within 5°C of your target. It heats to 320°C in roughly 12 seconds. Its lightweight form factor reduces hand fatigue during long sessions, though it requires you to supply your own 65W GaN charger.
The Benchtop Standard: Hakko FX-888D
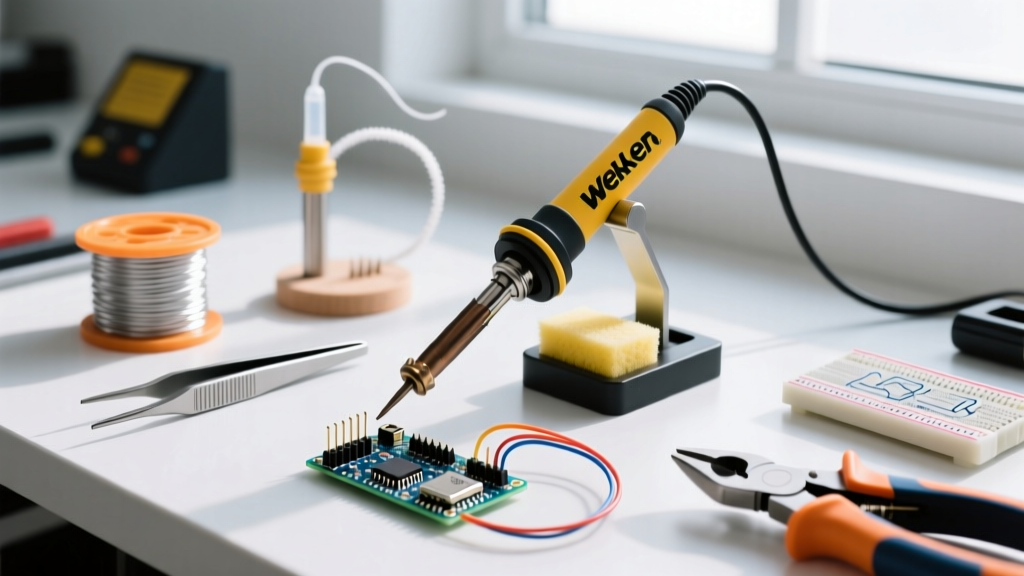
If you plan on soldering thick gauge wires, XT90 battery connectors, or large ground planes, you need thermal mass. The Hakko FX-888D (approximately $115) delivers 70W of continuous power through a heavy-duty ceramic heater. Its digital interface is locked behind a PIN, preventing accidental temperature bumps. While bulkier, the T18 tip ecosystem is massive, and the station will easily survive a decade of daily abuse.
The Metallurgy: Selecting Solder and Flux
The most critical mistake beginners make is buying cheap, acid-core plumbing solder from a hardware store. Electronics require specific metallurgy to ensure reliable electrical connections and prevent long-term corrosion.
Leaded vs. Lead-Free
For hobbyists and beginners, 63/37 (Tin/Lead) eutectic solder is mandatory. Unlike non-eutectic alloys (like 60/40), 63/37 transitions directly from solid to liquid at a single temperature (183°C). This eliminates the 'plastic state' where a slight bump to the component can cause a microscopic fracture known as a cold joint. We recommend Kester 245 or MG Chemicals 4885 in a 0.031-inch (0.8mm) diameter. This thickness provides the perfect volume for both through-hole resistors and 0805 surface-mount pads.
While the industry pushes lead-free SAC305 (melting point 217°C) for environmental compliance, it requires higher tip temperatures (350°C+), accelerates tip oxidation, and wets poorly without aggressive flux. Leave SAC305 to the professionals until your technique is flawless.
The Role of Flux
Solder does not stick to metal; it sticks to flux. The rosin core inside your solder wire is often insufficient for oxidized pads. You need an external flux rated ROL0 (Rosin, Low activity, 0% halides). Amtech NC-559-V2-TF is an industry-standard tacky flux that stays in place, while MG Chemicals 8341 is an excellent liquid rosin for general through-hole work. According to the assembly standards outlined by IPC (Association Connecting Electronics Industries), using the correct flux chemistry is just as critical as the solder alloy itself for achieving proper wetting and preventing dendrite growth.
The Support Ecosystem: Jigs, Sponges, and Safety
Your soldering iron tools must include a way to hold the work and clean the tip. Holding a hot iron, feeding solder, and stabilizing a wire simultaneously is physically impossible.
- Brass Tip Sponge: The Hakko 599B ($8) uses curly brass shavings to wipe oxidized solder off your tip. Unlike wet cellulose sponges, brass does not drop the tip temperature, preserving the iron's thermal recovery.
- Helping Hands: Avoid the cheap alligator clips on flexible goosenecks; they droop under the weight of a PCB. Invest in a heavy-base silicone jig like the QuadHands Workbench ($45) or magnetic silicone pegs that allow you to elevate the board off the desk.
- Silicone Mat: A fiberglass-reinforced silicone mat (rated to 500°C) protects your desk from scorch marks and provides a grid for organizing tiny screws and components.
- Fume Extraction: Soldering fumes contain vaporized flux (colophony), a known respiratory sensitizer. A simple desk fan blowing fumes away is insufficient. Use an activated carbon filter unit like the Hakko FA-400 ($55) positioned 6 inches from your work area.
The Thermal Shock Rule: Never use a wet cellulose sponge to clean your soldering iron tip. The rapid temperature drop (from 350°C to 25°C in a millisecond) causes micro-fractures in the iron plating. Once the underlying copper core is exposed to molten solder, the tip will dissolve and pit within hours. Always use dry brass shavings.
The $125 Beginner Soldering Iron Tools Matrix
Building a professional-grade kit does not require a $500 investment. Here is a highly optimized, budget-conscious matrix for a complete beginner setup.
| Tool Category | Recommended Model | Est. Price | Primary Function |
|---|---|---|---|
| Heat Source | Pine64 Pinecil V2 | $26.00 | Precision temperature control for PCBs |
| Solder Wire | Kester 245 (63/37, 0.031') | $32.00 | Eutectic alloy for reliable wetting |
| External Flux | MG Chemicals 8341 (Liquid) | $12.00 | Removes oxidation, improves flow |
| Tip Cleaner | Hakko 599B Brass Sponge | $8.00 | Safe tip cleaning without thermal shock |
| Work Holder | Generic Magnetic Silicone Pegs | $15.00 | Elevates and stabilizes PCBs |
| Safety Mat | 30x40cm Silicone Repair Mat | $12.00 | Thermal and chemical desk protection |
| Wick/Desolder | Chemtronics 40-1-50 Solder Wick | $7.00 | Removes excess solder, fixes bridges |
| Tip Tinner | Hakko 599B Tip Tinner Paste | $13.00 | Revives heavily oxidized, blackened tips |
Preventing Catastrophic Tip Failure
The number one reason beginners abandon the hobby is a 'dead' iron that refuses to melt solder. This is rarely a broken heating element; it is almost always tip oxidation. When an iron-plated copper tip is left at 350°C in ambient air, the iron reacts with oxygen, forming a hard, black crust of iron oxide. Solder will ball up and roll right off this crust.
The Maintenance Protocol:
- Always 'tin' the tip before turning the station off. Melt a generous blob of 63/37 solder over the entire working surface of the tip. This sacrificial layer oxidizes instead of the iron plating.
- Keep your idle temperature low. If you are not actively soldering, drop the station to 200°C. Most modern smart irons feature motion-sensing auto-sleep; enable it immediately.
- Never file or sand a modern soldering tip. Sanding removes the microscopic iron plating, exposing the copper core, which will be eaten away by molten solder in minutes.
Your First Through-Hole Joint: A 5-Step Flow
Mastering the physical technique requires understanding heat transfer. According to SparkFun's comprehensive soldering guide, the sequence of heat application dictates the strength of the metallurgical bond.
- Prep: Bend the component leads and insert them into the FR-4 PCB. Bend the leads outward at a 45-degree angle to secure the part.
- Heat the Pad and Lead: Touch the iron tip so it simultaneously contacts the copper pad and the component lead. Hold for exactly 1.5 to 2 seconds. You are heating the metals, not the solder.
- Feed the Solder: Touch the solder wire to the opposite side of the pad/lead junction (not directly to the iron tip). If the metals are hot enough, capillary action will draw the molten solder into the plated through-hole.
- Remove Solder, Then Iron: Pull the solder wire away first, wait half a second for the fillet to form, then pull the iron away at a 45-degree angle.
- Cool: Let the joint cool naturally for 3 seconds. Do not blow on it; rapid cooling can cause the flux to crystallize and create micro-cracks in the solder fillet.
Final Thoughts on Your Setup
Investing in the right soldering iron tools from day one eliminates the frustration of cold joints, lifted pads, and oxidized tips. By prioritizing a temperature-controlled iron, eutectic 63/37 solder, and proper brass-based maintenance tools, you build a foundation that scales from simple LED blinkers to complex BGA rework. Treat your tips with respect, respect the fumes, and let the metallurgy do the heavy lifting.