
Understanding the Electric Soldering Iron Gun Type
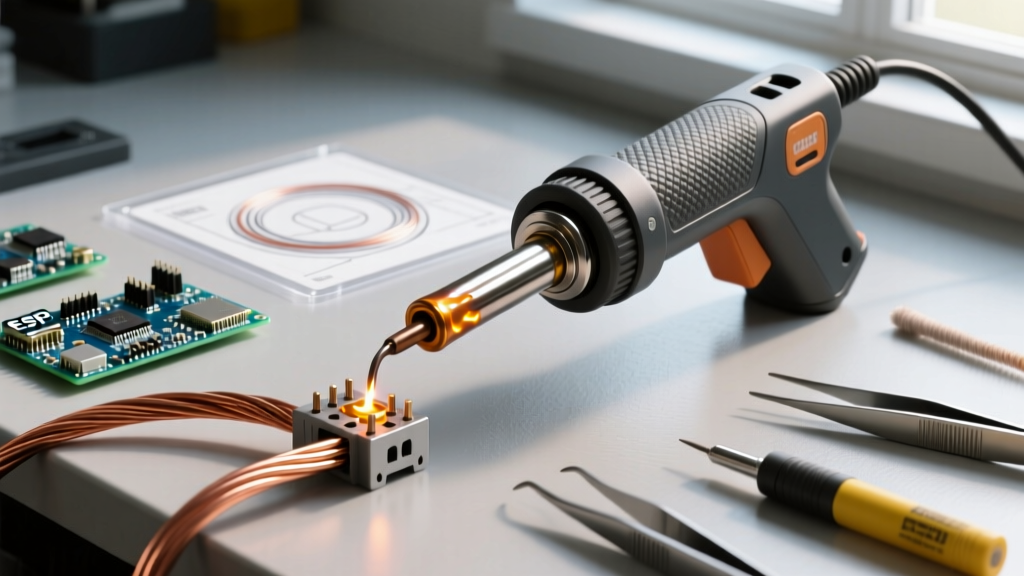
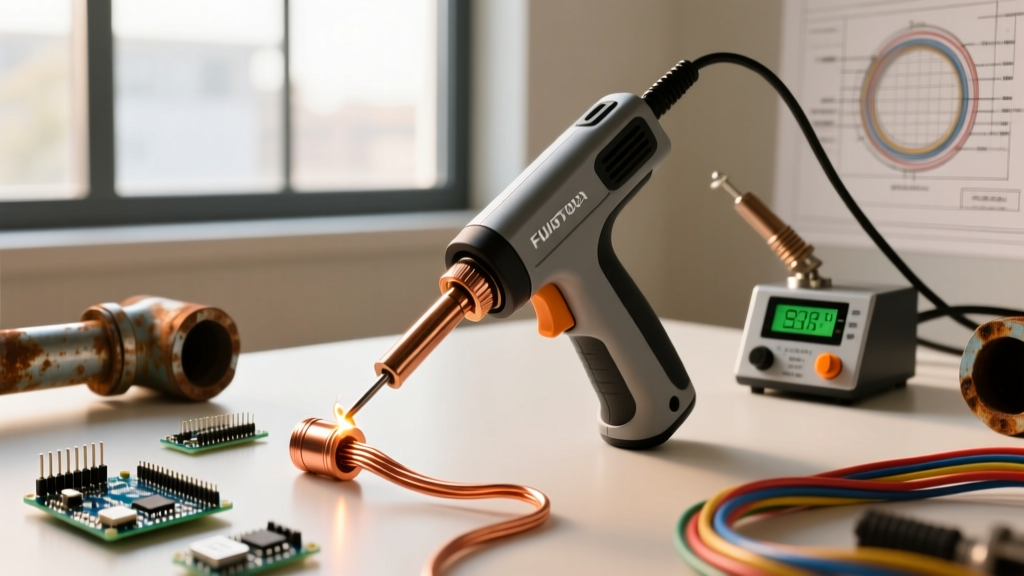
When beginners enter the world of electrical repair, automotive wiring, or heavy-duty fabrication, they quickly realize that standard pencil irons are insufficient for large thermal masses. This is where the electric soldering iron gun type becomes an indispensable tool. Unlike temperature-controlled soldering stations that rely on resistive heating elements, a soldering gun utilizes a step-down transformer to deliver massive current directly to a copper loop tip. This design allows it to reach operating temperatures of up to 1,000°F (538°C) in a matter of seconds.
However, the sheer power and unique electromagnetic properties of these tools mean they are highly specialized. Using an electric soldering iron gun type on delicate printed circuit boards (PCBs) or surface-mount devices (SMDs) will almost certainly destroy the components. This guide will teach you the physics, applications, and precise techniques required to master heavy-duty soldering guns in 2026.
The Physics: How Transformer-Based Soldering Guns Work
To use this tool effectively, you must understand its internal architecture. A soldering gun houses a heavy toroidal or laminated core transformer. When you pull the trigger, the primary coil receives standard 120V AC line voltage. The secondary coil, which consists of a single, massive turn of thick copper wire (the tip itself), steps the voltage down to a fraction of a volt while stepping the current up to hundreds of amps.
Because the copper tip has a specific electrical resistance, this massive current flow generates intense heat via Joule heating (I²R). This is why the tip heats up in 2 to 4 seconds. When you release the trigger, the current stops, and the thin copper loop sheds heat rapidly into the surrounding air and the workpiece.
Expert Warning: The secondary coil acts as an electromagnet while the trigger is depressed. An electric soldering iron gun type generates a strong, alternating magnetic field at the tip. Never use this tool near magnetic storage media, Hall-effect sensors, or sensitive compass equipment, as the AC field can induce destructive voltage spikes or permanently magnetize nearby ferrous tools.
Application Matrix: Soldering Gun vs. Pencil Iron vs. Station
Choosing the right tool prevents damaged components and cold joints. Refer to the matrix below to determine if the electric soldering iron gun type is appropriate for your project.
| Feature | Soldering Gun (100W - 260W) | Standard Pencil Iron (15W - 40W) | Temperature Station (40W - 80W) |
|---|---|---|---|
| Primary Use Case | Heavy gauge wire (14-4 AWG), chassis grounds, stained glass, thick plumbing | Basic through-hole PCBs, thin wires (22-28 AWG), hobby crafts | Advanced PCBs, SMDs, precision electronics, continuous production |
| Heat-Up Time | 2 to 5 seconds (Trigger-activated) | 45 to 90 seconds | 10 to 20 seconds |
| Thermal Recovery | Instantaneous (while trigger is held) | Slow | Fast (PID controlled) |
| Magnetic Interference | High (AC Transformer Field) | None | None |
| Tip Longevity | Low (Copper loops dissolve in solder) | Medium | High (Iron-plated tips) |
Top Rated Electric Soldering Iron Gun Type Models for 2026
The market for heavy-duty soldering guns is dominated by legacy brands that have perfected transformer design. Here are the industry standards for beginners and professionals alike.
1. Weller D550PK (120W / 200W Dual-Heat)
Estimated Price: $115 - $135
The D550 is the undisputed king of the electric soldering iron gun type category. It features a dual-heat trigger: a half-pull engages 120W for warming up or lighter 12 AWG wire, while a full pull engages 200W for heavy 4 AWG battery cables or thick copper bus bars. The integrated LED work lights illuminate the solder joint, which is crucial when working inside dark automotive dashboards or engine bays.
2. Weller 9400PKS (100W / 140W)
Estimated Price: $60 - $75
For beginners who do not need to solder massive grounding lugs, the 9400PKS offers a lighter, more ergonomic chassis. It is ideal for 16 AWG to 10 AWG wires, stained glass foil tacking, and general household electrical repairs. It comes with a built-in wire stripper and cleaning brush in the kit.
Step-by-Step: Soldering 8 AWG Automotive Wire
Soldering heavy-gauge wire requires a specific methodology to ensure the solder wicks fully into the copper strands without melting the PVC or cross-linked polyethylene (XLPE) insulation. The IPC J-STD-001 standard emphasizes proper wetting and flux application for structural integrity.
- Preparation: Strip exactly 3/4 inch of insulation from the 8 AWG wire. Twist the strands tightly to prevent fraying.
- Flux Application: Apply a high-quality rosin-based paste flux (e.g., MG Chemicals 8341) to the bare copper. Never use acid-core plumbing flux on electrical wires, as it will cause galvanic corrosion over time.
- Pre-Tin the Tip: Pull the trigger to full power for 3 seconds. Touch a small amount of 60/40 rosin-core solder to the copper loop tip to create a thermal bridge. (Note: If using lead-free SAC305, expect a slightly duller finish and higher melting point of 424°F).
- Heat the Workpiece: Hook the pre-tinned copper loop under or over the wire strands. Depress the trigger fully. Hold for 4 to 6 seconds. You are heating the wire, not melting the solder onto the tip.
- Feed the Solder: Touch your solder wire to the opposite side of the copper strands from the gun tip. If the wire is hot enough, the solder will instantly melt and wick through the entire strand bundle via capillary action.
- Cool Down: Remove the solder, release the trigger, and hold the wire perfectly still for 5 seconds until the joint solidifies. Moving the wire while the solder is in a plastic (semi-liquid) state will cause a disturbed joint, which is structurally weak.
Critical Failure Modes and Edge Cases
Beginners using an electric soldering iron gun type often encounter specific failure modes due to the tool's aggressive thermal profile.
1. Melted Insulation and Thermal Creep
Because a 200W gun delivers massive energy, holding the trigger for more than 10 seconds will cause heat to travel down the copper strands (thermal creep), melting the wire insulation up to an inch away from the joint. Solution: Use alligator clips as heat sinks. Clip a copper alligator clip to the wire between the joint and the insulation to absorb excess heat.
2. Tip Pitting and Dissolution
The tips on soldering guns are made of pure copper, unlike the iron-plated tips on pencil irons. Molten solder actively dissolves copper (a process called leaching). If you leave the gun on for extended periods or fail to re-tin the tip before storage, the copper loop will pit, thin out, and eventually snap. Solution: Always leave a large blob of solder on the tip when releasing the trigger for the final time. This sacrificial solder protects the copper from oxidation during cooldown.
3. Cold Joints on Large Lugs
When soldering a heavy copper ring terminal to a thick ground wire, the brass or copper lug acts as a massive heat sink. Beginners often apply solder to the lug, see it melt, and assume the joint is complete. In reality, the interior strands remain cold, resulting in a high-resistance, fire-hazard connection. According to guidelines published by the NASA Electronic Parts and Packaging (NEPP) Program, a proper soldered connection requires visible solder fillets and complete wicking into the wire barrel. Always heat the heaviest mass first and use a higher wattage setting.
Safety and Fume Extraction
Soldering guns operate at higher temperatures than standard stations, which means flux vaporizes more violently. Rosin flux fumes contain colophony, a known respiratory sensitizer that can trigger occupational asthma. Always use a localized fume extractor with a HEPA and activated carbon filter. For comprehensive safety protocols regarding ventilation and heavy metal exposure, refer to the NIOSH occupational safety guidelines. Furthermore, the transformer core can become warm during extended use; ensure the gun's ventilation slots are never covered by your hand or a workbench rag.
Frequently Asked Questions
Can I use a soldering gun for stained glass or jewelry?
Yes, the electric soldering iron gun type is excellent for stained glass copper foil work (using a 100W setting and 60/40 solder). However, it is generally too aggressive and imprecise for fine silver or gold jewelry work, where micro-torches or precise temperature-controlled pencil irons are preferred.
Why does my soldering gun tip turn black and stop melting solder?
This is oxidation. Pure copper oxidizes rapidly at 800°F. When the tip turns black, the copper oxide layer acts as a thermal insulator. Turn the gun off, let it cool slightly, and gently file the black oxide off with a brass wire brush or fiberglass scratch pen. Immediately re-tin the bare copper with fresh rosin-core solder to prevent re-oxidation.
Is a cordless soldering gun available?
As of 2026, true high-wattage cordless transformer-based soldering guns do not exist due to the immense current draw required to power the primary coil of a step-down transformer. Cordless options are limited to resistive-heating pencil irons (like the Milwaukee M12) which max out around 90W and lack the instantaneous thermal recovery of a plug-in gun.