
The Reality of the 'Plastic Soldering Iron'
When makers, automotive technicians, and DIYers search for a plastic soldering iron, they are technically looking for a thermal plastic welder. Unlike traditional electronics soldering, which relies on a metallic alloy (like Sn63/Pb37) to bridge two conductive surfaces, plastic welding involves melting the base polymer and a filler rod to fuse molecular chains together. Using a standard 40W fixed-temperature iron meant for PCB work will result in scorched, brittle joints and toxic off-gassing. To achieve structural integrity in 2026, you must treat plastic welding as a distinct metallurgical discipline, governed by precise thermal thresholds and specialized tip geometries.
Understanding Thermoplastic Melt Thresholds
Thermoplastics soften and melt at specific glass transition and melting temperatures. Applying too much heat degrades the polymer chains (causing charring and loss of tensile strength), while too little heat results in a 'cold weld' that will snap under minimal mechanical stress. According to polymer data published by the British Plastics Federation, understanding the distinction between amorphous and semi-crystalline plastics is critical for setting your iron's temperature dial.
Optimal Welding Temperature Matrix
| Polymer Type | Classification | Iron Tip Temp (°C) | Filler Rod Material | Common Applications |
|---|---|---|---|---|
| PLA (Polylactic Acid) | Amorphous/Semi | 180°C - 210°C | 1.75mm PLA Filament | 3D print repairs, prototypes |
| PETG | Amorphous | 220°C - 250°C | 1.75mm PETG Filament | Waterproof enclosures, drones |
| ABS (Acrylonitrile Butadiene Styrene) | Amorphous | 240°C - 280°C | ABS Rods / Filament | Automotive bumpers, RC cars |
| Polycarbonate (PC) | Amorphous | 280°C - 320°C | PC Welding Rods | Headlight lenses, safety gear |
| Polypropylene (PP) | Semi-Crystalline | 250°C - 290°C | PP Rods | Tupperware, battery cases |
Selecting and Modifying Your Tooling
As of 2026, the market offers two primary routes for high-quality plastic welding: modified electronics stations and dedicated airless plastic welders.
The Modified Station Approach
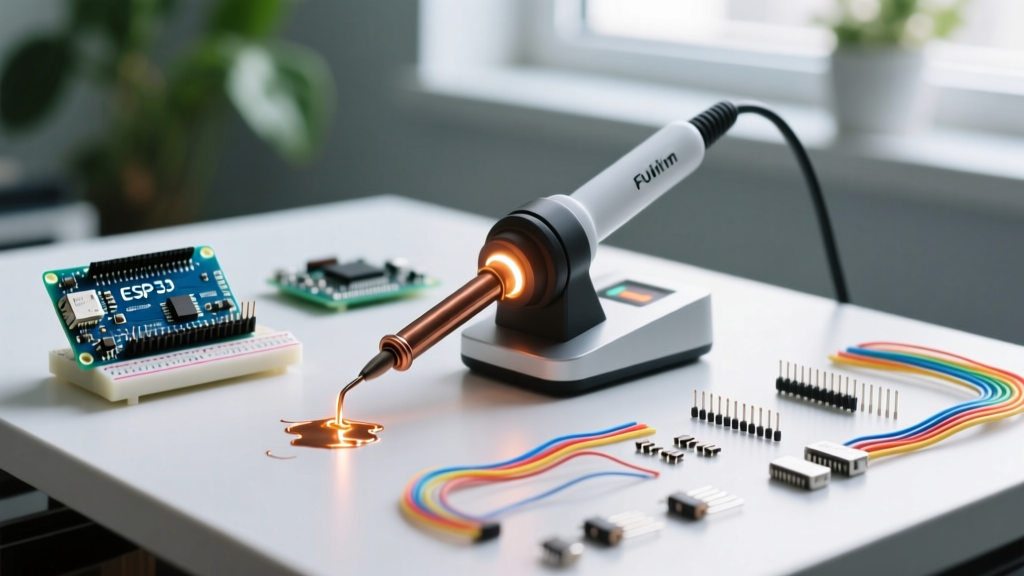
The Hakko FX-601 (typically priced around $75) is a favorite among experts for plastic welding. Its adjustable temperature control and high thermal recovery rate make it ideal. However, the standard chisel tips are too narrow. Expert Tip: Take a cheap, large chisel tip (like the Hakko T19-D24) and use a metal file to flatten and widen the face into a 10mm spatula shape. This broad surface area transfers heat evenly into the plastic base without cutting through it.
Dedicated Airless Welders
For heavy-duty automotive or plumbing repairs, dedicated tools like the Mini-Weld Model 7 Airless Plastic Welder (approx. $285) are superior. These tools operate at lower wattages but feature massive thermal mass and specialized Teflon-coated spatula tips that prevent molten plastic from sticking to the iron—a common failure mode with bare copper or iron tips.
The 'Tack, Melt, and Smooth' Technique
Achieving a watertight, structurally sound weld requires a specific three-phase workflow. Do not attempt to melt the base and filler simultaneously on the first pass.
- Preparation and Chamfering: Use a Dremel or file to cut a 45-degree V-groove along the crack or joint. This increases the surface area for the filler rod to bond to, preventing superficial 'skin' welds.
- Tack Welding: Set your iron 20°C below the target welding temp. Use the edge of the spatula tip to tack the pieces together every 2 inches. This prevents thermal warping and misalignment during the main weld.
- The Melt Phase: Increase to the optimal temperature. Hold the filler rod at a 45-degree angle to the joint. Press the flat of your spatula tip simultaneously into the base material and the filler rod. Push the molten puddle forward, ensuring the base plastic turns glossy before introducing more filler.
- Smoothing and Annealing: Once the joint is filled, wipe the iron tip on a brass sponge, then drag the clean, flat spatula lightly over the weld bead to smooth it out. Allow the part to cool slowly at room temperature; quenching plastic in water causes micro-fractures.
Expert Warning on Tip Oxidation: Never use a damp sponge to clean a plastic welding iron. The sudden thermal shock will pit the tip, and molten plastic will permanently bond to the oxidized craters. Always use dry brass wool or a specialized high-temp silicone tip cleaner.
Safety: Mitigating VOCs and Toxic Off-Gassing
Melting thermoplastics releases Volatile Organic Compounds (VOCs) and hazardous particulates. For instance, heating ABS releases styrene gas, a known irritant and potential carcinogen, while accidentally welding PVC releases highly corrosive hydrogen chloride (HCl) gas. The Environmental Protection Agency (EPA) strictly outlines the dangers of indoor VOC accumulation. Furthermore, adhering to OSHA ventilation guidelines is critical when performing these tasks in enclosed workshops.
- Active Fume Extraction: Use a HEPA/Activated Carbon fume extractor (like the Hakko FA-400 or a VEVOR benchtop unit) positioned within 4 inches of the weld puddle.
- Respiratory Protection: For extended ABS or Polycarbonate welding sessions, wear a half-face respirator equipped with Organic Vapor (OV) cartridges (e.g., 3M 6001).
- Material Verification: Never apply a hot iron to an unknown plastic. Use a burn test or density test to identify the polymer. Accidentally welding PVC or PTFE (Teflon) can release lethal phosgene and hydrofluoric acid gases.
Troubleshooting Common Plastic Weld Failures
| Failure Mode | Visual Symptom | Root Cause | Corrective Action |
|---|---|---|---|
| Cold Weld | Filler rod sits on top of base; peels off easily. | Base plastic did not reach glass transition temp. | Slow down travel speed; increase iron temp by 15°C. |
| Polymer Degradation | Plastic turns brown/black; emits acrid smoke. | Temperature too high or dwell time too long. | Drop temp by 20°C; keep the iron moving continuously. |
| Porosity / Bubbles | Pinholes in the cooled weld bead. | Moisture in filler rod or surface contamination. | Dry 3D filament in a desiccator; clean base with isopropyl alcohol. |
| Warping / Shrinkage | Joint pulls apart as it cools. | Uneven heat distribution; lack of tacking. | Use more tack welds; apply heat evenly across both sides of the joint. |
Final Thoughts on Plastic Joinery
Mastering the plastic soldering iron bridges the gap between temporary tape fixes and expensive professional replacements. By respecting the thermal properties of specific polymers, modifying your tip geometry for optimal heat transfer, and rigorously managing VOC exposure, you can create plastic welds that rival the tensile strength of injection-molded parts. Whether you are repairing a cracked 3D-printed drone chassis or fixing an automotive interior trim piece, precision temperature control and meticulous surface preparation remain your most valuable tools.