
The Art of Leather Pyrography: Beyond Basic Woodburning
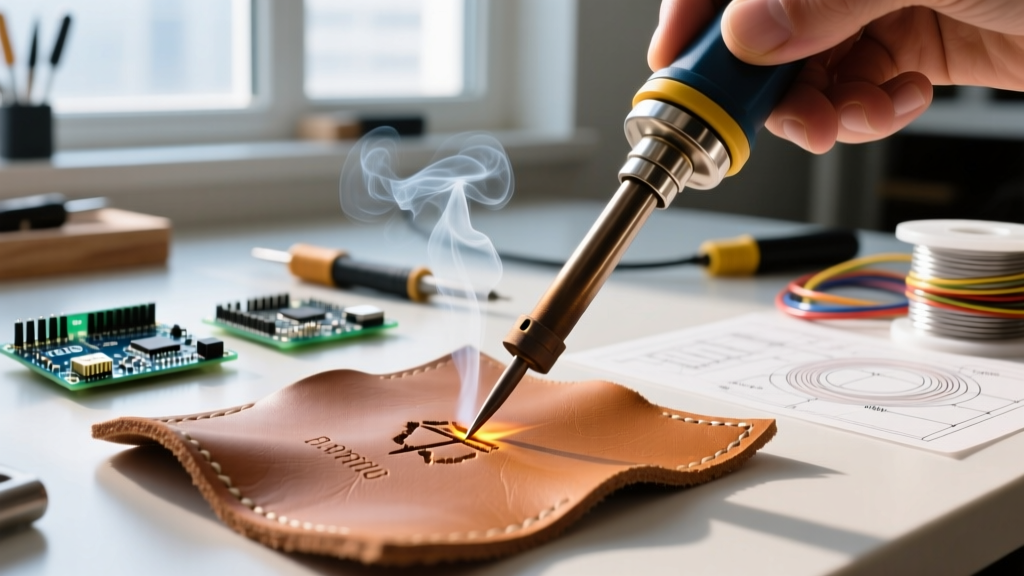
While soldering stations are primarily engineered for joining electronic components and copper wiring, their precise thermal regulation makes them exceptional tools for leathercraft. Burning leather with a soldering iron—often referred to as leather pyrography or embossing—allows artisans to create intricate sepia-toned illustrations, custom textures, and permanent branding on leather goods. However, leather is an organic, protein-based material that reacts to heat vastly differently than wood or FR4 fiberglass PCBs. Mastering this technique requires a deep understanding of thermodynamics, material safety, and specialized tip maintenance. In this guide, we break down the expert methodologies for achieving gallery-quality leather burns using professional-grade soldering stations.
⚠️ CRITICAL SAFETY WARNING: The Chrome-Tan Hazard
Before plugging in your station, you must verify your leather type. Never burn chrome-tanned leather. Approximately 80% to 90% of commercial leather is tanned using chromium salts. When subjected to the high temperatures of a soldering iron, chrome-tanned leather can release hexavalent chromium and hydrogen cyanide gas—both of which are highly toxic and carcinogenic. According to the CDC and NIOSH, inhalation of hexavalent chromium can cause severe respiratory damage and long-term health complications. Only use 100% vegetable-tanned (veg-tan) leather for pyrography. Veg-tan leather uses natural tannins from tree bark and is completely safe to burn, releasing a harmless, smoky aroma reminiscent of a campfire.
Selecting the Right Soldering Station for Leathercraft
You cannot achieve consistent leather burns with a basic $15 wall-plug soldering iron. Leather requires dynamic thermal recovery. When a 700°F tip touches room-temperature leather, the moisture and density of the hide instantly sap heat from the element. If the station cannot recover that heat within 1 to 2 seconds, the tip temperature plummets, resulting in uneven, blotchy burns and requiring you to press harder (which stretches and ruins the leather grain).
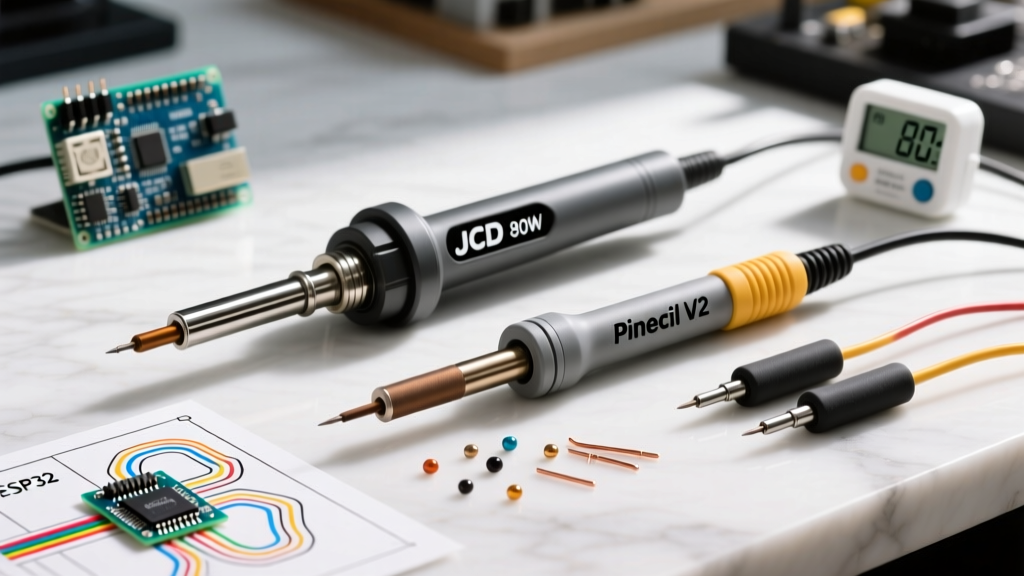
For professional results, invest in a digitally controlled station with a minimum of 70 watts of power. The Hakko FX-888D (typically priced around $115) or the Weller WE1010NA (around $120) are industry benchmarks. These stations utilize proprietary thermal sensors embedded directly in the tip assembly, ensuring that the temperature you set on the dial is the exact temperature at the business end of the tool.
Tip Profiles: Adapting Electronics Hardware for Organic Art
In electronics, chisel and conical tips are used for surface-mount pads and through-hole joints. In leathercraft, these same geometries are repurposed for shading, hatching, and line work. Here is how standard soldering tip profiles translate to leather pyrography:
| Tip Geometry | Common Model (Hakko T18 Series) | Best Application in Leather | Technique |
|---|---|---|---|
| Spade / Screwdriver | T18-D24 (2.4mm Chisel) | Broad shading, filling backgrounds, stippling. | Use the flat face for gradient shading; use the sharp corner for fine stippling. |
| Knife / Blade | T18-K (Knife) | Crisp outlines, cross-hatching, deep texturing. | Drag the edge like a scalpel. Excellent for simulating animal fur or wood grain. |
| Conical / Pencil | T18-I (0.2mm Conical) | Micro-details, signatures, dot-work. | Hold at a 90-degree angle. Do not drag, or the tip will catch on the leather fibers. |
| Bevel / Hoof | T18-C4 (4mm Bevel) | Stamping, creating uniform scales or geometric patterns. | Press and lift (stamping motion) rather than dragging. |
Temperature Calibration: The Leather Sweet Spot
Leather is highly sensitive to thermal variations. A difference of just 50°F can mean the difference between a soft, golden-brown halftone and a harsh, blackened scorch that compromises the structural integrity of the hide. Always test your temperature on a scrap piece of the exact same veg-tan leather before touching your final workpiece.
Thermal Reference Chart for Veg-Tan Leather
- 350°F - 400°F (175°C - 205°C): Light sepia tones, soft gradients, and subtle background shading. Requires a slow, deliberate hand.
- 450°F - 500°F (230°C - 260°C): Medium brown tones, standard line work, and general illustration outlines. This is the most versatile range for detailed pyrography.
- 550°F - 600°F (290°C - 315°C): Dark, high-contrast lines, deep texturing, and heavy stippling. The leather will smoke slightly and produce a pronounced roasted scent.
- Above 650°F (345°C): Avoid. At this range, the leather surface will instantly carbonize, creating brittle, cracked scabs. You also risk accelerating tip oxidation.
The Secret to Smooth Burns: Casing the Leather
One of the most common mistakes beginners make is burning completely dry leather. Dry leather has a high coefficient of friction against hot metal, causing the tip to skip, drag, and leave jagged, uneven lines. Expert leathercrafters use a technique called 'casing'.
- Dampen the Surface: Use a clean sponge or spray bottle to apply a fine, even mist of distilled water to the surface of the veg-tan leather.
- Let it Equalize: Allow the water to absorb into the core of the hide. The leather should feel cool and slightly pliable, but the surface should not look wet or glossy. This usually takes 10 to 15 minutes depending on the ambient humidity and leather thickness (typically 3oz to 5oz for pyrography).
- Burn While Cased: The internal moisture acts as a thermal buffer. When the hot tip touches the cased leather, it creates a micro-steam effect that allows the iron to glide smoothly across the grain while transferring heat evenly, resulting in buttery-smooth gradients without surface tearing.
Troubleshooting Common Failure Modes
Even with premium equipment, organic materials present unique challenges. Here is how to diagnose and fix the most frequent issues encountered when burning leather with a soldering iron:
1. Tarry Buildup and Tip Blackening
The Problem: Unlike electronic soldering where rosin flux cleans the tip, burning leather releases natural fats, oils, and proteins that carbonize and bake onto the iron's plating. This black crust acts as a thermal insulator, drastically reducing heat transfer.
The Fix: Never use a wet cellulose sponge to clean a leather-burning tip. The rapid thermal shock will cause micro-fractures in the tip's iron plating, leading to premature pitting and corrosion. Instead, keep a pad of dry brass wool at your workstation. Gently plunge the hot tip into the brass wool every few minutes to scrape away carbonized oils without dropping the core temperature.
2. 'Ghosting' or Halo Effects
The Problem: You draw a dark line, but a fuzzy, lighter brown halo appears around it, ruining the crispness of the illustration.
The Fix: Ghosting is caused by excessive moisture in the leather combined with high heat. The water in the hide boils and spreads the heat laterally beneath the surface. Reduce your station temperature by 50°F, or allow the leather to dry slightly longer before continuing your work.
3. Skipping and Jagged Lines
The Problem: The tip catches on the leather fibers, resulting in a dashed or jagged line instead of a smooth curve.
The Fix: Your leather is too dry, or you are using a conical tip at the wrong angle. Re-case the leather with a light mist of water. If using a chisel or spade tip, ensure you are gliding on the flat face or the smooth corner, never dragging the sharp edge perpendicular to the grain.
Sealing and Preserving Your Pyrography
Once your burning is complete, the artwork is vulnerable to UV fading, moisture, and skin oils from handling. Veg-tan leather is highly porous. To protect your work, you must seal it. Avoid heavy waxes or mink oils immediately after burning, as they can darken the leather and reduce the contrast of your burn marks. Instead, apply a light coat of an acrylic leather finisher, such as Fiebing's Resolene or a dedicated matte leather sealer. Apply it with an airbrush or a high-density foam applicator in thin, even layers to prevent the finish from pooling in the textured burn grooves.
"The transition from electronics soldering to leather pyrography is a masterclass in thermal dynamics. You are no longer melting a 63/37 tin-lead alloy at 361°F; you are carefully denaturing collagen proteins in a living matrix. Respect the material, control your heat, and the soldering station becomes an artist's brush."
By prioritizing material safety, utilizing dynamic temperature control, and maintaining your tips with brass wool rather than abrasive sponges, your soldering station will serve as a highly precise instrument for leathercraft. Whether you are customizing a wallet, tooling a saddle, or creating standalone artwork, these expert techniques will ensure your burns are crisp, safe, and archival-quality.