
The Anatomy of a Broken Soldering Iron: Why They Fail
There are few things more frustrating in the electronics lab than picking up your iron to tack a crucial SMD component, only to find it stone cold. A broken soldering iron can derail a prototype build or halt a production line. But before you toss your station in the e-waste bin and order a replacement, it is vital to understand why it failed. Soldering stations typically succumb to one of three failure modes:
- Cord Fatigue and Shorting: The silicone or PVC jacket degrades from repeated thermal exposure and physical bending, leading to internal wire breaks or short circuits.
- Heating Element Burnout: The internal nichrome wire or ceramic heater cracks due to thermal shock (e.g., cranking a cold iron to 400°C instantly) or mechanical shock (dropping the handpiece).
- Thermocouple/Sensor Drift: The temperature sensor fails to read accurately, causing the main PCB to either cut power prematurely or overheat the element until it melts.
The 'False' Broken Iron: Oxidation vs. Element Failure
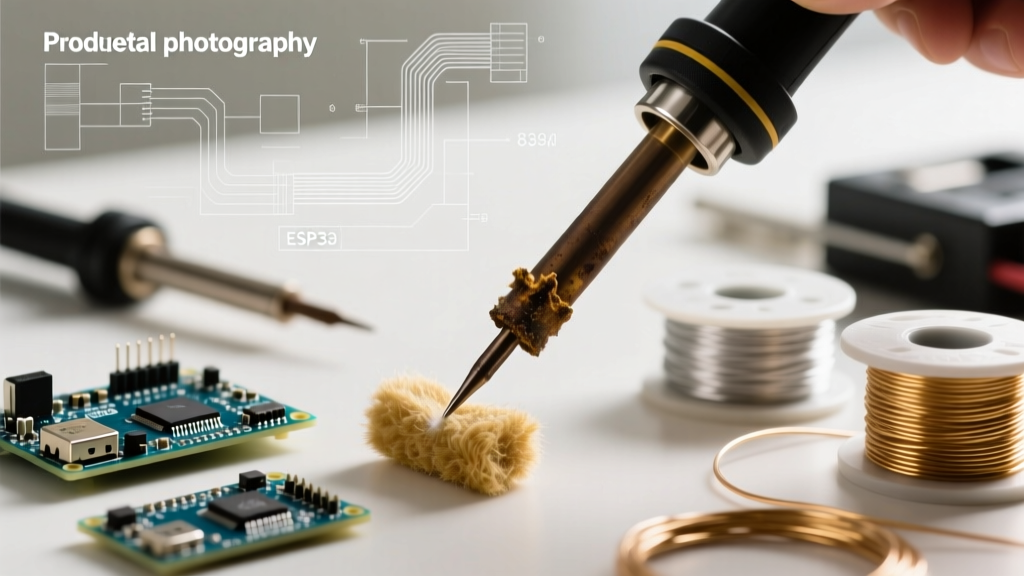
Before grabbing a multimeter, rule out the most common misdiagnosis: severe tip oxidation. Many hobbyists assume their soldering iron is broken when it reads 350°C on the digital display but refuses to melt 63/37 SnPb or SAC305 solder.
Expert Insight: If the iron feels hot to the touch (carefully hover your hand near it) but solder balls up and rolls off, your heating element is likely fine. The iron plating on the tip has oxidized, destroying thermal transfer. According to NASA's Workmanship Standard for Soldered Electrical Connections (NASA-STD-8739.3), maintaining a tinned tip and avoiding excessive idle temperatures are critical to preserving the metallurgical bond of the tip plating. Clean it with a brass wool sponge and re-tin immediately.
Diagnostic Flowchart: Testing with a Multimeter
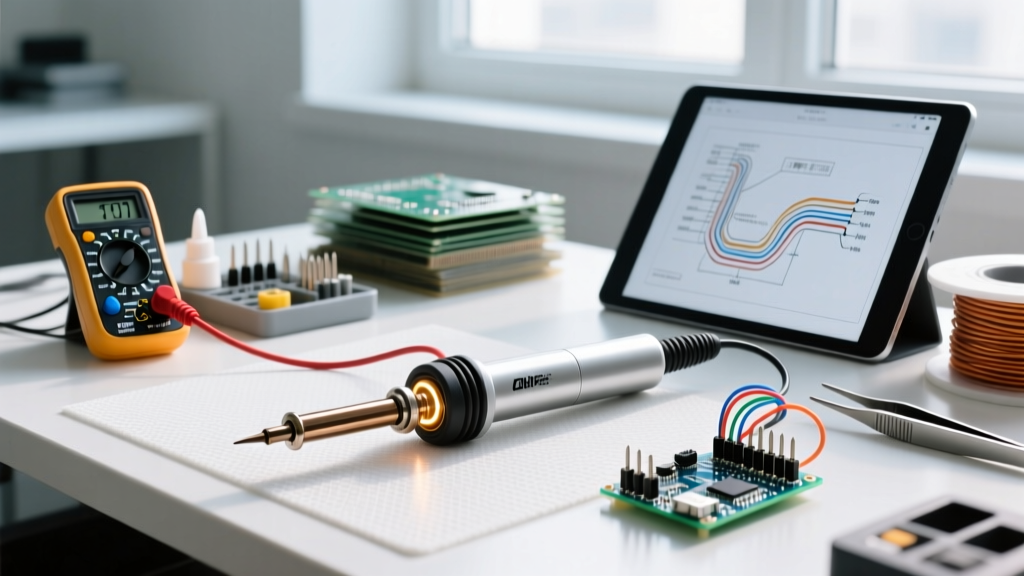
If the iron is genuinely cold, you need to verify the electrical continuity of the handpiece. Unplug the station from the wall, disconnect the handpiece from the base, and set your digital multimeter to the Ohms (Ω) setting.
Step 1: Cord Continuity Test
Probe the pins on the handpiece connector and the corresponding pins inside the station's DIN or aviation plug. Wiggle the cord while watching the multimeter. If the reading fluctuates or drops to OL (Open Loop) when bent near the strain relief, your cord is broken. Replacement cords cost between $12 and $25.
Step 2: Heating Element Resistance Test
Consult your station's manual for the specific heater pins, but generally, you are measuring across the main power delivery pins of the handpiece connector. Compare your reading to the baseline specifications below:
| Station Model | Heater Type | Expected Resistance (Room Temp) | Diagnosis if 'OL' (Infinite) |
|---|---|---|---|
| Hakko FX-888D | A1321 (T18 Tips) | ~14Ω to 16Ω | Ceramic heater cracked; replace element ($15) |
| Weller WES51 | Nichrome (ETA Tips) | ~3.0Ω to 4.0Ω | Nichrome wire snapped; replace element ($12) |
| Hakko FX-951 | Cartridge (T15 Tips) | N/A (Heater is inside the tip) | Swap the $8 tip/cartridge to resolve |
Repair vs. Replace: The Economic Threshold
When does a broken soldering iron warrant a full station replacement? Use this decision matrix to evaluate your next move.
| Component Broken | Estimated Repair Cost | Verdict |
|---|---|---|
| Soldering Tip | $6 - $12 | Repair. Tips are consumables. |
| Heating Element | $12 - $25 | Repair. A standard maintenance item. |
| Power Cord | $15 - $30 | Repair. Unless the PCB is also damaged. |
| Main PCB / Transformer | $60 - $150+ | Replace. Labor and parts exceed the value of budget/mid-tier stations. |
Buying Guide: Durable Replacements to Prevent Future Failures
If your main PCB is fried, or you are tired of replacing fragile ceramic elements every six months, it is time to upgrade. The following stations are selected for their exceptional build quality, advanced strain reliefs, and thermal management systems that actively prevent the common causes of broken soldering irons.
1. Weller WE1010NA: The Cord-Durability Champion
Price: ~$135 | Power: 70W
Traditional PVC cords stiffen, crack, and eventually short out from proximity to the iron. Weller solved this in the WE1010NA by utilizing a highly flexible, burn-resistant silicone cord. The handpiece features an oversized, reinforced strain relief that virtually eliminates cord fatigue. Furthermore, the station features a digital interface with lockout capabilities, preventing unauthorized users from cranking the heat to 450°C and thermally shocking the element.
2. Hakko FX-951: The Cartridge Revolution
Price: ~$285 | Power: 70W
The FX-951 eliminates the traditional 'broken heater' failure mode entirely. Using the T15 cartridge system, the heating element and temperature sensor are integrated directly into the tip itself. If the heater fails, you simply pull off the $8 tip and slide on a new one in three seconds. There is no ceramic element to crack inside the wand, and the heavy-duty composite handpiece is designed to survive drops onto concrete floors without shattering.
3. JBC CD-2BQE: The Ultimate in Thermal Protection
Price: ~$480 | Power: 130W
For professionals who demand zero downtime, the JBC CD-2BQE is the apex of durability. JBC's C245 cartridge tips heat up in under two seconds. Why does this prevent broken irons? Because the station's intelligent heat management only applies high current when thermal loss is detected at the joint. It doesn't sit at 400°C baking the element when idle; it drops to a low-power sleep state. This drastically reduces thermal expansion/contraction cycles, extending the life of the heater assembly by up to 5x compared to standard stations. The IPC standards for advanced electronics assembly heavily favor this type of precise, closed-loop thermal control for high-reliability PCB work.
Pro-Tips to Maximize Soldering Iron Lifespan
Even the most expensive JBC or Weller station can be destroyed by poor habits. Implement these protocols in your lab:
- Never Use as a Pry Tool: Applying lateral pressure to a hot tip bends the internal sensor wires and cracks the ceramic core. Use a proper spudger or desoldering braid.
- Enable Sleep Mode: Leaving an iron at 350°C for hours oxidizes the tip and degrades the heater. Set your station's auto-sleep timer to 5 minutes.
- Use the Right Flux: Highly activated acid fluxes (plumbing fluxes) will eat through the iron plating on electronics tips in minutes, causing pitting that ruins thermal transfer. Stick to No-Clean or RMA (Rosin Mildly Activated) fluxes for PCB work.
- Always Leave a Solder Blob: Before turning off your station, melt a large blob of cheap 63/37 solder over the entire working surface of the tip. This sacrificial layer oxidizes instead of your tip's iron plating while the tool cools down.
Frequently Asked Questions
Can I fix a broken soldering iron cord with electrical tape?
No. While tape might insulate a minor nick in the outer jacket, internal wire fraying near the strain relief requires soldering or crimping new high-flex wires. Taping over a compromised cord creates a severe shock and fire hazard.
Why does my new soldering iron keep blowing its internal fuse?
If the station's internal glass fuse blows immediately upon powering on, you likely have a shorted triac on the main PCB or a severely shorted heating element. Do not bypass the fuse with a higher amperage rating; replace the PCB or the entire station.