
The Short Answer: What Temp for Soldering Iron Tasks?
When beginners ask, 'what temp for soldering iron,' they are often looking for a single magic number. The reality is that ideal soldering temperature depends entirely on the solder alloy's liquidus point, the thermal mass of the components, and the ambient environment. According to SparkFun's soldering guidelines, the general rule of thumb is to set your station 40°C to 50°C above the melting point of your solder alloy. This delta ensures the solder flows smoothly without lingering long enough to damage sensitive silicon or lift copper pads.
Quick Reference Temperature Chart
| Solder Alloy | Melting Point (Liquidus) | Recommended Iron Setting | Primary Use Case |
|---|---|---|---|
| Sn63/Pb37 (63/37 Leaded) | 183°C (361°F) | 300°C - 330°C (572°F - 626°F) | General DIY, prototyping, through-hole |
| SAC305 (Lead-Free) | 217°C - 220°C (422°F - 428°F) | 350°C - 380°C (662°F - 716°F) | Commercial PCB repair, RoHS compliance |
| Sn42/Bi57 (Bismuth) | 138°C (280°F) | 220°C - 250°C (428°F - 482°F) | Low-temp step soldering, heat-sensitive parts |
| Sn96.5/Ag3/Cu0.5 (High-Reliability) | 217°C - 220°C (422°F - 428°F) | 360°C - 390°C (680°F - 734°F) | Aerospace, automotive (per IPC-J-STD-001 standards) |
The Physics of Soldering: Why Wattage Dictates Temperature Stability
A common misconception is that a higher temperature setting compensates for a low-wattage iron. This is fundamentally incorrect and dangerous to your PCBs. Temperature is a measure of heat intensity, while wattage is a measure of thermal recovery speed (Joule heating). If you use a 15W iron set to 400°C on a large ground plane, the copper will act as a massive heat sink. The iron's tip temperature will instantly plummet to 200°C, resulting in a dull, grainy cold joint, even though the dial reads 400°C.
Conversely, a 70W station set to a safe 330°C will detect the thermal drop via its internal thermocouple and pump energy into the heating element to maintain the 330°C target. The joint is completed in 2 seconds rather than 8 seconds, minimizing the growth of the Intermetallic Compound (IMC) layer, which can make joints brittle if overgrown. For any serious electronics work, a minimum of 60W to 70W is required to maintain stable temperatures across varying thermal masses.
2026 Buying Guide: Top Temperature-Controlled Soldering Stations
To maintain the exact temperatures required for modern electronics, you need a closed-loop temperature-controlled station. Here are the top three models dominating the workbenches of professionals and advanced hobbyists today.
1. Hakko FX-888D (The Industry Workhorse)
- Price: ~$115 USD
- Wattage: 70W
- Temperature Range: 120°C - 480°C
- Tip Ecosystem: Hakko T18 Series
The Hakko FX-888D remains the gold standard for benchtop soldering. Its digital interface allows for precise temperature locking with a PIN code, preventing accidental bumps on the dial from pushing your iron into pad-lifting territory. The T18 tip ecosystem is massive, and Hakko's technical documentation provides excellent guidance on selecting the right tip geometry for thermal transfer. The primary drawback is the bulky transformer base, which takes up significant desk space.
2. Weller WE1010NA (The Premium Alternative)
- Price: ~$135 USD
- Wattage: 70W
- Temperature Range: 150°C - 450°C
- Tip Ecosystem: Weller ETA (Micro)
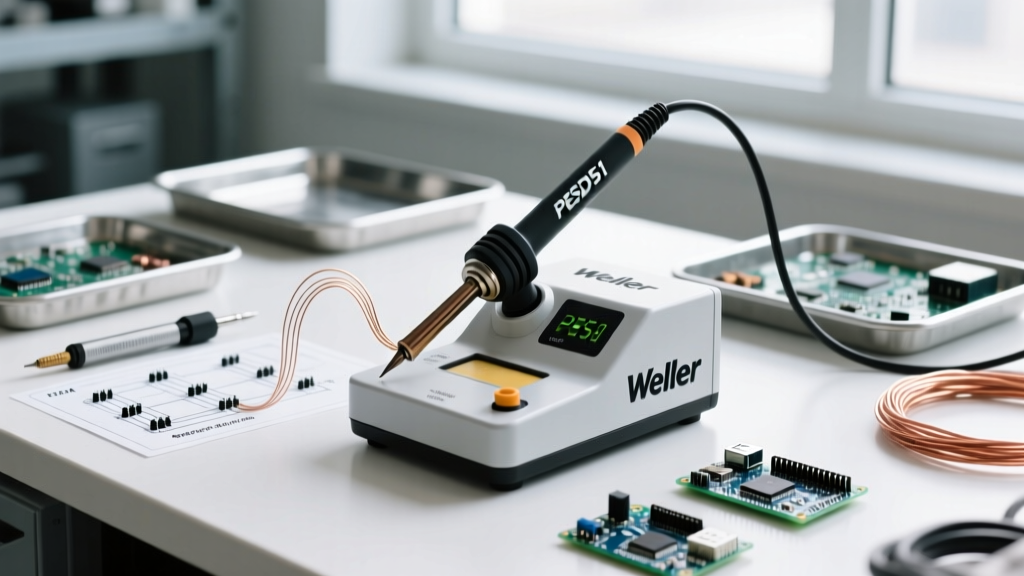
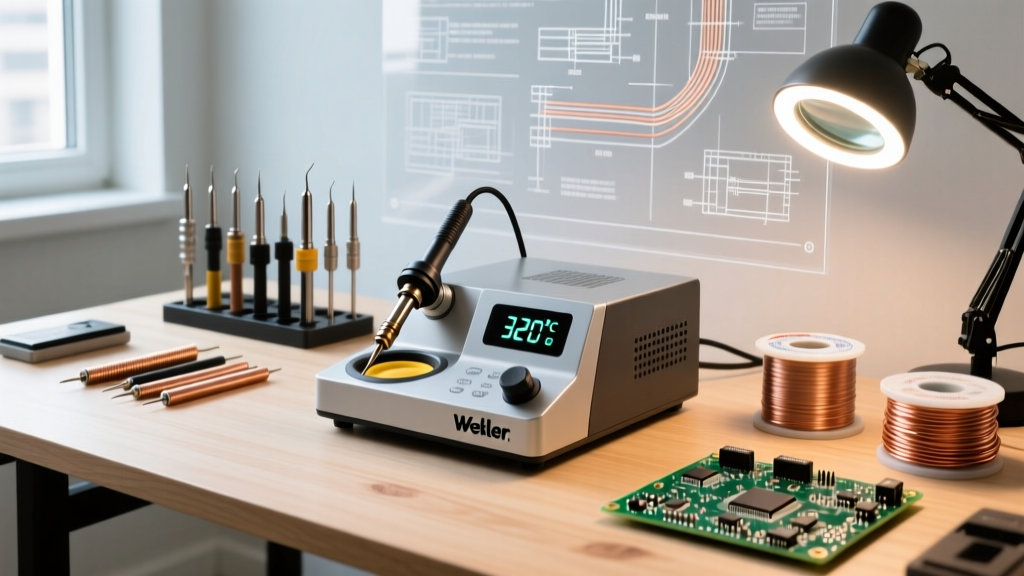
Weller's WE1010NA offers slightly faster thermal recovery than the Hakko due to its optimized heating element design. The LCD screen is highly legible, and the station features three programmable temperature presets. If you frequently switch between delicate 0402 SMD components and heavy 12AWG wire, the ability to toggle between 320°C and 380°C with a single button press is a massive workflow upgrade. The silicone cord is also notably more flexible and heat-resistant than the Hakko's PVC cord.
3. Pine64 Pinecil V2 (The Portable Powerhouse)
- Price: ~$26 USD (Iron only)
- Wattage: 65W (via USB-C PD 3.0)
- Temperature Range: 100°C - 450°C
- Tip Ecosystem: Miniware TS100 / Pine64 compatible
The Pinecil V2 has disrupted the market by packing 65W of PD-driven heating power into a pen-sized form factor. Powered by a RISC-V chip, it offers PID temperature control that rivals $150 benchtop stations. By pairing it with a 65W USB-C GaN charger, you get a highly portable, instantly responsive iron. It is ideal for field repairs, drone building, and minimalists. The only caveat is that it lacks the heavy thermal mass of a traditional station, meaning it may struggle slightly more with massive multi-layer ground planes compared to the Weller.
Calibration: Trust, But Verify Your Temperature
Even high-end stations can suffer from sensor drift over time. The thermocouple inside the heating element measures the core temperature, not the absolute surface temperature of the tip. Oxidation, flux residue, and tip wear can create a thermal barrier between the sensor and the solder joint.
- Invest in a Tip Thermometer: Tools like the Hakko FG-100B (~$150) use a specialized surface thermocouple to measure the exact tip temperature.
- The Multimeter Method: If you are on a budget, use a K-type thermocouple wire attached to your multimeter. Apply a small dab of thermal paste to the tip, press the thermocouple bead into the paste, and compare the reading to your station's display.
- Adjust the Offset: Most digital stations have a hidden calibration menu (e.g., holding the 'Up' and 'Down' arrows on the Pinecil) to apply a positive or negative offset to the PID controller.
Troubleshooting Temperature-Related Failure Modes
Setting the wrong temperature doesn't just result in ugly joints; it causes catastrophic physical failures.
Warning: Pad Delamination
FR-4 fiberglass PCBs begin to degrade at temperatures exceeding 260°C over prolonged periods. If your iron is set to 420°C to compensate for a ground plane, the localized thermal shock can break the epoxy bond, lifting the copper pad entirely off the board. Always use a larger tip (like a bevel or wide chisel) to increase surface area and thermal transfer, rather than cranking up the temperature dial.
Common Symptoms of Incorrect Temperatures
- Black, Crusty Tip (Oxidation): Your temperature is too high (usually >380°C with leaded solder), or you are leaving the iron idle without a protective blob of solder. Oxidized tips will not transfer heat, rendering the station useless until cleaned with brass wool and tip tinner.
- Dull, Grainy, or 'Frosty' Joints: The temperature is too low, or the thermal recovery failed. The solder cooled before the flux could fully activate and clean the oxidation off the copper, resulting in a disturbed or cold joint.
- Component Shrink Wrapping Melted: Your iron is radiating excessive heat. Lower the temperature and ensure you are not resting the shaft of the iron against the plastic housing of the component.
Frequently Asked Questions
Can I use the same temperature for SMD and through-hole?
Not optimally. SMD components (like 0603 resistors) have very low thermal mass and require lower temperatures (300°C - 320°C) and smaller tips to prevent melting the plastic body or lifting the tiny pads. Through-hole components with thick leads act as heat sinks and require higher temperatures (340°C - 360°C) and wider chisel tips.
Does flux type affect the required temperature?
Yes. No-clean fluxes generally activate at lower temperatures (around 150°C - 180°C), while water-soluble (OA) fluxes may require higher activation temperatures. If your iron is too hot, you will burn the flux before it has a chance to clean the joint, leaving behind corrosive residues or carbonized gunk that inhibits solder flow.
Why does my iron smoke constantly?
Constant, heavy smoking usually indicates that your temperature is set too high for the specific flux core inside your solder wire, causing it to vaporize violently rather than activating smoothly. Drop your temperature by 20°C and observe the difference in smoke volume and joint wetting.