
Why Beginners Struggle Without Flux
If you are new to electronics assembly, you have likely experienced the frustration of solder that refuses to flow, balls up into dull gray spheres, or creates fragile, cracked joints. The culprit is rarely your soldering iron or your solder wire; it is almost always a lack of flux. In professional PCB assembly and rework, the rule of thumb is simple: you can never have too much flux, but you can easily have too little. Understanding the mechanics of using flux for soldering is the single fastest way to elevate your DIY electronics builds from amateur to professional grade.
Even if you are using high-quality rosin-core solder wire (such as Kester 44 or Sn63/Pb37), the flux core inside the wire is often insufficient for complex tasks like drag-soldering SMD ICs, reworking oxidized through-hole pads, or splicing heavy-gauge wires. Supplemental flux is mandatory for reliable wetting and long-term joint integrity.
The Chemistry: How Flux Defeats Oxidation
When copper or tin is exposed to air, it rapidly forms a microscopic layer of metal oxide. Solder will not bond to metal oxide; it will only bond to bare, clean metal. Furthermore, the heat from your soldering iron accelerates this oxidation process in real-time.
Flux is a chemical cleaning agent. Most electronics-grade rosin fluxes are derived from pine tree sap (abietic acid). At room temperature, rosin is completely inert and non-corrosive. However, when heated to its activation temperature (typically between 150°C and 180°C), the acids become highly active. They chemically strip the metal oxides away, exposing pristine metal. Simultaneously, the molten flux floats to the surface of the solder joint, creating a temporary physical barrier that prevents oxygen in the air from re-oxidizing the metal while the solder cools and solidifies.
Choosing Your First Flux: A Comparison Matrix
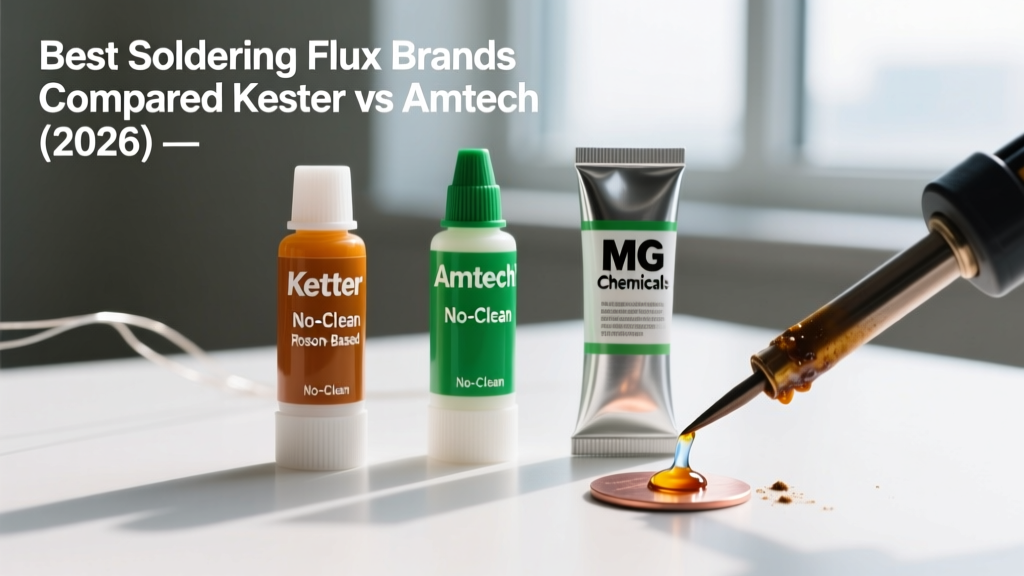
Selecting the right chemical formulation is critical. Using the wrong type can lead to corrosive damage or messy cleanup. Here is a breakdown of the three primary flux chemistries relevant to hobbyists and DIY engineers in 2026.
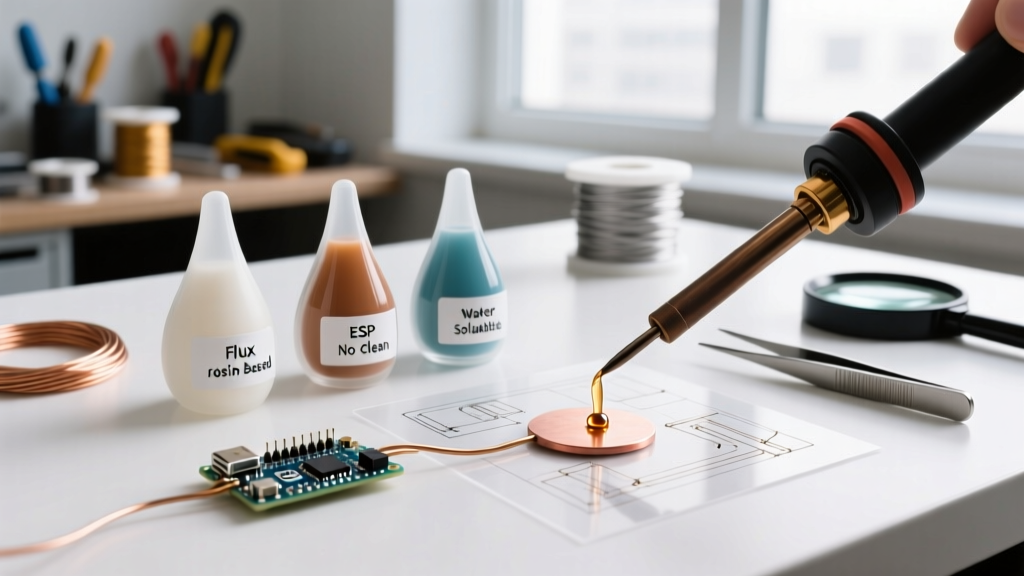
| Flux Type | Chemistry Base | Activation Temp | Cleaning Required? | Best Application | Example Product & Cost |
|---|---|---|---|---|---|
| Rosin (RMA) | Abietic Acid | ~150°C | Yes (99% IPA) | General DIY, wires, heavy oxidation | MG Chemicals 8341 (~$8 / 10g) |
| No-Clean | Synthetic Resin | ~180°C | No (Optional) | SMD tack, fine-pitch ICs, quick repairs | Kester 245 No-Clean (~$12 / 10g) |
| Water-Soluble | Organic Acid (OA) | ~120°C | Yes (Distilled Water) | Severely oxidized parts, plumbing (rarely PCB) | Chip Quik SMD291AX (~$15 / 10g) |
Note: Never use plumbing flux (zinc chloride or acid paste) on electronics. It is highly corrosive and will destroy your PCB traces within weeks.
Form Factors: Pens, Syringes, and Jars
Beyond chemistry, the physical delivery method of the flux dictates your workflow.
- Flux Pens (e.g., Hakko CHP-170, ~$6): Ideal for through-hole components and large pads. They lay down a broad, even coat of liquid flux. However, they lack the precision needed for 0603 or 0402 SMD components.
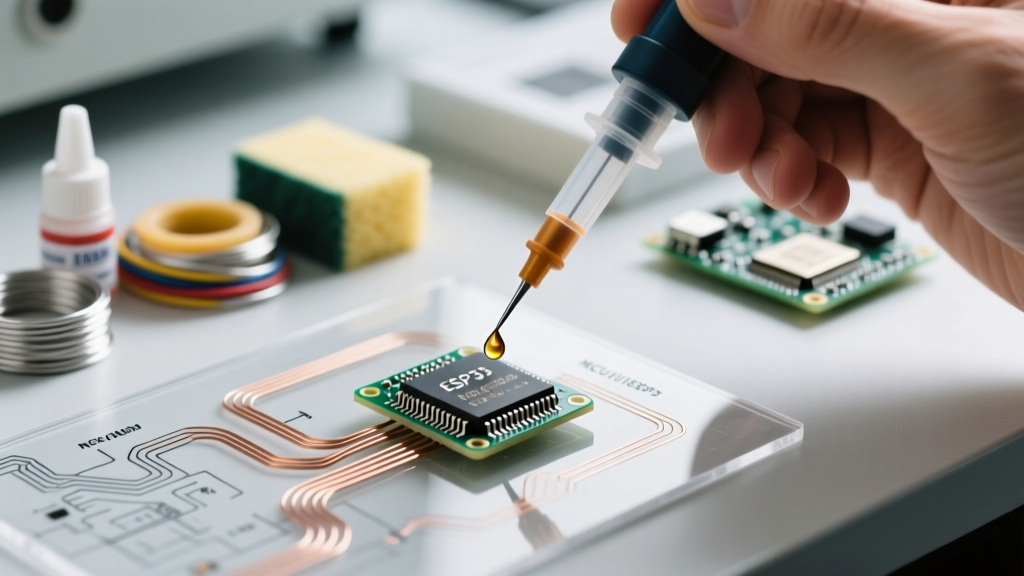
- Syringe Paste (Tacky Flux): The gold standard for SMD rework. A 10cc syringe with a 20-gauge blunt needle allows you to place a precise 0.5mm dot of viscous flux exactly where needed. The viscosity also helps hold tiny SMD components in place before soldering.
- Jars/Tins: Best for dipping large wire ends or applying with a dedicated acid brush for heavy-duty power electronics and battery tab welding.
Step-by-Step: Using Flux for Soldering SMD and Through-Hole
Follow this precise thermal and mechanical sequence to guarantee perfect wetting and avoid cold joints.
- Mechanical Prep: Flux is a chemical cleaner, not a physical one. If your pads have thick grime or conformal coating, clean them first with 99% Isopropyl Alcohol (IPA) and a lint-free swab.
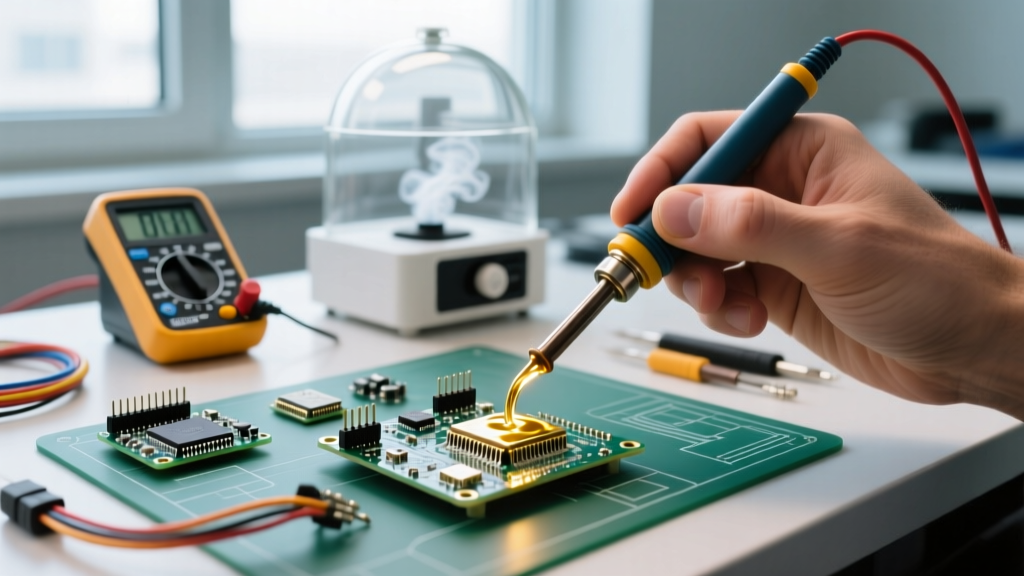
- Apply the Flux: For an SOIC-8 integrated circuit, apply a continuous 1mm bead of tacky no-clean flux across all eight pads on one side of the footprint. Do not be stingy; the flux should completely cover the copper.
- Set Iron Temperature: For standard 63/37 leaded solder, set your station to 320°C. For SAC305 lead-free solder, increase to 350°C. High thermal mass requires higher temperatures to ensure the flux activates before the heat dissipates into the ground planes.
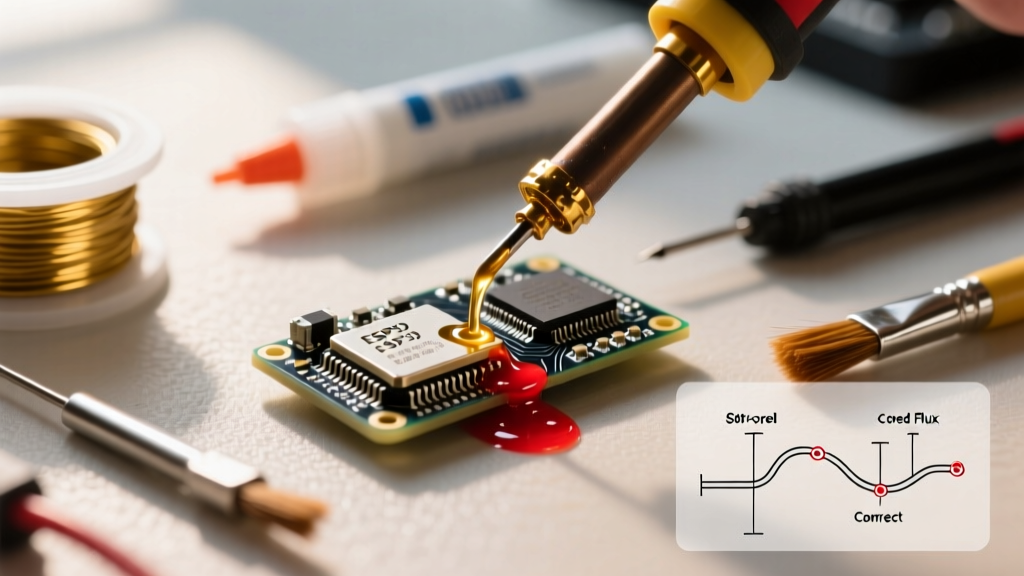
- Pre-Heat and Activate: Touch your tinned iron tip to the fluxed pad for 1 to 2 seconds before introducing solder wire. You should see the flux melt, bubble slightly, and become highly fluid. This visual cue confirms the oxides are being stripped.
- Feed the Solder: Touch your solder wire to the pad and lead, not just the iron tip. The activated flux will immediately pull the molten solder via capillary action, creating a smooth, concave fillet.
Troubleshooting Common Flux-Related Failure Modes
Even with supplemental flux, improper technique leads to distinct visual failure modes. Here is how to diagnose them:
1. Charred, Black, or Crusty Flux Residue
The Cause: Your soldering iron temperature is too high (exceeding 400°C), or you are dwelling on the joint for more than 4-5 seconds. The organic compounds in the flux are literally burning and carbonizing.
The Fix: Lower your iron temperature by 20°C. Apply fresh liquid flux over the charred residue to reconstitute it, then quickly wick away the old solder with desoldering braid (e.g., Goot Wick CP-3015) and start over.
2. Solder Bridging Between Fine-Pitch Pins
The Cause: Paradoxically, bridging is often caused by insufficient flux or insufficient heat. Without enough active flux to lower the surface tension of the molten solder, the solder clings to adjacent pins rather than snapping back to the individual pads.
The Fix: Flood the bridged pins with a generous amount of liquid rosin flux. Use a clean, chisel-shaped iron tip and drag it slowly away from the bridge. The surface tension of the flux will pull the excess solder onto the tip and separate the joint.
3. Dull, Grainy, or Disturbed Joints
The Cause: The flux deactivated (boiled off completely) before the solder fully cooled, allowing a micro-layer of oxidation to form during solidification. This is common when soldering large ground planes that act as massive heat sinks.
The Fix: Pre-heat the PCB using a bottom-side preheater (like the Quick 853A set to 120°C) to reduce the thermal delta, ensuring the iron doesn't have to work as hard, preserving the flux's active window.
According to the NASA-STD-8739.3 Workmanship Standard for soldered electrical connections, proper flux application and subsequent cleaning are mandatory for high-reliability aerospace hardware to prevent electrochemical migration and dendritic growth.
Post-Soldering Cleaning Protocols
While no-clean fluxes are designed to be left on the board, leaving thick, sticky residues can interfere with conformal coatings, trap moisture, and make visual inspection of the solder fillets difficult. For rosin-based (RMA) fluxes, cleaning is absolutely mandatory, as the unactivated acids can become mildly corrosive in high-humidity environments over time.
The Professional Cleaning Method:
- Solvent: Use only 99% or higher Isopropyl Alcohol (IPA). Standard 70% pharmacy rubbing alcohol contains 30% water, which will smear the flux into a sticky, white haze and introduce moisture to your PCB.
- Agitation: Apply the IPA and scrub with an ESD-safe, stiff-bristle brush (such as the Hakko CHP-201). The mechanical agitation is required to break up the hardened rosin matrix.
- Extraction: Immediately wipe the dissolved flux away with a lint-free Kimwipe before the IPA evaporates. If the IPA evaporates on its own, the flux will simply redeposit onto the board as a white, powdery film.
For a deeper dive into the metallurgical properties of solder wetting and advanced rework techniques, the Adafruit Guide to Excellent Soldering remains an indispensable visual resource for makers transitioning to surface-mount assembly. Mastering the application of flux transforms soldering from a frustrating guessing game into a highly predictable, repeatable science.