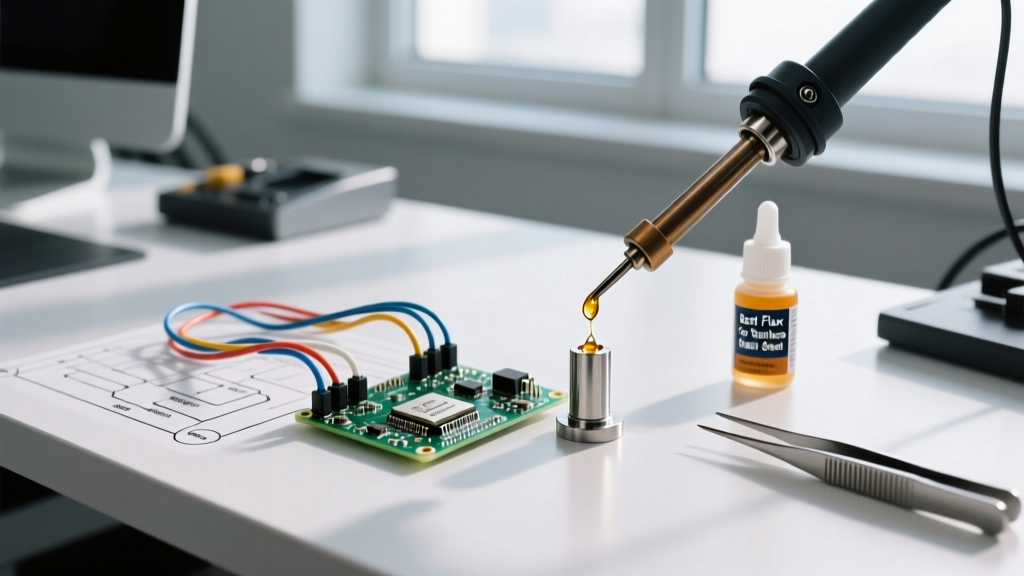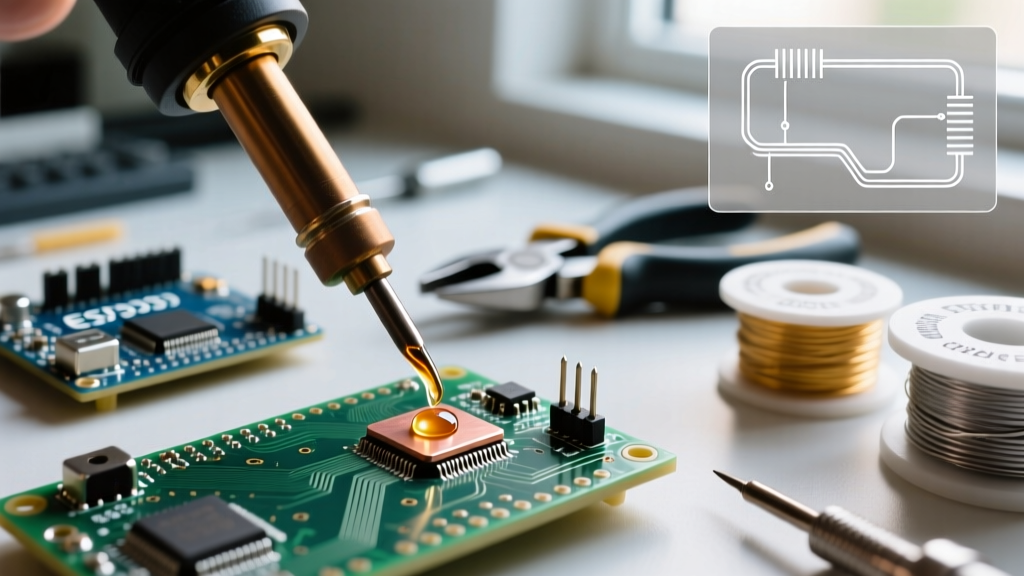

The Core Chemistry: What Is the Purpose of Flux When Soldering?
If you have ever watched solder ball up and refuse to stick to a copper pad, you have experienced the frustration of oxidation. To answer the fundamental question of what is the purpose of flux when soldering, we must look at the chemical behavior of metals under heat. When copper, gold, or silver is exposed to air, it forms a microscopic layer of metal oxide. At room temperature, this layer is thin, but the moment you apply a 350°C soldering iron, oxidation accelerates exponentially, creating a barrier that liquid solder cannot penetrate.
Flux is a chemical cleaning agent designed to solve this exact problem. According to the IPC standards for soldering (specifically IPC J-STD-004B), flux serves three critical purposes:
- Deoxidation: It chemically strips away existing metal oxides from the component leads and PCB pads.
- Oxidation Prevention: It creates a temporary liquid barrier that shields the hot metal from ambient oxygen during the soldering process.
- Surface Tension Reduction: It lowers the surface tension of the molten solder, allowing it to flow smoothly into the joint (a process known as 'wetting').
Expert Insight: Flux does not clean dirt, grease, or fingerprints. It only removes metallic oxides. You must always pre-clean your PCBs with 99% Isopropyl Alcohol (IPA) before applying flux, or the flux will fail to reach the metal surface.
Step-by-Step Tutorial: Applying Flux for Perfect Joints
Understanding the theory is only half the battle. Here is how to practically apply flux to achieve IPC-A-610 Class 3 compliant solder joints, whether you are working with through-hole (TH) or surface-mount (SMD) components.
Step 1: Surface Preparation and Tinning
Before flux touches the board, ensure your iron tip is clean and tinned. Wipe the tip on a damp brass sponge, then apply a small amount of rosin-core solder directly to the tip. This creates a thermal bridge. For the PCB, wipe the target pads with a lint-free swab soaked in 99% IPA to remove manufacturing residues.
Step 2: Selecting and Applying the Right Flux Volume
The amount of flux you apply depends entirely on your joint type:
- For Through-Hole Joints: Use a liquid or gel rosin flux (like Kester 186). Apply a thin, even coat over the component lead and the barrel of the plated through-hole. You only need about 0.1 mL per joint. The flux should bubble, not flood, when the iron touches it.
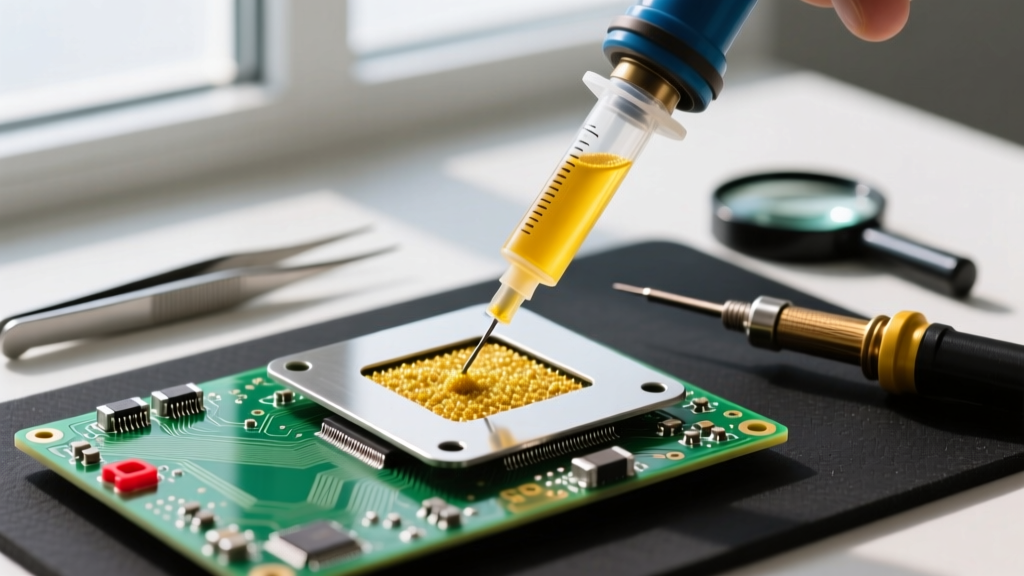
- For SMD Joints: Use a 'tacky' no-clean flux (like Chip Quik SMD4300AX10). Dispense a 0.5mm bead of flux directly onto the pads. The high viscosity holds the tiny component in place while the flux activates.
Step 3: Heat Transfer and Solder Flow
Set your iron to 340°C for standard Sn63/Pb37 (leaded) solder, or 370°C for SAC305 (lead-free) solder. Touch the iron tip simultaneously to the component lead and the PCB pad. Wait 1 to 1.5 seconds for the flux to activate—you will see it melt and slightly smoke. Only then should you feed the solder wire into the opposite side of the joint. Remove the solder wire, then remove the iron. The total dwell time should not exceed 3 seconds to prevent thermal damage to the component.
Flux Selection Matrix: Matching Chemistry to Application
Choosing the wrong flux chemistry is a primary cause of long-term PCB failure, such as electrochemical migration (dendritic growth). Use this matrix to select the correct consumable for your 2026 project builds:
| Flux Type | Chemical Base | Activity Level | Cleaning Required? | Best Use Case |
|---|---|---|---|---|
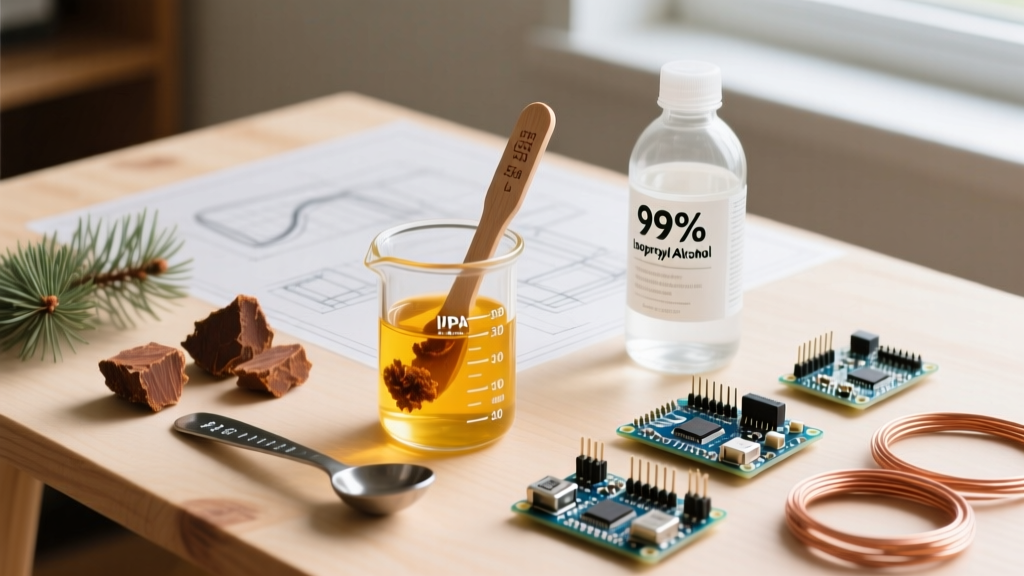
| Rosin Mildly Activated (RMA) | Colophony (Pine Sap) + Mild Halides | Medium | Optional (but recommended for high impedance) | General through-hole, DIY repairs, aerospace |
| No-Clean (NC) | Synthetic Resins + Weak Organic Acids | Low to Medium | No (Residue is non-conductive and non-corrosive) | SMD rework, BGA reballing, high-volume SMT |
| Water-Soluble (OA) | Organic Acids (Lactic/Citric) | Very High | Yes (Must be washed with DI water within 4 hours) | Heavily oxidized leads, thick ground planes |
Troubleshooting Common Flux-Related Soldering Defects
Even experienced technicians encounter wetting issues. Here is how to diagnose and fix them using flux dynamics:
1. De-Wetting and Solder Beading
The Symptom: Solder forms a perfect sphere on the tip of your iron but rolls off the PCB pad like water on a waxed car.
The Flux Fix: The pad is heavily oxidized, and the flux inside your rosin-core wire has already burned off before reaching the metal. Stop applying heat. Apply an external drop of highly active RMA liquid flux directly to the pad, wait 10 seconds for it to settle, and reapply the iron with fresh solder.
2. Micro-Solder Balls (Solder Splatter)
The Symptom: Tiny spheres of solder are scattered across the PCB mask surrounding the joint.
The Flux Fix: This is caused by volatile solvents in the flux boiling too rapidly when hit with a high-temperature iron, literally exploding the molten solder. Lower your iron temperature by 15°C, or switch to a low-solids, low-spatter no-clean flux formulation.
3. Solder Bridging on Fine-Pitch ICs
The Symptom: Solder flows across two adjacent pins on a 0.5mm pitch QFP chip, creating a short circuit.
The Flux Fix: You likely have too much viscous tacky flux trapping the solder between the pins. Apply a generous amount of 99% IPA and use a clean, dry solder wick (like Goot Wick CP-2015) to draw away the excess solder. The IPA thins the residual flux, allowing the wick to absorb both the solder and the flux simultaneously.
Post-Soldering: Cleaning and Fume Safety
While no-clean fluxes are designed to be left on the board, the residue can interfere with automated optical inspection (AOI) and conformal coating adhesion. If you must clean RMA or water-soluble fluxes, never use standard 70% rubbing alcohol. The 30% water content will smear the rosin into a sticky, conductive film. Always use 99%+ IPA or a dedicated PCB saponifier, followed by a bake-out at 60°C for 30 minutes to drive out trapped moisture.
Finally, never ignore the smoke. The vaporized colophony in rosin flux is a known respiratory sensitizer. Prolonged exposure can lead to occupational asthma. Always use a localized fume extractor equipped with a HEPA and activated carbon filter, and consult the NIOSH guidelines on soldering fumes to ensure your workspace meets modern ventilation safety standards.
Frequently Asked Questions
Can I use plumbing flux for electronics?
Absolutely not. Plumbing flux (like Oatey Tinning Flux) contains highly corrosive zinc chloride and hydrochloric acid. It will destroy copper traces and cause catastrophic short circuits within weeks. Always use electronics-grade flux compliant with IPC J-STD-004.
Does flux expire?
Yes. Liquid and gel fluxes typically have a shelf life of 12 to 24 months. As the solvents evaporate over time, the flux becomes thick and loses its ability to flow into microscopic vias. Store your flux in a cool, dark place and tightly seal the syringes to maximize lifespan.