
Demystifying Solder Paste: Beyond the Hobbyist Confusion
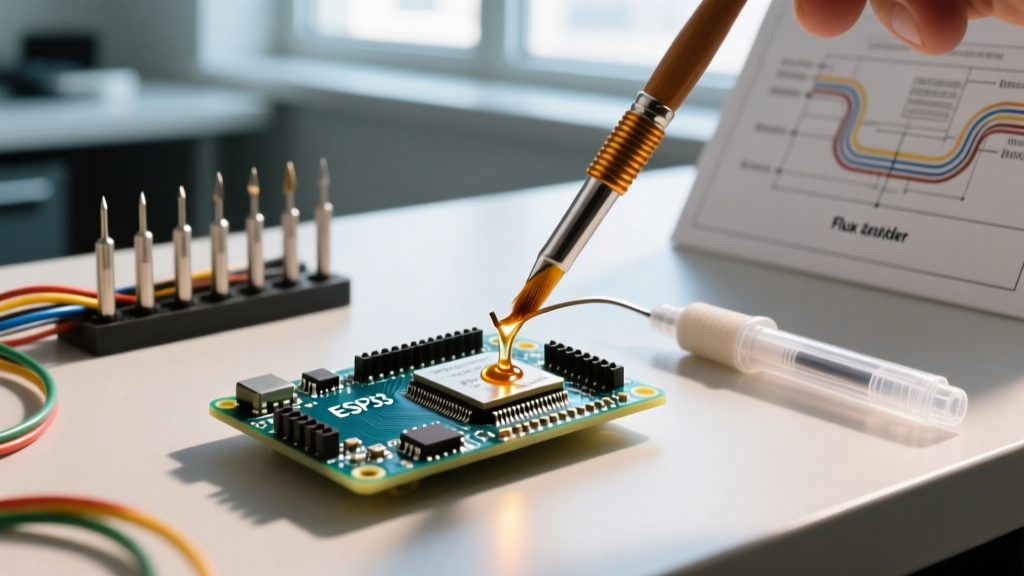
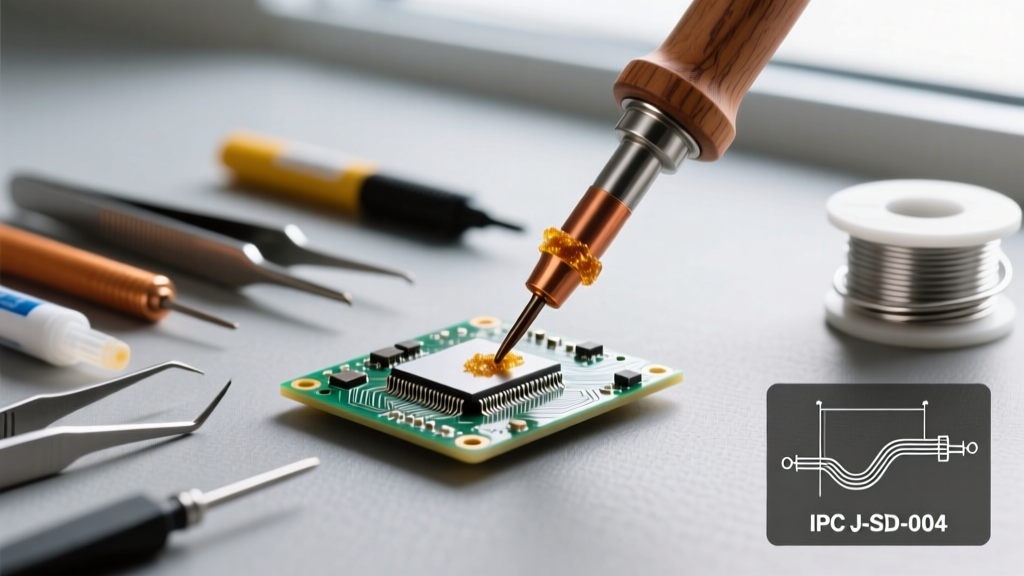
Before diving into how to use soldering paste, we must clear up a pervasive terminology issue in the DIY electronics space. Many hobbyists mistakenly use the term "soldering paste" to describe flux paste (a tacky rosin or organic acid used to clean oxidation during manual iron soldering). True solder paste is a highly engineered suspension of microscopic spherical solder alloy powder mixed with a viscous, chemically active flux medium. It is the foundational consumable for Surface Mount Technology (SMT) assembly, reflow ovens, hotplate rework, and precision stencil printing.
Whether you are transitioning from hand-soldering 0805 resistors to assembling dense QFN microcontrollers, or setting up a small-batch prototyping line in 2026, mastering solder paste application is non-negotiable. This guide provides application-specific recommendations for selecting, storing, dispensing, and reflowing solder paste to achieve IPC-A-610 Class 2 or Class 3 joint reliability.
Selecting the Right Alloy and Powder Type
The success of your reflow process begins with matching the paste to your thermal constraints and component density. Solder powders are classified by "Type" based on particle size, which dictates the smallest stencil aperture or syringe needle you can reliably use.
| Alloy / Specification | Melting Point | Powder Type (Size) | Best Application | Est. Cost (35g Syringe) |
|---|---|---|---|---|
| Sn63/Pb37 (Eutectic) | 183°C | Type 3 (25-45µm) | DIY reflow, hobbyist hotplate, legacy through-hole paste-in-hole. | $18 - $25 |
| SAC305 (Sn96.5/Ag3.0/Cu0.5) | 217°C | Type 4 (20-38µm) | Commercial prototyping, RoHS compliance, fine-pitch QFP/QFN. | $35 - $48 |
| Sn42/Bi57.6/Ag0.4 (Low-Temp) | 138°C | Type 4 or 5 | Heat-sensitive components, flex PCBs, step-soldering secondary operations. | $40 - $55 |
Expert Insight: For most modern 0402 and 0201 imperial components, Type 4 powder is the baseline. If you are working with micro-BGAs or 0.3mm pitch CSPs, you must upgrade to Type 5 (15-25µm) or Type 6 to prevent stencil aperture clogging and ensure consistent volumetric transfer. For comprehensive stencil design rules, refer to the IPC-7525 Stencil Design Guidelines, which dictates aperture reduction ratios based on powder type.
Critical Pre-Application: Storage and Acclimation
The number one cause of solder balling and spattering during reflow is improper paste handling. Modern no-clean pastes (like Chip Quik SMD4300 or Kester EP256) contain highly volatile solvents.
- Shelf Life: 6 months refrigerated (0°C to 10°C); 1 month at room temperature.
- The 2-Hour Rule: Never open a cold syringe or jar. Condensation will form on the paste, introducing water. When heated, this water vaporizes explosively, scattering molten solder spheres across your PCB (solder balling). Allow the sealed container to acclimate to room temperature (20°C - 25°C) for a minimum of 2 hours before opening.
- Kneading: Syringes should be centrifuged or mechanically stirred by the manufacturer, but if the paste has settled, gently roll the syringe between your palms for 3-5 minutes. Never use a metal spatula to stir paste in a jar, as this introduces air bubbles that cause voiding in large thermal pads.
Application Techniques: Stencil vs. Syringe
How you deposit the paste depends entirely on your production volume and board complexity.
1. Stencil Printing (Volume & Consistency)
For boards with more than 20 SMD components, laser-cut stainless steel stencils are mandatory. Polyimide (Kapton) stencils are acceptable for quick, low-budget prototyping but suffer from poor thickness tolerance and aperture wall roughness.
- Stencil Thickness: Use a 5-mil (0.127mm) stencil for standard 0603/0805 passives and SOIC chips. Drop to 4-mil (0.100mm) for QFNs with exposed thermal pads and 0402 components to prevent bridging.
- Aperture Reduction: For QFN thermal pads, the stencil aperture should be reduced by 10-20% and cross-hatched (window-paned) to allow flux outgassing and prevent the component from "floating" on a massive solder blob.
- Squeegee Technique: Hold the squeegee at a 45-degree angle. Apply firm, even downward pressure and pull at a steady rate (about 2-3 cm per second). You should hear a slight "zip" sound, indicating the paste is rolling and filling the apertures cleanly.
2. Syringe Dispensing (Rework & Low-Volume)
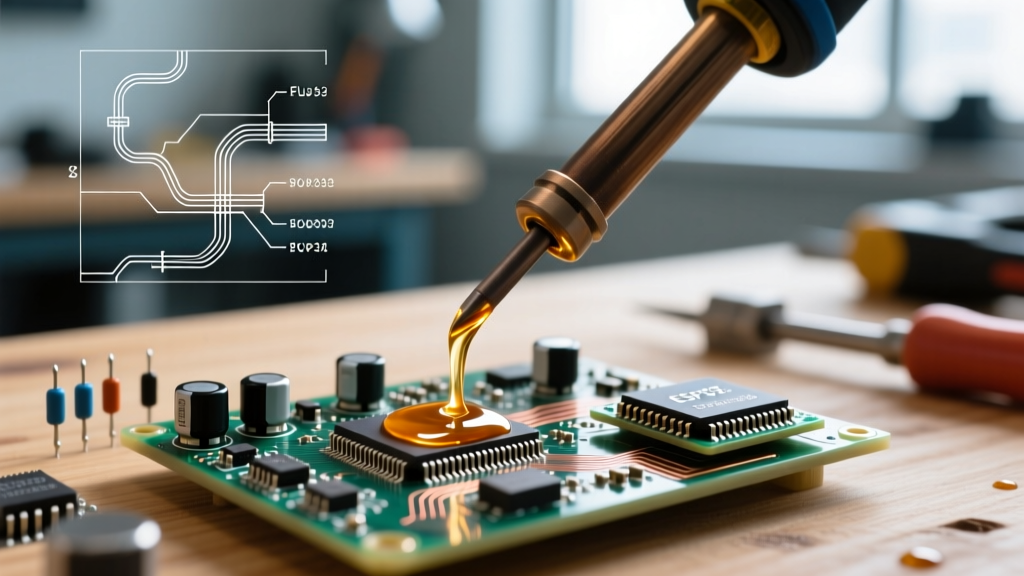
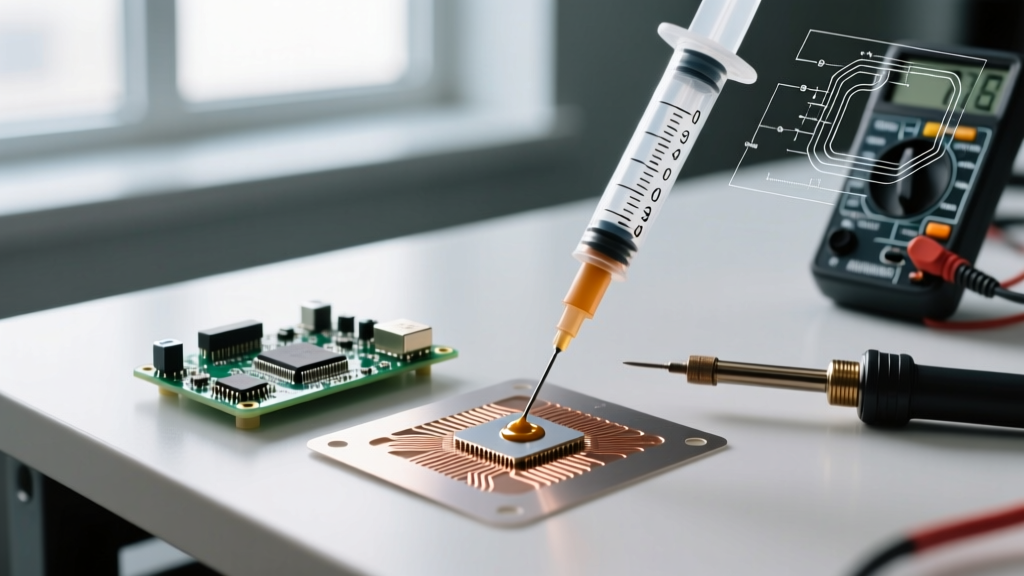
When touching up a single board or reworking a specific joint, manual or pneumatic syringe dispensing is the standard. The key is matching the needle gauge to the pad size.
- 20-Gauge (Pink): Large ground planes, DPAK/D2PAK pads, and heavy connectors.
- 22-Gauge (Aqua): Standard 0805 and 1206 passives, SOIC-8 pins.
- 27-Gauge (Clear): Precision 0402 passives, QFN pin arrays, and tight-pitch rework.
If using a pneumatic dispenser (like a Hakko 373 or generic syringe adapter), set the air pressure between 10 and 30 PSI with a vacuum suck-back (0.2 to 0.5 seconds) to prevent the paste from drooling after the pedal is released. For manual syringes, use a smooth, continuous thumb press; jerky movements introduce air pockets.
Mastering the Reflow Profile
Depositing the paste is only half the battle. The thermal profile dictates the metallurgical integrity of the joint. According to Indium Corporation's metallurgical guidelines, a standard Ramp-Soak-Spike (RSS) profile is optimal for most no-clean SAC305 pastes to minimize voiding and tombstoning.
- Ramp (Preheat): Ramp from room temperature to 150°C at a controlled rate of 1°C to 2°C per second. Ramping too fast boils the flux solvents, causing spattering.
- Soak (Dwell): Hold between 150°C and 175°C for 60 to 90 seconds. This allows the PCB, components, and solder particles to reach thermal equilibrium and activates the flux to strip away oxides.
- Reflow (Spike): Push the temperature past the liquidus (217°C for SAC305) up to a peak of 235°C - 245°C. Time Above Liquidus (TAL) should be strictly limited to 45 - 75 seconds. Prolonged TAL degrades the flux and forms excessive intermetallic compounds (IMC), resulting in brittle joints.
- Cooling: Cool at a rate of 2°C to 4°C per second. Quenching a hot PCB in water or blowing it with compressed air induces thermal shock and micro-cracking in ceramic capacitors.
Troubleshooting Common Solder Paste Defects
Even with perfect technique, environmental variables can cause defects. Here is how to diagnose and fix the most common issues:
Tombstoning (Drawbridging)
The Defect: A two-terminal passive component stands up on one end during reflow.
The Cause: Uneven wetting forces. One pad reflows before the other, pulling the component upright. This is often caused by asymmetric trace routing (one pad connected to a massive ground plane acting as a heat sink) or uneven paste volume.
The Fix: Implement "home-plate" or "V-cut" aperture designs on the pads connected to large copper pours to delay heat transfer and ensure simultaneous melting.
Solder Bridging (Shorts)
The Defect: Paste merges between adjacent fine-pitch pins.
The Cause: Excessive paste volume, stencil misalignment, or squeegee pressure that is too low (causing smearing rather than shearing).
The Fix: Reduce stencil thickness by 1 mil, apply a 10% aperture reduction on the X/Y axis, and ensure your PCB support tooling prevents the board from flexing downward during the squeegee pass. For deep dives into SMT defect resolution, the Adafruit SMT Manufacturing Guide offers excellent visual troubleshooting matrices.
Excessive Voiding under Thermal Pads
The Defect: Large air pockets trapped under QFN or DFN thermal pads, reducing thermal conductivity.
The Cause: Flux gases cannot escape the large surface area during the liquidus phase.
The Fix: Use a window-pane (grid) stencil aperture design for the thermal pad, leaving 20-30% of the pad uncovered by paste to create escape channels for outgassing.
Final Thoughts on Consumable Selection
Understanding how to use soldering paste effectively bridges the gap between amateur wiring and professional electronics manufacturing. By respecting the cold-chain storage requirements, matching powder types to your stencil apertures, and strictly adhering to thermal profiles, you will achieve consistent, shiny, and mechanically robust solder joints. Always invest in high-quality, fresh paste from reputable manufacturers like Kester, Indium, or Chip Quik, and never compromise on your stencil tolerances.