
Understanding Flux Chemistry and IPC Classifications
Learning how to use soldering flux effectively requires moving beyond the basic 'apply and heat' advice. Flux is a complex chemical reducing agent designed to strip metallic oxides from PCB pads and component leads, lower the surface tension of molten solder, and promote intermetallic compound (IMC) formation. As of 2026, with the mass adoption of ultra-small 01005 and 0201 metric surface-mount components, selecting the correct flux chemistry for your specific solder alloy and PCB finish is critical to preventing micro-bridging and tombstoning.
The electronics industry relies on the IPC-J-STD-004B standard to classify fluxes. This standard uses a three-character code (e.g., ROL0) denoting composition, activity level, and halide content. Understanding this code is the first step in our compatibility guide.
The Core Compatibility Matrix: Flux Types vs. Solder Alloys
Not all fluxes activate at the same temperature, and not all solder alloys melt at the same point. Applying a low-activation rosin flux to a high-temperature lead-free alloy will result in flux burnout before the solder even wets the pad. Use the matrix below to match your consumables.
| Flux Type (IPC Code) | Best Matched Alloy | Liquidus Temp | Ideal PCB Finish | Cleaning Requirement |
|---|---|---|---|---|
| Rosin Mildly Activated (RMA / ROL1) | Sn63/Pb37 (Leaded) | 183°C | HASL (Lead/Tin) | Optional (Isopropyl Alcohol) |
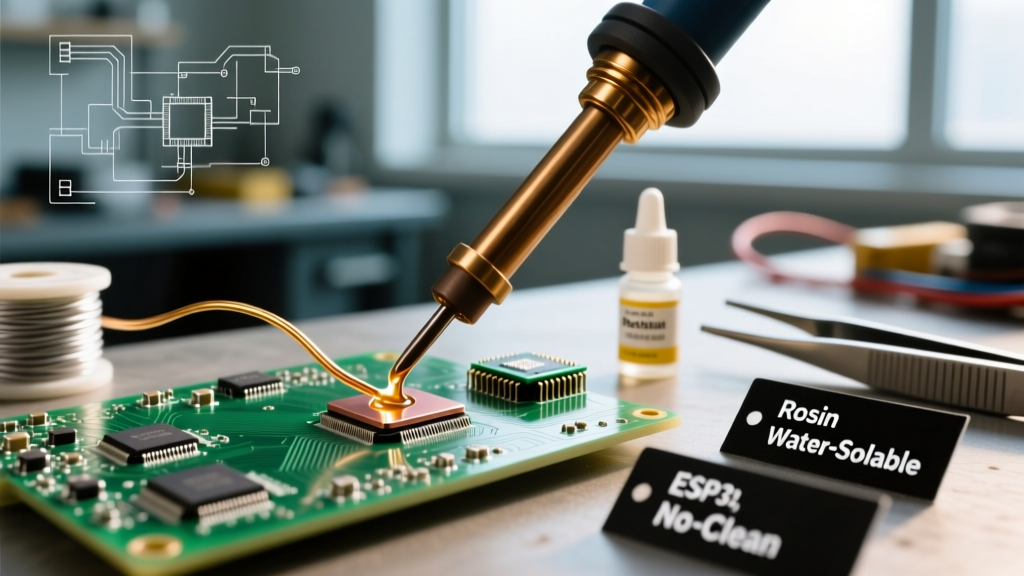
| No-Clean (ROL0) | SAC305 (Lead-Free) | 217°C - 220°C | ENIG, Immersion Silver | None (Residue is benign) |
| Water-Soluble (ORH0 / ORH1) | Sn42/Bi57.6 (Low Temp) | 138°C | OSP (Organic Solderability Preservative) | Mandatory (Deionized Water) |
| Tacky / Gel (ROL0) | SAC405 or Sn60/Pb40 | 183°C - 220°C | All Finishes (SMD Rework) | Optional (Specialized Solvent) |
Step-by-Step: How to Use Soldering Flux for Through-Hole Components
For through-hole technology (THT) and larger wire-to-board connections, liquid or paste rosin-based fluxes are standard. Here is the precise methodology for achieving a Class 2 or Class 3 compliant joint, referencing NASA's high-reliability workmanship standards.
- Surface Preparation (Crucial): Clean the PCB pads and component leads with 99% isopropyl alcohol (IPA) and a lint-free wipe. Oxidation layers thicker than 50 angstroms will resist even highly activated fluxes.
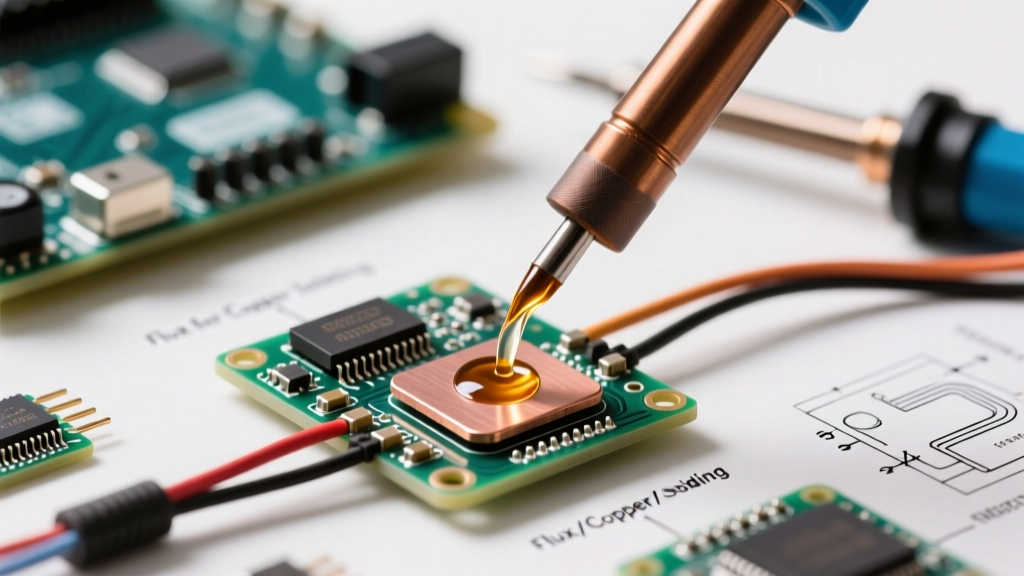
- Flux Application: Apply a 2mm to 3mm bead of ROL1 (Rosin Mildly Activated) flux directly to the joint area. Do not apply flux to the soldering iron tip; the thermal shock will instantly vaporize the activators, leaving behind a useless carbonized residue.
- Thermal Transfer: Set your soldering station to 320°C - 350°C for Sn63/Pb37. Place the iron tip so it simultaneously touches the PCB pad and the component lead. Hold for exactly 1.5 to 2 seconds to allow the flux to reach its activation temperature (typically around 150°C - 180°C for rosin).
- Solder Feeding: Feed 0.8mm diameter solder wire into the joint (not onto the iron tip). The flux will immediately flash-boil, breaking the oxide layer and allowing the solder to capillary-flow into the plated through-hole (PTH).
- Withdrawal: Remove the solder wire first, then the iron. The joint must cool undisturbed for 3-5 seconds. Moving the joint while the flux is still liquid and the solder is in its 'plastic' phase will cause a disturbed joint fracture.
Surface Mount (SMD) Compatibility: Paste vs. Liquid Pen
When dealing with SMD components, the physical viscosity of the flux dictates its usability. In 2026, hobbyists and repair technicians primarily choose between liquid pens and syringe-dispensed tacky gels.
Liquid Flux Pens (e.g., Kester 245 No-Clean)
- Viscosity: Extremely low (water-like).
- Best Use Case: Drag soldering SOIC and QFP chips, reflowing large ground planes.
- Warning: Liquid flux will wick under fine-pitch (0.4mm or 0.5mm) QFN pads via capillary action, potentially trapping flux residues that can cause parasitic capacitance or electrochemical migration in high-humidity environments.
- Cost: Approximately $12 - $16 USD for a 10ml pen.
Tacky Flux Syringes (e.g., Chip Quik SMD291AX10)
- Viscosity: High (gel-like, similar to thick honey).
- Best Use Case: BGA reballing, 0201 and 0402 component placement, hot-air rework. The tackiness physically holds the microscopic components in place before the solder melts.
- Warning: Requires thorough cleaning if not using a true no-clean formulation, as the thick residue can interfere with moving parts or optical sensors.
- Cost: Approximately $14 - $18 USD for a 10cc syringe.
Expert Insight for High-Reliability (IPC Class 3): If you are building aerospace or medical devices, 'No-Clean' does not mean 'No-Cleaning Required' in all scenarios. Under high-frequency RF circuits or high-impedance analog sensors, even benign ROL0 no-clean flux residues can alter signal integrity. Always consult the flux manufacturer's technical data sheet (TDS) for specific volume resistivity and surface insulation resistance (SIR) test data.
The Cleaning Conundrum: Matching Residue to Solvents
Knowing how to use soldering flux also means knowing how to remove it. Using the wrong solvent on the wrong flux type will merely smear the sticky activators across your board, creating a conductive path for dendritic growth.
- Rosin / RMA Residues: Require non-polar or mildly polar solvents. Standard 99% IPA works for light residues, but for heavy RMA buildup, specialized aerosol flux removers containing hydrocarbon blends (like Chemtronics Flux-Off) are required. Cost: ~$18 per can.
- Water-Soluble (Organic Acid) Residues: Must be cleaned with heated deionized (DI) water (minimum 60°C) within 2 to 4 hours of soldering. If left overnight, the highly active organic acids will aggressively corrode copper traces and component leads. Do not use IPA; it will solidify the water-soluble residue into a hard, white crust.
- No-Clean Residues: Designed to be left on the board. If aesthetic cleaning is required for optical inspection, use a specialized no-clean flux remover, as standard IPA will turn the clear residue into an opaque, sticky mess.
Common Failure Modes & Troubleshooting
Even experienced technicians encounter flux-related defects. Use this diagnostic guide to correct your process.
- Graping (Solder Balls on Pads): Cause: The flux activators exhausted and burned off before the solder alloy reached its liquidus temperature. Fix: Increase iron temperature by 15°C or switch to a flux with a higher thermal activation threshold.
- Tombstoning (SMD Component Standing Up): Cause: Uneven flux application causing one pad to wet faster than the other, pulling the component upright via surface tension. Fix: Apply flux symmetrically to both pads before placing the component.
- De-wetting (Solder Pulling Away from Pad): Cause: Severe oxidation on the PCB pad that the flux chemistry was too weak to penetrate. Fix: Mechanically abrade the pad with a fiberglass scratch pen, clean with IPA, and apply a highly activated ORH0 (water-soluble) flux.
- Charred / Blackened Residue: Cause: Applying flux directly to a soldering iron tip exceeding 400°C. Fix: Never use the iron tip as a flux applicator. Apply flux to the cold joint, then introduce heat.
Summary and Best Practices
Mastering how to use soldering flux is ultimately an exercise in chemical and thermal management. Always verify the IPC classification of your flux, match its activation temperature to your solder alloy's liquidus point, and strictly adhere to the manufacturer's cleaning protocols. For further reading on practical DIY and prototyping techniques, the Adafruit Guide to Excellent Soldering provides excellent visual references for wetting angles and joint profiles. By treating flux as a precise chemical tool rather than a generic paste, you will drastically reduce cold joints, bridging, and long-term reliability failures in your electronic assemblies.