
The Ergonomics and Chemistry of Rosin Flux Application
When technicians and hobbyists ask how to hold to use soldering rosin effectively, they are usually struggling with the physical ergonomics of flux application and the underlying chemistry of the joint. Soldering is not merely about melting metal; it is a controlled chemical reduction process. Rosin, primarily composed of abietic acid, acts as a mild organic acid when heated, stripping copper oxides from pads and component leads to allow the molten solder alloy to wet the surface.
However, the physical technique—how you grip your flux syringe, how you angle your rosin-core solder wire, and where you position your iron's fulcrum—dictates whether the flux activates properly or carbonizes into a useless, sticky residue. In this 2026 application-specific guide, we break down the exact grip techniques, thermal windows, and product recommendations for mastering rosin flux across three distinct PCB assembly scenarios.
The Thermal Window: Why Grip and Timing Matter
Before adjusting your hand positioning, you must understand the thermal activation window of rosin. According to the IPC J-STD-004 Flux Requirements, rosin-based fluxes (Type R, RMA, and RA) undergo specific phase changes:
- 110°C - 130°C: The rosin softens and melts, flowing over the joint via capillary action.
- 150°C - 170°C: The abietic acid becomes chemically active, reducing metal oxides.
- Above 300°C: The flux begins to boil, degrade, and carbonize, leaving a hard, dark residue that can actually impede wetting.
Expert Insight: If you hold your rosin-core wire directly against the iron tip instead of the workpiece, the flux will instantly vaporize before it ever touches the copper pad, resulting in a cold, oxidized joint.
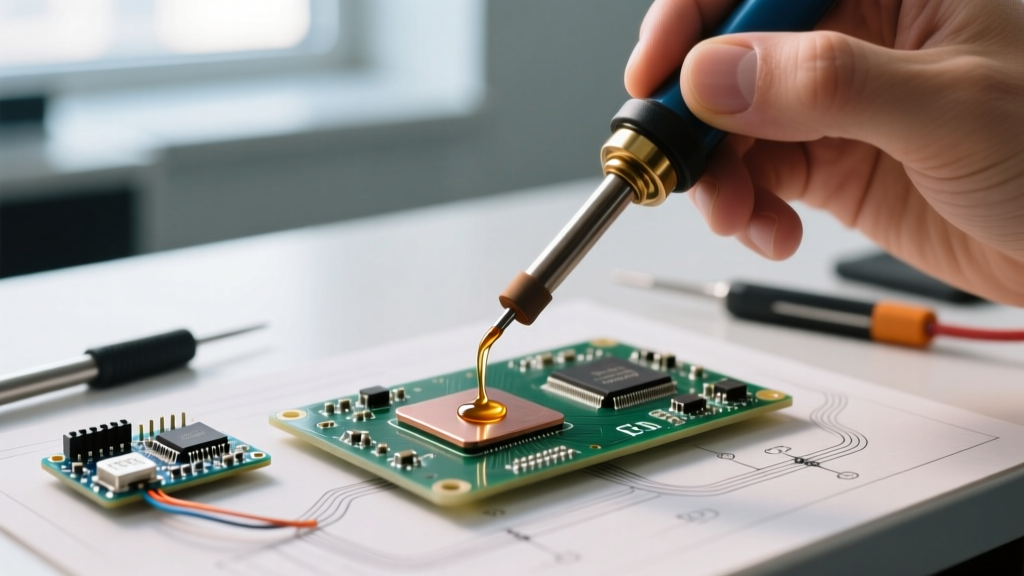
Application 1: Surface Mount (SMD) Drag Soldering
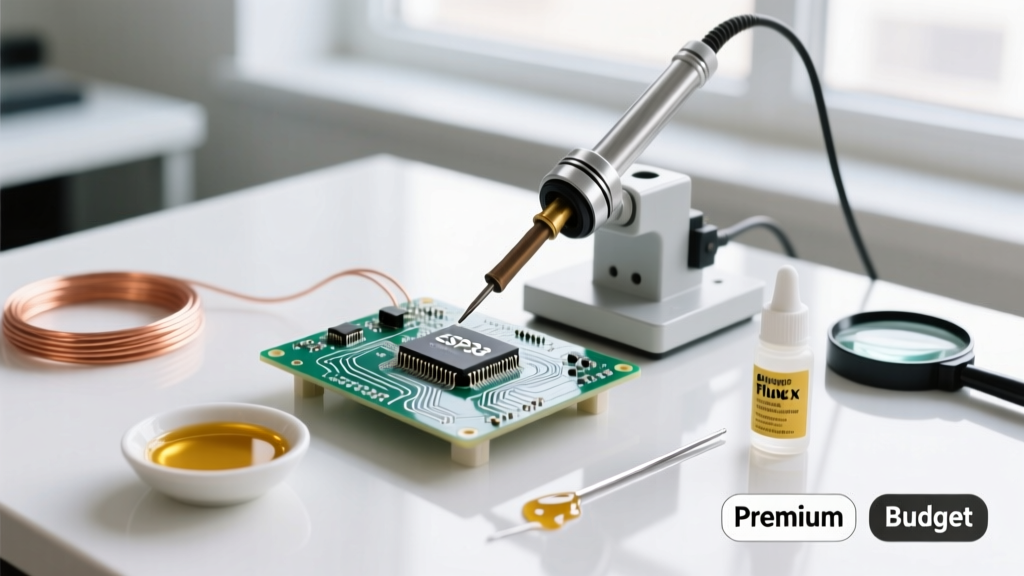
For fine-pitch ICs (0.5mm to 0.8mm pitch QFP/TQFP packages), liquid rosin is too thin to hold the component in place. You need a high-tack rosin paste like MG Chemicals 8341 No-Clean Rosin Paste or Chip Quik NC191.
The 'Fulcrum Grip' for Flux Paste
Applying flux paste requires surgical precision. Tremors in your hand will cause you to smear flux across adjacent pads, leading to solder bridges.
- The Grip: Hold the flux syringe or tub spatula like a dart, using your thumb, index, and middle fingers.
- The Fulcrum: Rest the heel of your palm or your pinky finger firmly on the edge of the PCB or the workbench. This creates a mechanical pivot point, isolating your wrist movements from the delicate tip of the applicator.
- The Angle: Hold the syringe at a strict 45-degree angle to the board. Do not press the needle tip directly onto the pads; instead, let a small bead of flux roll off the tip onto the pads via surface tension.
- Volume Control: Apply a bead no wider than 1mm across the entire row of pads. Too much flux will trap boiling gases during drag soldering, causing micro-splatter (solder balls) under the IC.
Application 2: Through-Hole (TH) with Rosin-Core Wire
For through-hole components, the flux is already embedded inside the solder wire (typically 2% to 3% core). The most common failure mode here is premature flux activation. The gold standard for this application remains Kester 44 (63/37 Sn/Pb) or its lead-free equivalent, Kester 245.
The 'Opposing Feed' Technique
How you hold the iron and the wire simultaneously is critical for TH joints. The NASA Workmanship Training Standards emphasize heating the workpiece before introducing the solder.
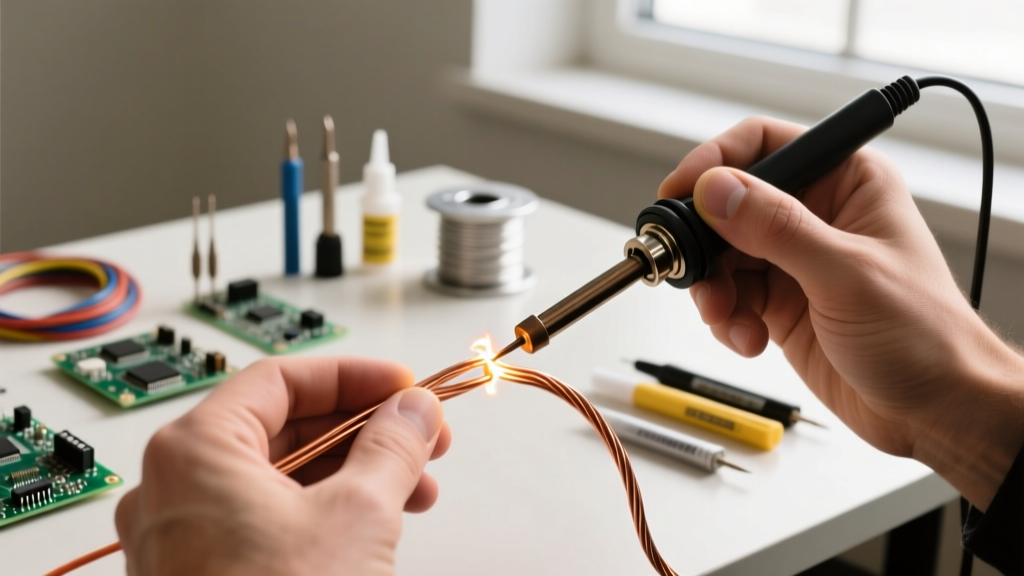
- Iron Grip (Pencil Hold): Hold the soldering iron like a pencil, resting the side of your hand on the bench for stability. Touch the iron tip to the intersection of the component lead and the copper pad.
- The 1-Second Rule: Wait exactly 1 to 1.5 seconds. This allows the thermal mass of the pad and lead to reach the 170°C flux activation temperature.
- Wire Grip (Pinch and Push): Hold the rosin-core wire between your thumb and index finger of your non-dominant hand. Feed the wire into the opposite side of the joint, directly where the iron tip meets the pad.
- Retraction: Once the solder flows into the barrel of the plated through-hole (PTH), pull the wire away first, then remove the iron at a 45-degree upward angle to encourage a smooth fillet.
Application 3: Heavy-Gauge Wire Tinning & Lugs
When tinning 12 AWG to 8 AWG silicone wires or large ring terminals, the thermal mass is massive. Standard rosin-core wire often fails to deliver enough flux volume to clear the heavy oxidation on thick copper strands.
The 'Dip and Roll' Method
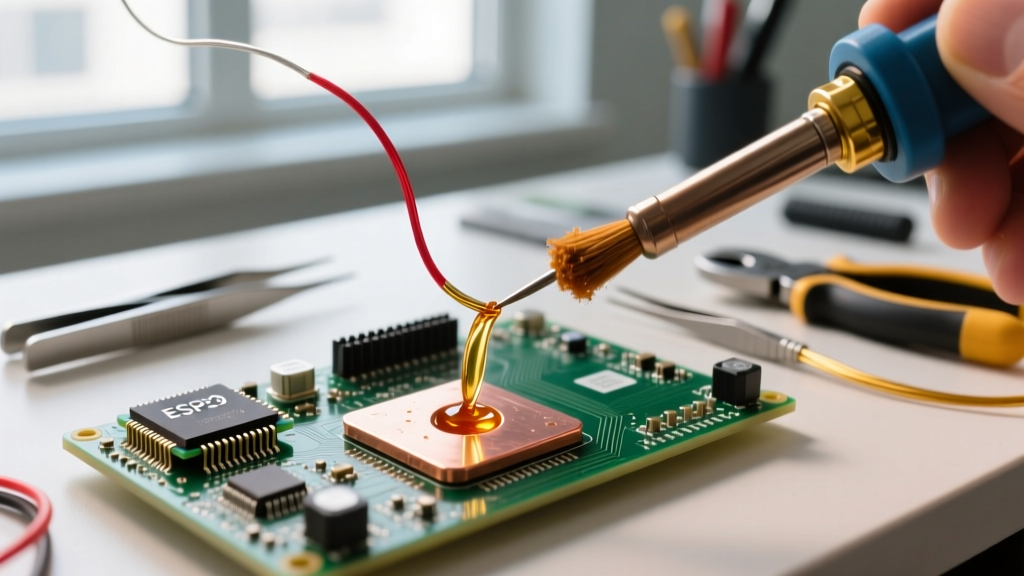
For this application, you must use a standalone tub of tacky rosin flux, such as Kester 186 Mildly Activated Rosin Paste ($14.50 - $18.00 per 50g tub in 2026).
- Prep: Strip the wire and mechanically twist the strands tightly.
- The Dip: Hold the wire at a 30-degree downward angle. Dip the exposed copper directly into the rosin tub, burying it about 2mm deep to coat the strands entirely.
- The Heat Transfer: Load your iron tip with a small amount of sacrificial solder to create a thermal bridge. Press the tinned tip into the flux-coated wire.
- The Roll: As the rosin bubbles and activates (you will see white smoke), slowly rotate the wire between your thumb and forefinger. This ensures the molten solder wicks uniformly into the core of the stranded wire via capillary action.
Comparison Matrix: Rosin Delivery Methods & Grips
| Delivery Method | Best Application | Recommended Grip / Technique | Activation Window | Avg Cost (2026) |
|---|---|---|---|---|
| Rosin-Core Wire (2-3%) | Through-Hole, Basic SMD | Opposing Feed (Pencil & Pinch) | 170°C - 220°C | $28 - $35 / 1lb spool |
| Tacky Flux Syringe | SMD Drag, BGA Rework | Fulcrum Grip (45° Syringe Angle) | 150°C - 200°C | $12 - $18 / 10cc |
| Liquid Rosin Pen | Quick Pad Refresh, 0805s | Vertical Dab (90° to board) | 140°C - 190°C | $6 - $9 / pen |
| Paste Flux Tub (Spatula) | Heavy Wire, Large Lugs | Dip and Roll (30° downward) | 160°C - 250°C | $14 - $20 / 50g tub |
Common Failure Modes & Edge Cases
Even with the correct grip, environmental and material variables can cause rosin flux to fail. Here is how to troubleshoot the most common edge cases:
1. The 'Charred Pad' Phenomenon
Symptom: The flux turns dark brown or black, and the solder refuses to wet the pad, balling up instead.
Cause: Your iron temperature is too high (e.g., set to 400°C+ for leaded solder), or you are holding the flux in the heat zone for more than 4 seconds. The abietic acid has carbonized.
Fix: Drop your station temperature to 320°C - 340°C for 63/37 alloys. Clean the charred residue with 99% IPA and a brass brush, then reapply fresh flux.
2. SMD Tombstoning During Reflow
Symptom: One side of a small capacitor (e.g., 0402 or 0603) lifts off the pad and stands upright.
Cause: Uneven flux application. If you hold the syringe at an inconsistent angle, one pad gets more flux than the other. The pad with more flux achieves lower surface tension and wets faster, pulling the component upright.
Fix: Use a stencil for paste application, or ensure your manual syringe fulcrum grip deposits perfectly symmetrical micro-dots on both pads.
3. Corrosion on Long-Term Deployments
Symptom: Green/white crust forms around the joint months later, leading to high-resistance faults.
Cause: Using an RA (Rosin Activated) flux without cleaning. RA flux contains halide activators that remain corrosive if left on the board.
Fix: For uncleaned boards, strictly use RMA (Rosin Mildly Activated) or modern No-Clean rosin formulations, which are designed to encapsulate their activators in a hard, inert resin shell upon cooling.
Final Bench Setup Recommendations
Mastering how to hold to use soldering rosin is ultimately about minimizing variables. Invest in a quality ergonomic syringe dispenser with a vacuum return mechanism to prevent flux oozing after you release your grip. Keep your rosin-core wire stored in a sealed, low-humidity environment to prevent the flux core from drying out and becoming brittle. By aligning your physical grip techniques with the thermal realities of abietic acid chemistry, you will consistently produce IPC Class 2 and Class 3 compliant joints, regardless of the component scale.