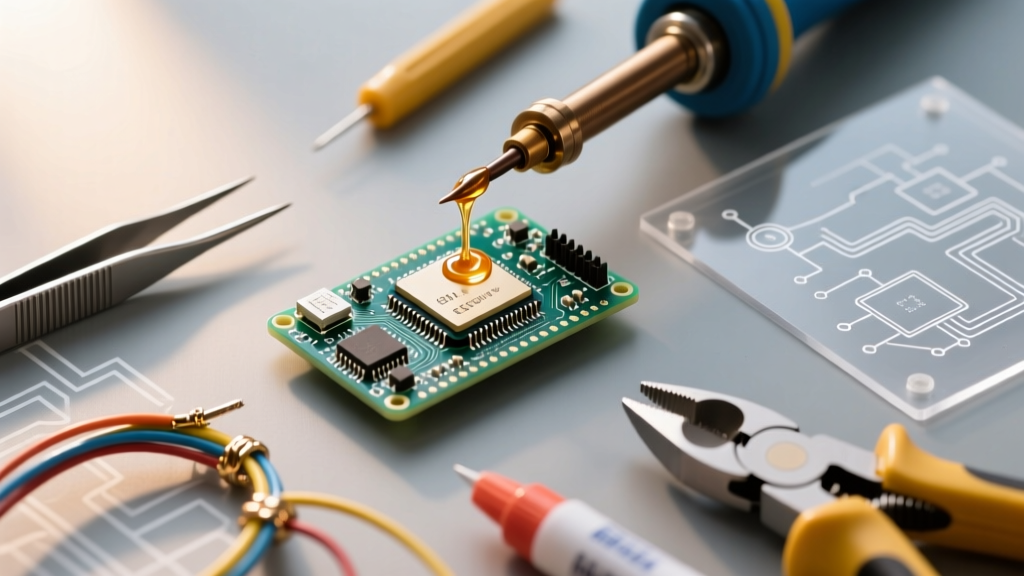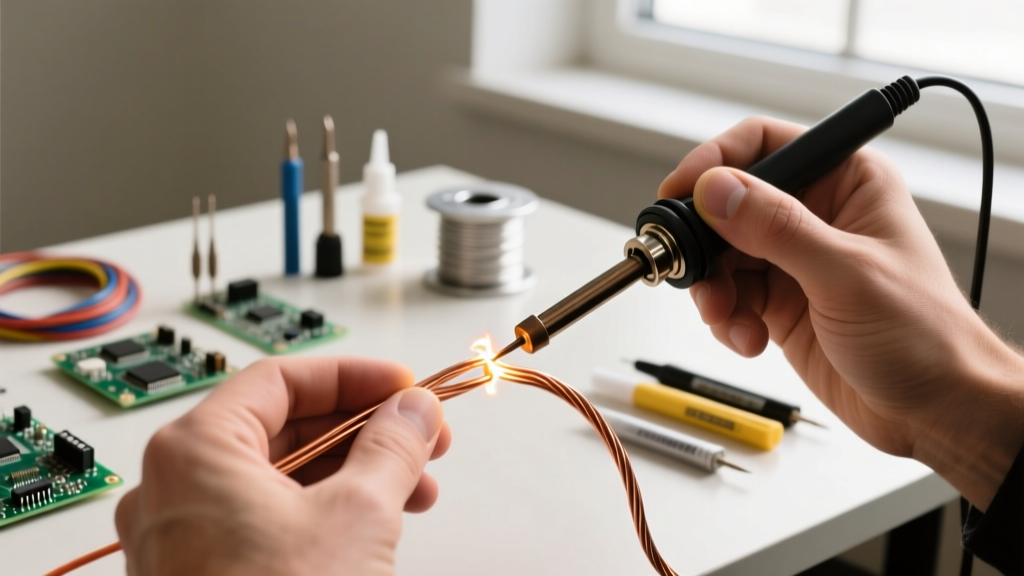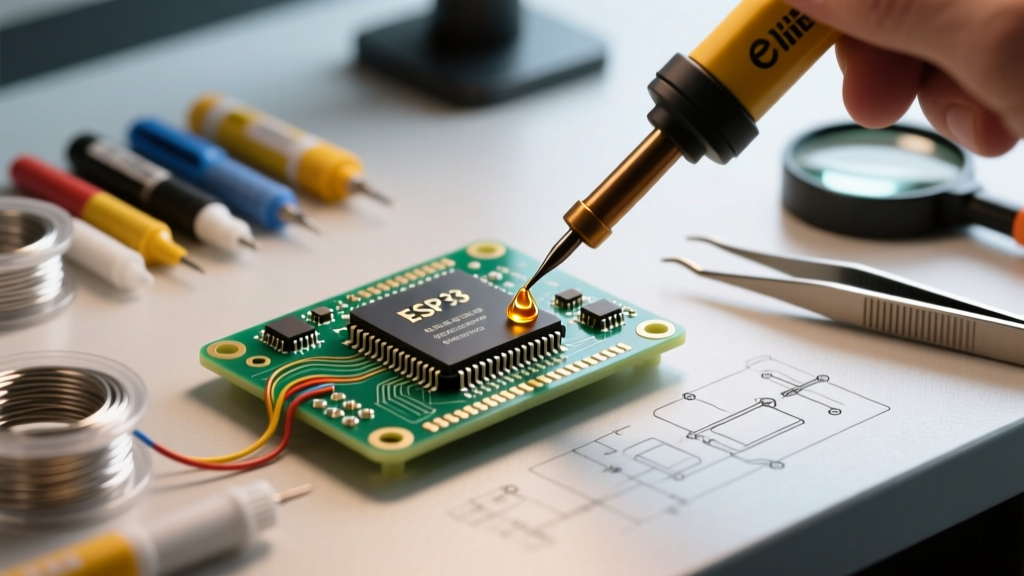

Why a Flux Pen is Your Secret Weapon for Micro-Soldering
When transitioning from basic through-hole assembly to high-density SMD rework, the soldering iron is only half the equation. The true catalyst for reliable, shiny, and structurally sound joints is flux. While paste fluxes and syrups have their place, flux pen soldering offers unparalleled precision, minimal mess, and rapid application for targeted rework. Whether you are drag-soldering a 100-pin QFP microcontroller or retouching a lifted 0402 capacitor pad, mastering the flux pen is a mandatory skill for modern electronics technicians.
According to SparkFun's comprehensive soldering guides, flux serves two critical purposes: it chemically removes metal oxides from the PCB pads and component leads, and it reduces the surface tension of molten solder, allowing it to wet the joint evenly. A flux pen delivers these chemicals exactly where needed, without flooding the surrounding components.
Choosing the Right Flux Pen Chemistry for Your Project
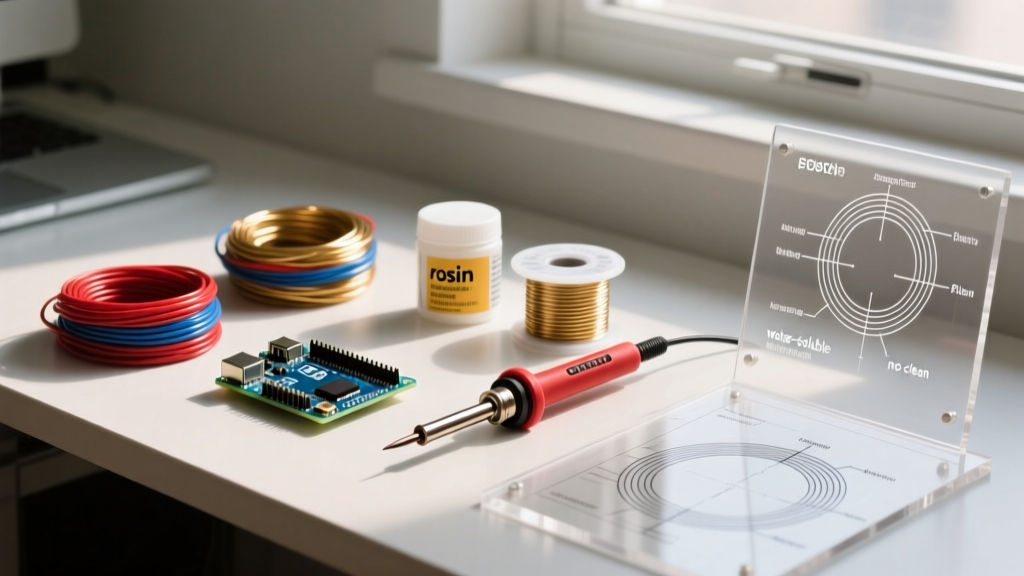
Not all flux pens are created equal. The chemistry inside the pen dictates your soldering temperature profile, the nature of the leftover residue, and whether post-solder cleaning is required. Below is a comparison of the three primary chemistries available in pen format.
| Flux Chemistry | Popular Pen Model | Approx. Cost | Activation Temp | Residue & Cleanup | Best Application |
|---|---|---|---|---|---|
| Mildly Activated Rosin (RMA) | Kester 951 Flux Pen | $9 - $12 | 150°C - 180°C | Sticky, amber. Requires 99% IPA cleanup. | General through-hole, heavy oxidation removal. |
| No-Clean (NC) | MG Chemicals 835-P | $12 - $15 | 160°C - 190°C | Clear, hard, non-tacky. Leave on board. | SMD rework, QFP drag soldering, BGA retouching. |
| Water-Soluble (OA) | Kester 245 (Liquid/Pen) | $14 - $18 | 180°C - 220°C | Highly corrosive. MUST wash with DI water. | Industrial automation, heavily oxidized legacy boards. |
Pro-Tip: For 90% of hobbyist and professional SMD rework tasks, a No-Clean flux pen like the MG Chemicals 835-P or Kester 245 No-Clean is the optimal choice. It provides excellent wetting without the mandatory cleanup step that rosin or water-soluble fluxes demand. You can view the full lineup of professional flux pens on the MG Chemicals flux pen product page to compare specific gravity and solvent bases.
Step-by-Step Flux Pen Soldering Tutorial
Follow this precise workflow to achieve IPC-A-610 compliant joints using a flux pen.
Step 1: Nib Priming and Selection
Most high-quality flux pens (like those from Kester or Techspray) utilize a click-valve mechanism rather than a simple felt wick.
- Prime the pen: Hold it vertically with the nib facing down on a scrap piece of paper or a silicone mat. Press down 3 to 5 times until the flux saturates the tip.
- Select the nib size: Use a 1mm fine nib for 0402/0603 passives and QFN pads. Switch to a 3mm or 5mm chisel nib for drag-soldering SOIC chips and through-hole headers.
Step 2: Thermal Profiling and Pre-Application
Never apply the iron directly to a dry pad.
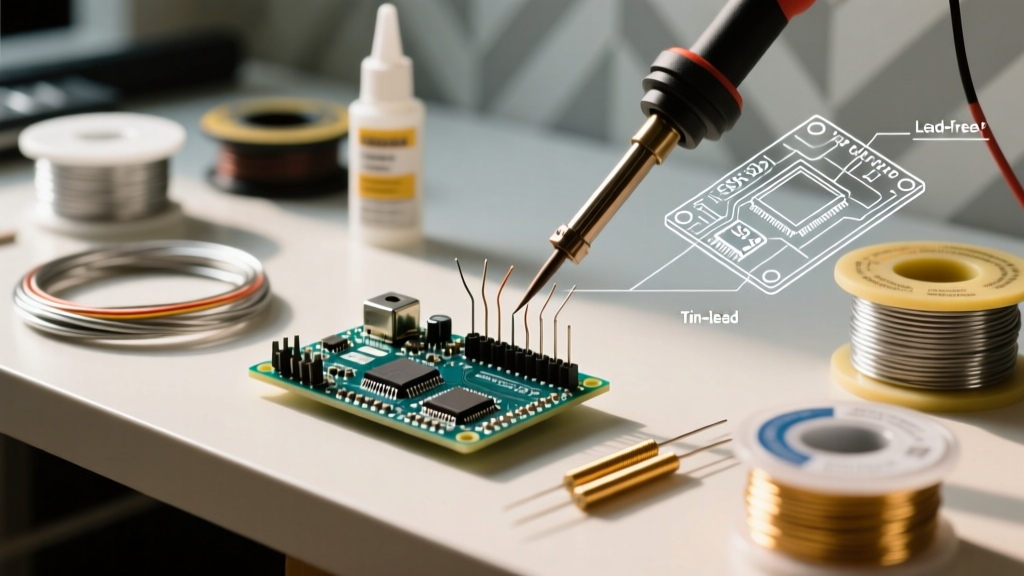
- Set your soldering station to the correct temperature: 320°C for leaded solder (Sn63/Pb37) and 350°C - 360°C for lead-free alloys (SAC305).
- Trace the flux pen over the target pads. You want a thin, even gloss. If the flux pools and forms a dome, you have applied too much, which will cause violent boiling and solder splatter when heated.
- Allow the solvent (usually isopropanol or a glycol ether) to flash off for 3 to 5 seconds before applying heat.
Step 3: The Drag Soldering Technique (For ICs)
Flux pens excel at drag soldering fine-pitch components.
- Tack down two opposite corner pins of your IC to align it perfectly.
- Apply a generous line of no-clean flux along the entire row of pins using your pen.
- Load your chisel iron tip with a small bead of fresh solder.
- Drag the iron slowly across the pins at a 45-degree angle. The flux will lower the surface tension, pulling the solder evenly into each individual pad via capillary action.
Step 4: Inspection and Residue Management
Inspect the joints under a magnifying lamp or digital microscope. If you used a rosin-based pen (like Kester 951), scrub the area with a stiff ESD-safe brush and 99% isopropyl alcohol to prevent long-term dendritic growth. If you used a no-clean pen, the residue is benign and can be left as-is, though it may be cleaned with a dedicated flux remover aerosol for aesthetic purposes.
Troubleshooting Common Flux Pen Failures
Even experienced technicians encounter issues when the flux chemistry or application technique is slightly off. Use this diagnostic matrix to correct your process.
| Failure Mode | Visual Symptom | Root Cause | The Flux Pen Fix |
|---|---|---|---|
| Solder Balling / Splatter | Tiny spheres of solder scattered around the pad. | Flux solvent boiling violently under the iron. | Wait 5 seconds after pen application before applying the iron. Apply thinner coats. |
| Bridging (Shorts) | Solder connects adjacent fine-pitch pins. | Insufficient flux to break surface tension. | Apply a second pass with the flux pen after the initial drag, then re-heat with a clean iron to pull the bridge apart. |
| Cold / Dull Joints | Grainy, gray, or cracked solder appearance. | Flux activated and burned off before solder melted. | Re-apply flux with the pen and reheat. Ensure your iron tip is clean and tinned for maximum thermal transfer. |
| Pad Lifting / Delamination | Copper trace peels off the FR4 substrate. | Dried pen nib scratching the pad during application. | Replace or clean the pen nib. Never press hard; let capillary action draw the flux out. |
Maintenance: Keeping Your Flux Pen from Drying Out
The most common complaint regarding flux pens is that they dry out or clog after a few months of use. Because the solvents are highly volatile, improper storage will ruin a $15 tool in weeks.
- Store Horizontally: Storing the pen vertically with the nib up starves the tip of fluid, causing the internal wick to dry out. Storing it nib-down can cause the valve to leak and pool in the cap. Horizontal storage keeps the internal felt evenly saturated.
- Cap Immediately: The moment you finish your solder joint, cap the pen. Do not leave it uncapped on your workbench mat.
- Clean the Nib Weekly: Flux residue bakes onto the exterior of the plastic nib. Wipe it down with a lint-free swab dipped in IPA to prevent cross-contamination and ensure the valve seats properly.
Frequently Asked Questions
Can I refill an empty flux pen with my own liquid flux?
Yes, most click-valve pens can be carefully unscrewed at the barrel. You can refill them with bulk liquid flux (such as Kester's bulk liquid fluxes). However, ensure the viscosity matches the original specification, or the pen will either leak or fail to wick.
Does flux pen soldering expire?
Unopened flux pens typically have a shelf life of 12 to 24 months. Once opened, the chemical activators can degrade, and the solvents will slowly evaporate, altering the pH and reducing its oxide-cleaning power. Date your pens with a Sharpie when you first open them.