
The Chemistry and Purpose of Rosin Soldering Paste Flux
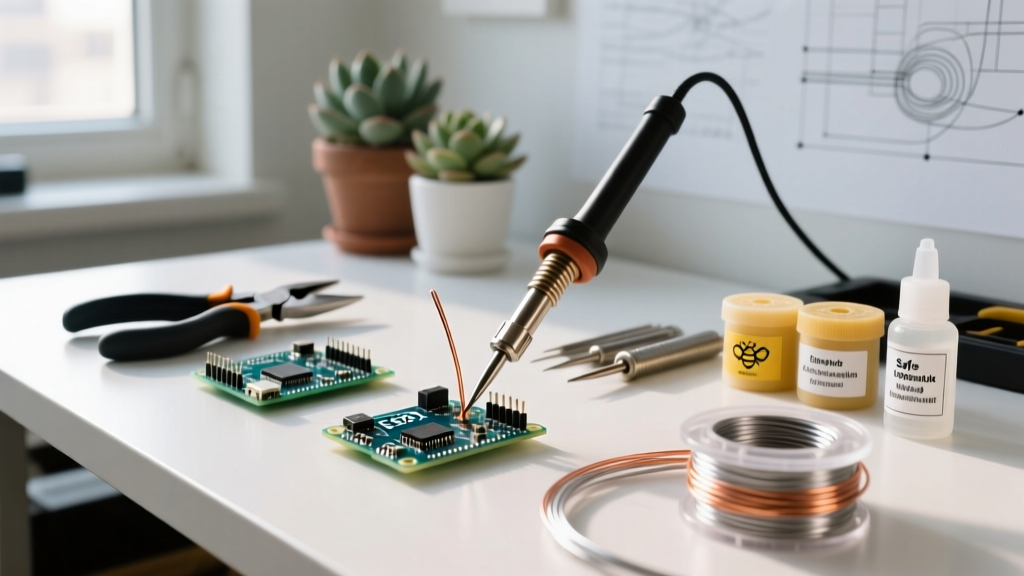
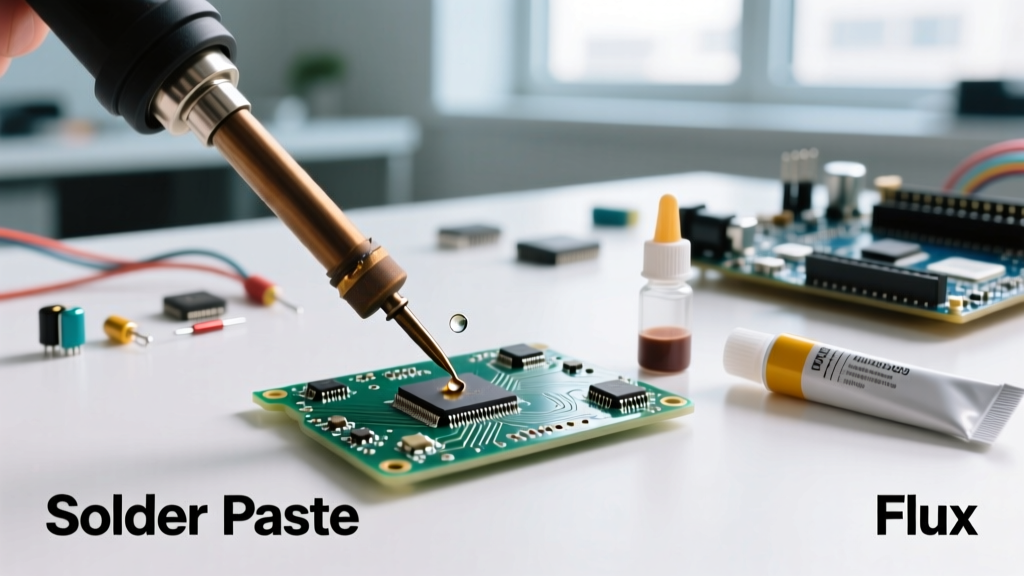
Hand soldering surface-mount devices (SMDs) or reworking dense through-hole printed circuit boards (PCBs) requires more than just a calibrated iron and solder wire. The secret to reliable, shiny, and structurally sound metallurgical bonds lies in the proper application of rosin soldering paste flux. Unlike liquid fluxes that can wick unpredictably under components, paste flux offers high viscosity, allowing for precise, localized application that stays exactly where you put it until thermal activation occurs.
Rosin is derived from the distillation of pine tree sap and consists primarily of abietic acid. In its solid state, it is completely inert and non-corrosive. However, when heated past its activation threshold (typically between 150°C and 180°C), the abietic acid becomes mildly active, effectively dissolving copper oxides and preventing further oxidation during the soldering process. According to the IPC J-STD-001 standard, proper flux activity is mandatory for achieving acceptable wetting and intermetallic compound (IMC) formation.
Selecting the Right Rosin Paste: 2026 Market Options
Not all rosin pastes are created equal. They are generally categorized into three types: R (Pure Rosin), RMA (Rosin Mildly Activated), and RA (Rosin Fully Activated). For 95% of electronics DIY and professional rework scenarios, RMA is the gold standard, offering a balance of cleaning power and safe, non-conductive residue.
| Product Model | Classification | Avg. Price (2026) | Activation Temp
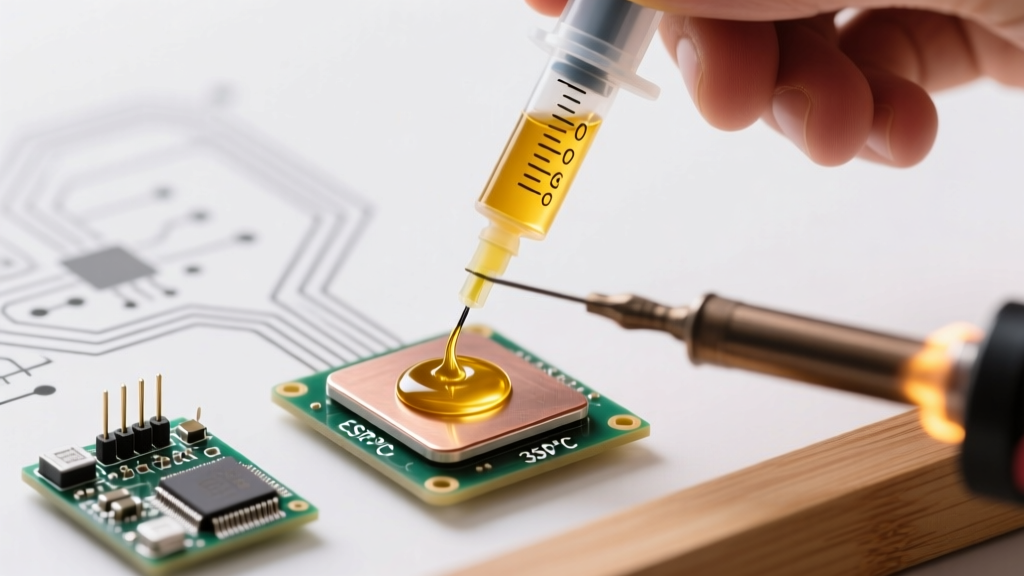
Step-by-Step Application TutorialApplying rosin soldering paste flux incorrectly can lead to bridging, cold joints, or component damage. Follow this precise workflow for optimal results. Phase 1: Substrate PreparationFlux cannot penetrate heavy layers of grime, finger oils, or thick oxidation. Before opening your flux jar or syringe, clean the target pads.
Troubleshooting Common Flux Paste FailuresEven experienced technicians encounter issues when working with rosin soldering paste flux. Here is how to diagnose and fix the most common failure modes on the bench. Post-Soldering Cleanup ProtocolsWhile RMA rosin flux residues are technically non-conductive and non-corrosive in their solid state, leaving them on high-impedance or high-frequency PCBs can lead to parasitic capacitance or dendritic growth in humid environments. The NASA-STD-8739.3 workmanship standard strictly mandates the removal of rosin residues for high-reliability aerospace and medical electronics. Manual Cleaning MethodUltrasonic Cleaning MethodFor batch processing or complex boards with BGA components where manual brushing cannot reach, ultrasonic cleaning is highly effective. Fill the tank with a saponified water solution or a specialized ultrasonic flux remover. Set the frequency to 40kHz and the heater to 50°C. Run the cycle for exactly 4 minutes. Prolonged exposure to ultrasonic cavitation can damage delicate MEMS sensors or quartz crystals, so always verify component tolerances before submerging the assembly. Mastering the application of rosin soldering paste flux transforms frustrating, unreliable soldering sessions into a smooth, predictable process. By selecting the correct activation chemistry, utilizing precision dispensing needles, and adhering to strict thermal profiles, you will consistently achieve IPC-compliant, mirror-finish joints on every project. Related guides |
|---|